
Quick answer: Supported Bridge Pose uses a yoga block or firm support beneath the pelvis to create a gentle, restorative backbend. It may support relaxation and body awareness, but the support should never cause pain or pressure in the lower back or neck.
Important Safety Note
Use a stable block on its appropriate height and keep the neck relaxed. Stop for pain, numbness, dizziness, breathing difficulty, or pressure in the spine. Avoid this pose or seek qualified guidance after recent back, neck, hip, or pelvic surgery, and during pregnancy if the position feels uncomfortable.
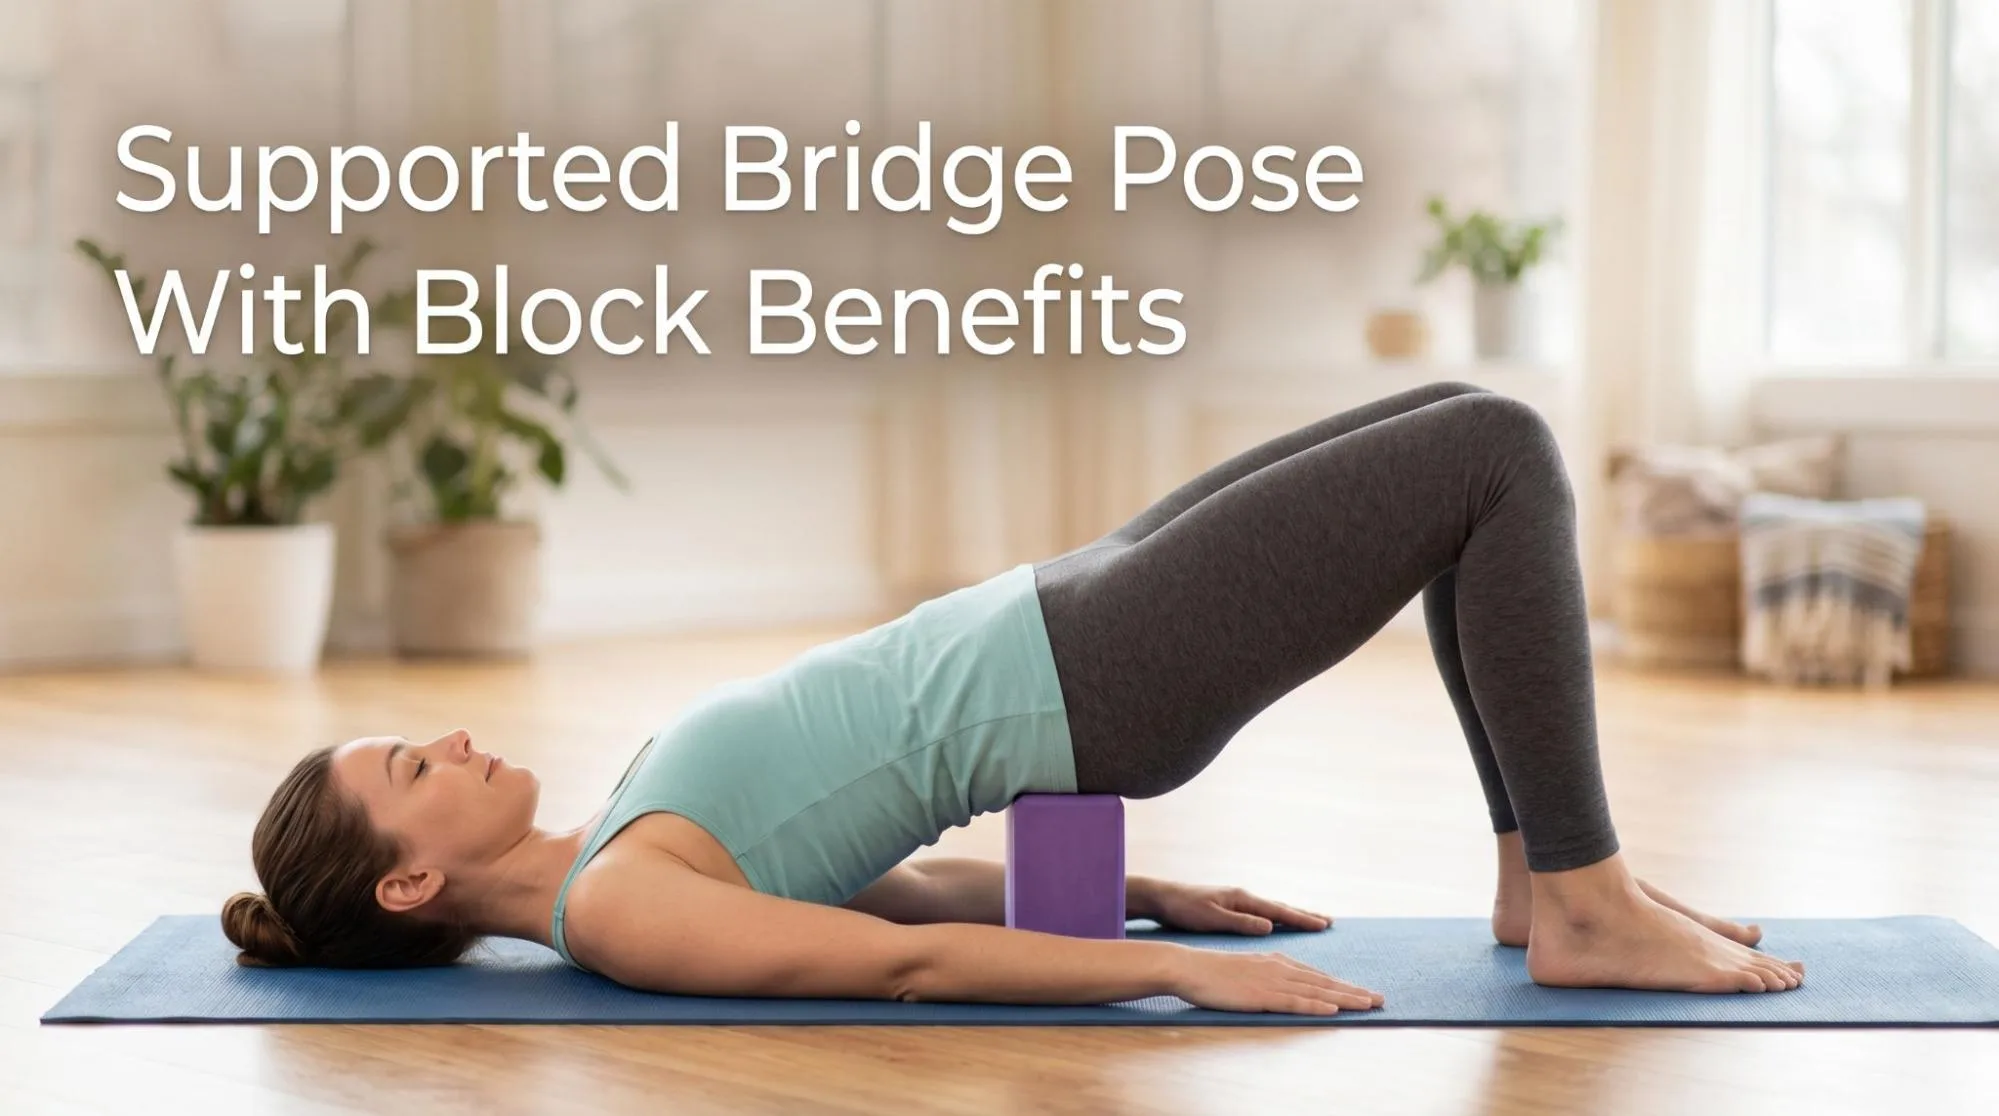
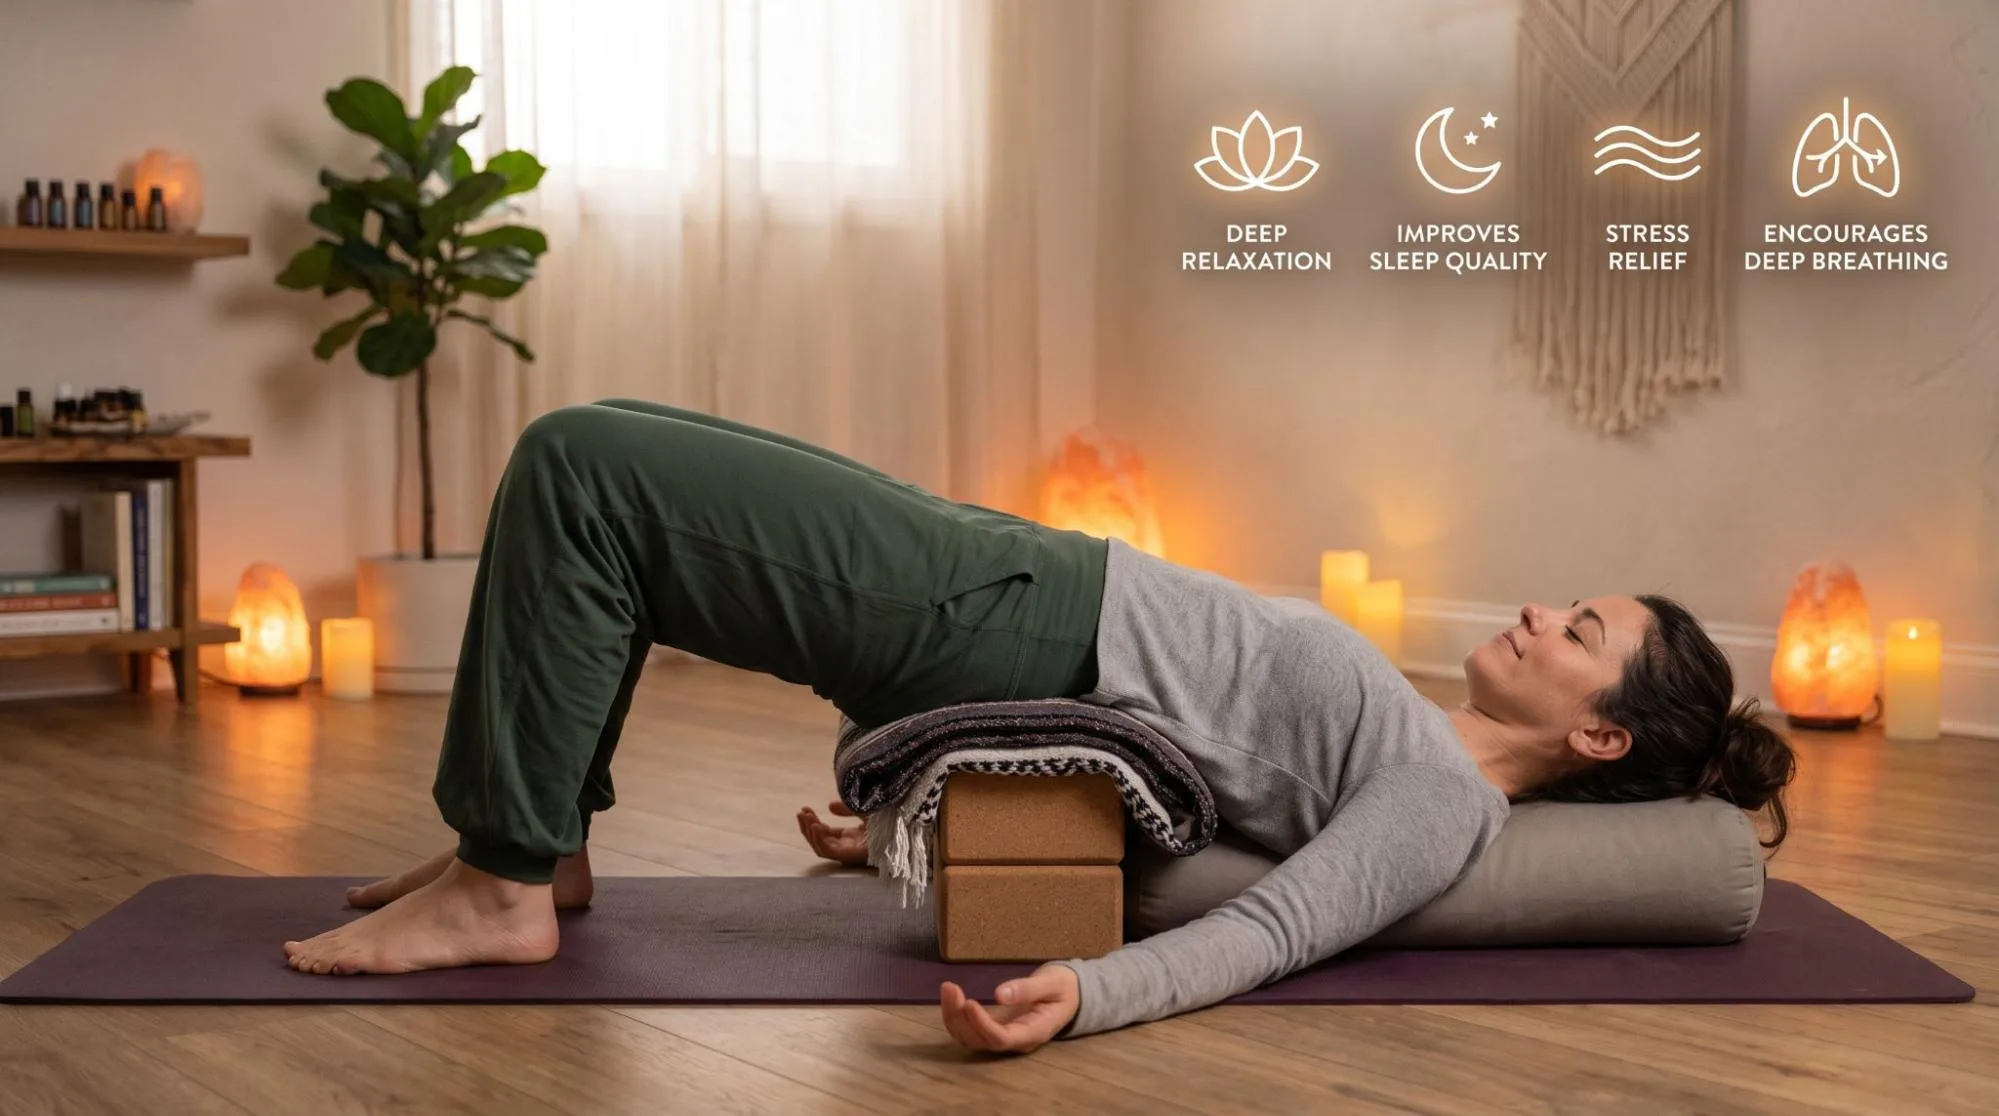
Supported Bridge Pose with a block is one of those yoga shapes that looks simple, but feels deeply useful once you settle into it. Instead of working hard to lift your hips and hold the pose with muscle strength, you let the block support your pelvis. This changes Bridge Pose, or Setu Bandha Sarvangasana, into a calm, restorative posture.
The main supported bridge pose with block benefits include lower back relief, gentle spinal decompression, hip flexor opening, chest expansion, better breathing, and nervous system relaxation. It can also be a helpful evening pose when your body feels tight from sitting, standing, driving, or stress.
Like all yoga poses, it works best when done with care. The block should support the sacrum, not press into the lower back. Your feet stay flat, your knees bent, and your breath steady.
What Is Using a Yoga Block in Bridge Pose?
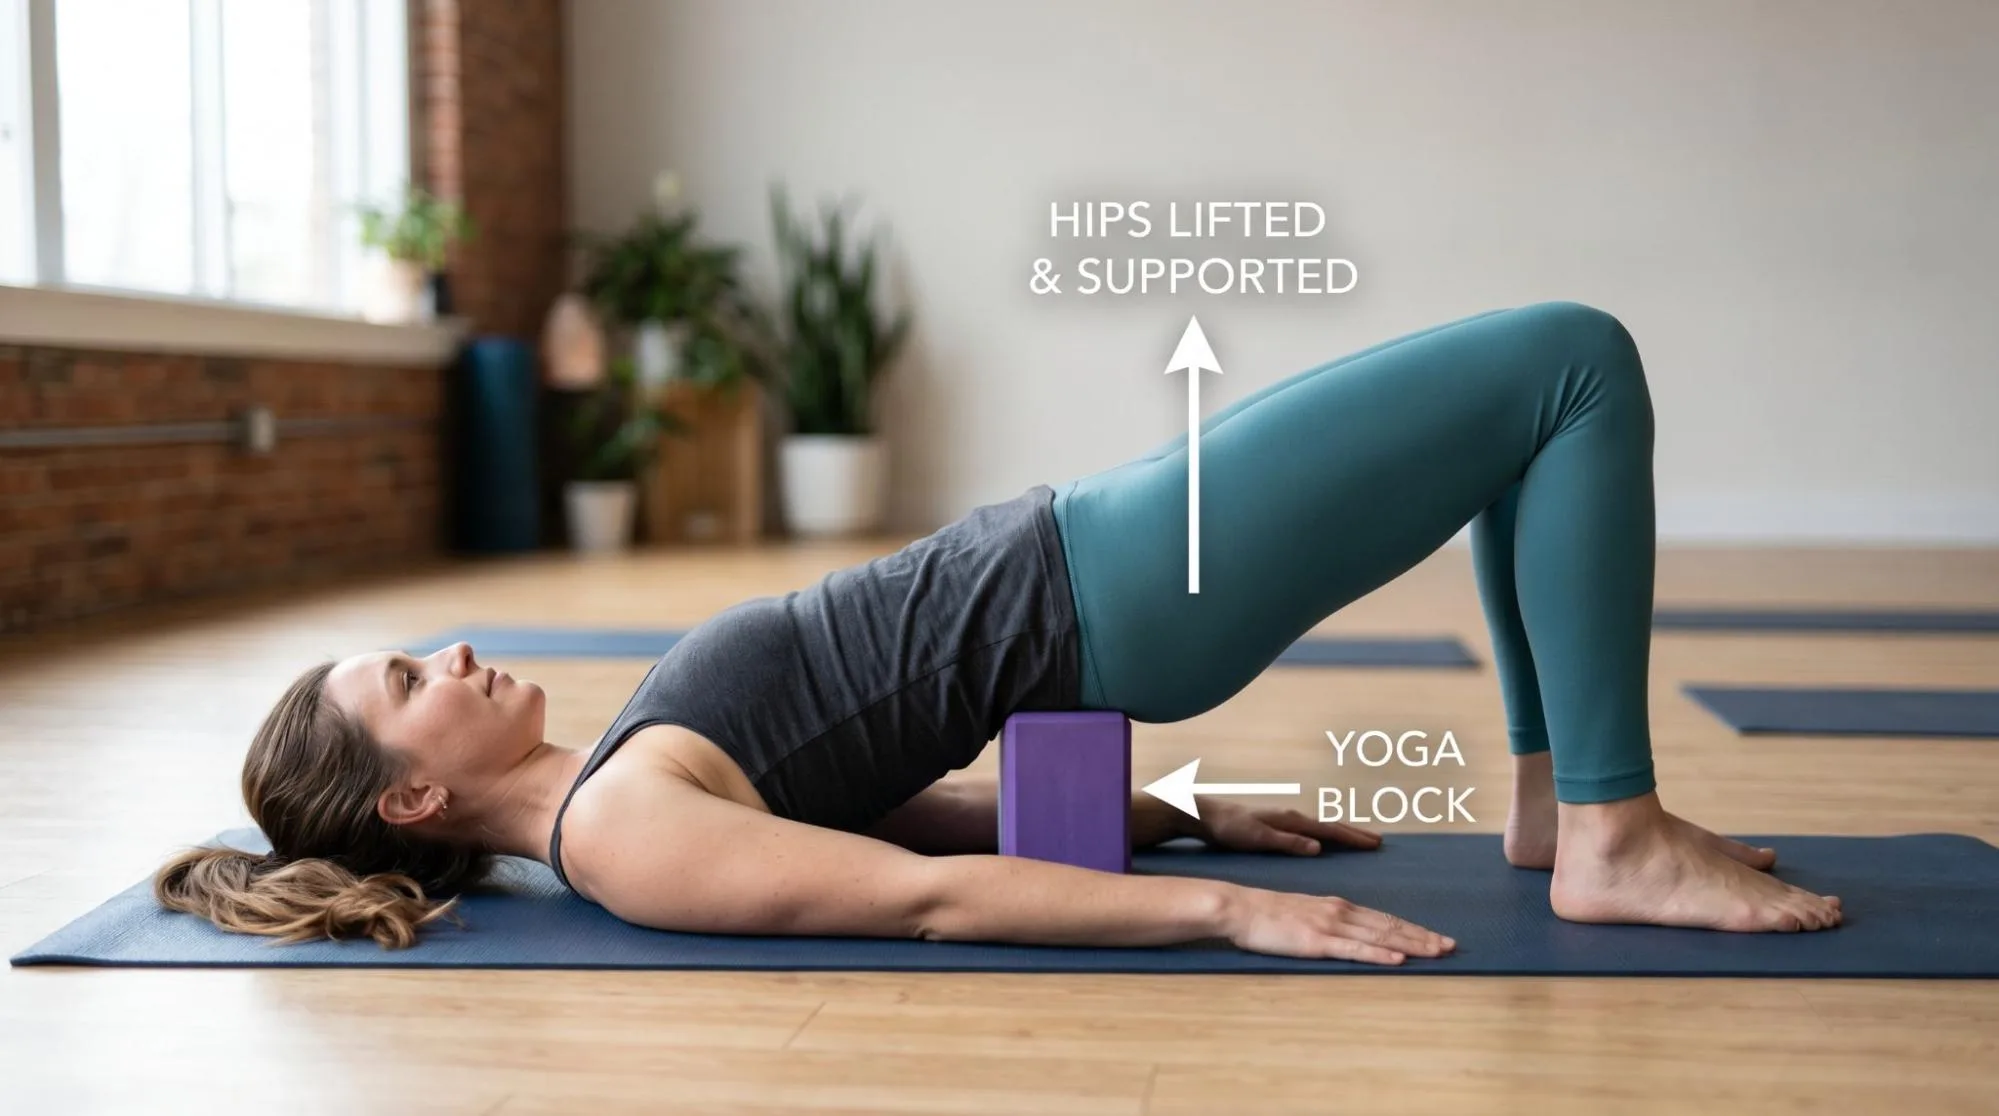
Using a yoga block in Bridge Pose means placing a block under your pelvis while lying on your back with your knees bent and feet flat on the mat.
In a regular active Bridge Pose, you press into your feet and lift your hips using your glutes, hamstrings, and back muscles. In supported bridge pose, the block holds the weight of your hips so your body can soften.
This version is often used in restorative yoga because it gives the body support without asking for much effort. Your palms face down or up beside you, your chest opens naturally, and your spine gets a gentle lift.
Learn More : Legs Up the Wall Pose Benefits: A Simple Guide to Viparita Karani
Why Use a Yoga Block in Bridge Pose?
A yoga block gives your body something stable to rest on. That support changes the whole feeling of the pose.
You may use yoga blocks in Bridge Pose to:
- Reduce strain in the lower back
- Open the front of the hips
- Support the pelvis in a gentle backbend
- Relax the nervous system
- Make the pose more beginner-friendly
- Hold the posture longer without fatigue
This is especially helpful if active Bridge Pose feels too intense or if you want a quieter, more therapeutic version.
Supported Bridge Pose With Block Benefits for the Body
The physical benefits come from gentle support, mild elevation, and a soft opening across the front body. You are not forcing the stretch. You are allowing the body to release gradually.
Spinal Decompression and Lower Back Relief
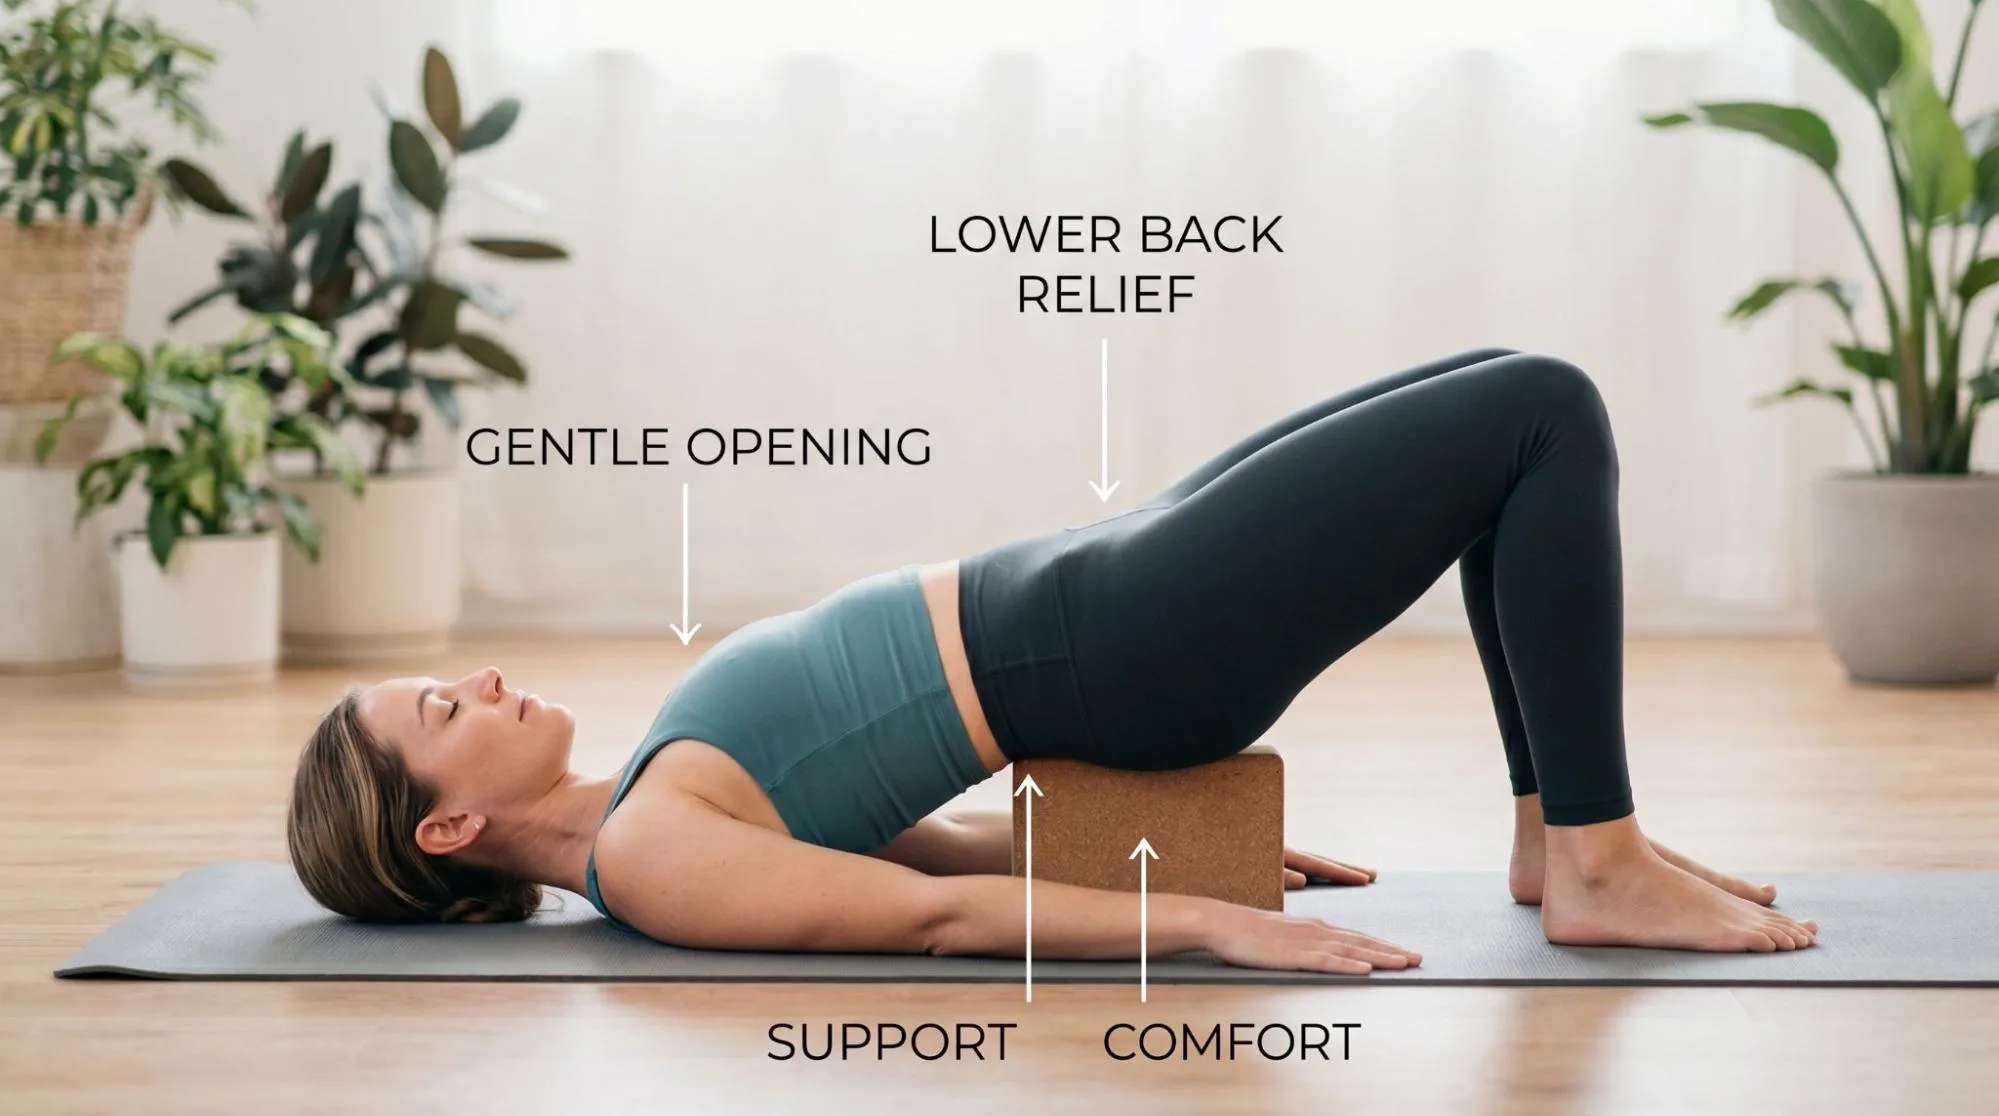
When you place the block under your sacrum, the pelvis rests in a supported position. This can create a light feeling of space through the lower spine.
For many people, the lower back feels tight because of long sitting, weak glutes, tight hip flexors, or poor posture. Supported Bridge Pose does not “fix” every back issue, but it can offer short-term relief when practiced correctly.
The key is placement. The block should sit under the sacrum, which is the broad, flat bone at the base of the spine. It should not dig into the soft curve of the lower back.
Front-Body Opening
Supported Bridge Pose gently stretches the front body, especially the:
- Hip flexors
- Thighs
- Abdomen
- Chest
- Front shoulders
If you sit for long hours, your hip flexors often become short and tight. When you lift your hips and support them on a block, the front of the pelvis opens without aggressive stretching.
This is one reason the pose feels so good after desk work.
Better Breathing and Chest Expansion
As the hips lift and the chest opens, the rib cage has more room to move. This can make breathing feel slower and deeper.
You do not need to force a big breath. Just let the chest soften open. Keep the throat relaxed and allow the breath to spread into the ribs.
This is one of the quieter benefits of the pose, but it matters. Better breathing often helps the whole body calm down.
Improved Posture
Supported Bridge Pose opens areas that commonly collapse in daily posture: the chest, shoulders, hip flexors, and front ribs.
If your shoulders round forward or your pelvis feels tucked from sitting, this pose gives your body a gentle counter-shape. It reminds the spine that it can lengthen and open.
Over time, when paired with strengthening poses, it may support better posture awareness.
Gentle Inversion for Circulation
Because the hips are lifted slightly above the heart, Supported Bridge Pose works like a mild inversion. It is not as strong as Legs-Up-the-Wall or Shoulder Stand, but it still gives the legs and pelvis a restful change in position.
Some people find it helpful after standing all day because the legs feel lighter afterward.
Mental and Therapeutic Benefits of Supported Bridge Pose
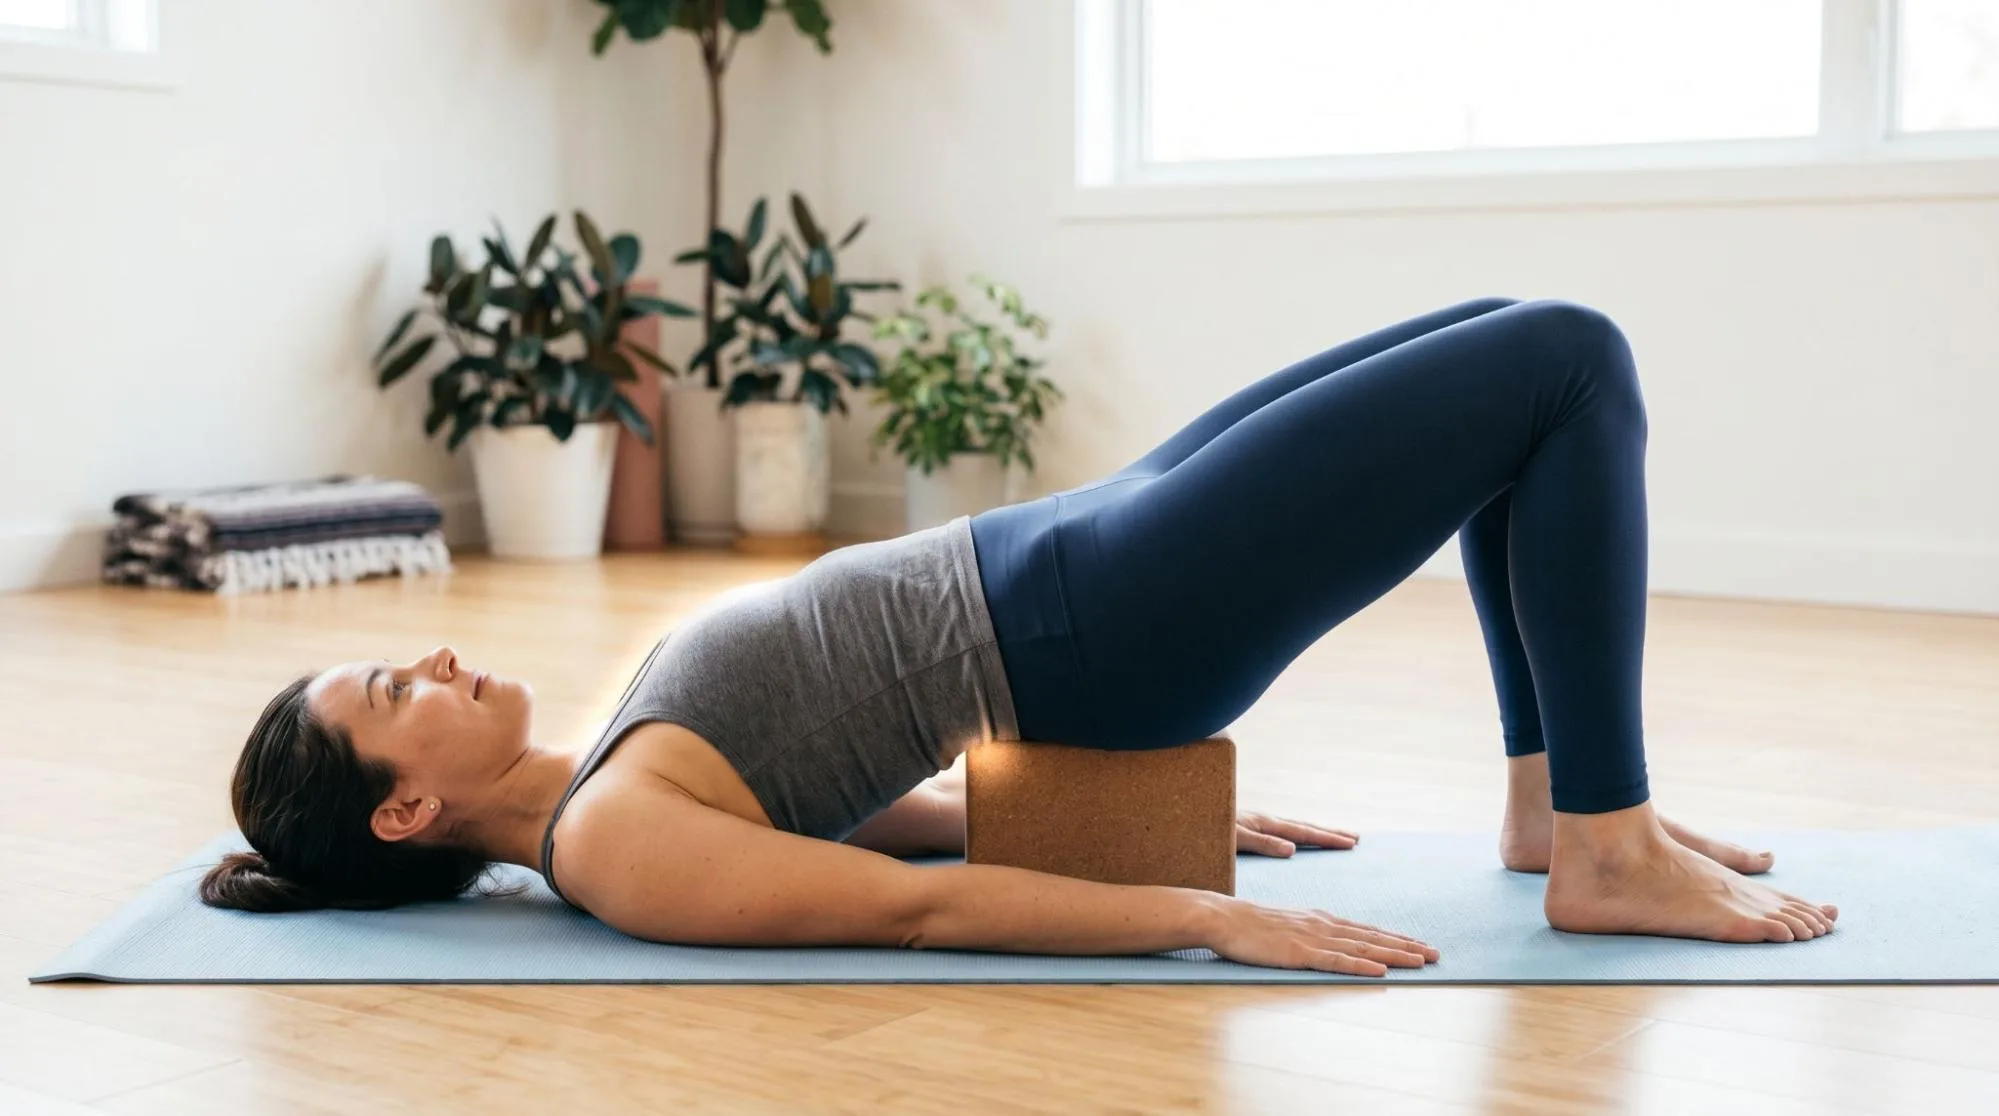
The mental benefits of this pose often come from stillness. You are not pushing, gripping, or trying to perform. You are supported.
That makes a big difference.
Nervous System Relaxation
Supported poses can send a message of safety to the body. When your pelvis is supported and your breathing slows, the nervous system may begin to settle.
This is why Supported Bridge Pose often appears in restorative yoga classes. It gives the body a clear invitation to soften.
Stress and Anxiety Relief
Stress often shows up in the chest, belly, jaw, throat, and hips. Supported Bridge Pose gently opens these areas while keeping the body grounded.
The result can feel calming without being sleepy at first. Many people notice a shift after just a few minutes.
Improved Sleep and Mood
Practicing Supported Bridge Pose in the evening may help you transition out of a busy day. The gentle chest opening, steady breathing, and supported shape can prepare the body for rest.
It is not a cure for sleep problems, but it can be a useful part of a calming bedtime routine.
Thyroid and Throat Area Stimulation
Bridge Pose gently opens the throat area. In yoga tradition, this region is often linked with the throat chakra and communication.
From a physical point of view, avoid making strong medical claims here. The pose may bring awareness and mild stimulation around the throat and neck, but it should not be used as a treatment for thyroid conditions.
How to Practice Bridge Pose with a Yoga Block
Move slowly. The goal is support, not height.
Step-by-Step Instructions
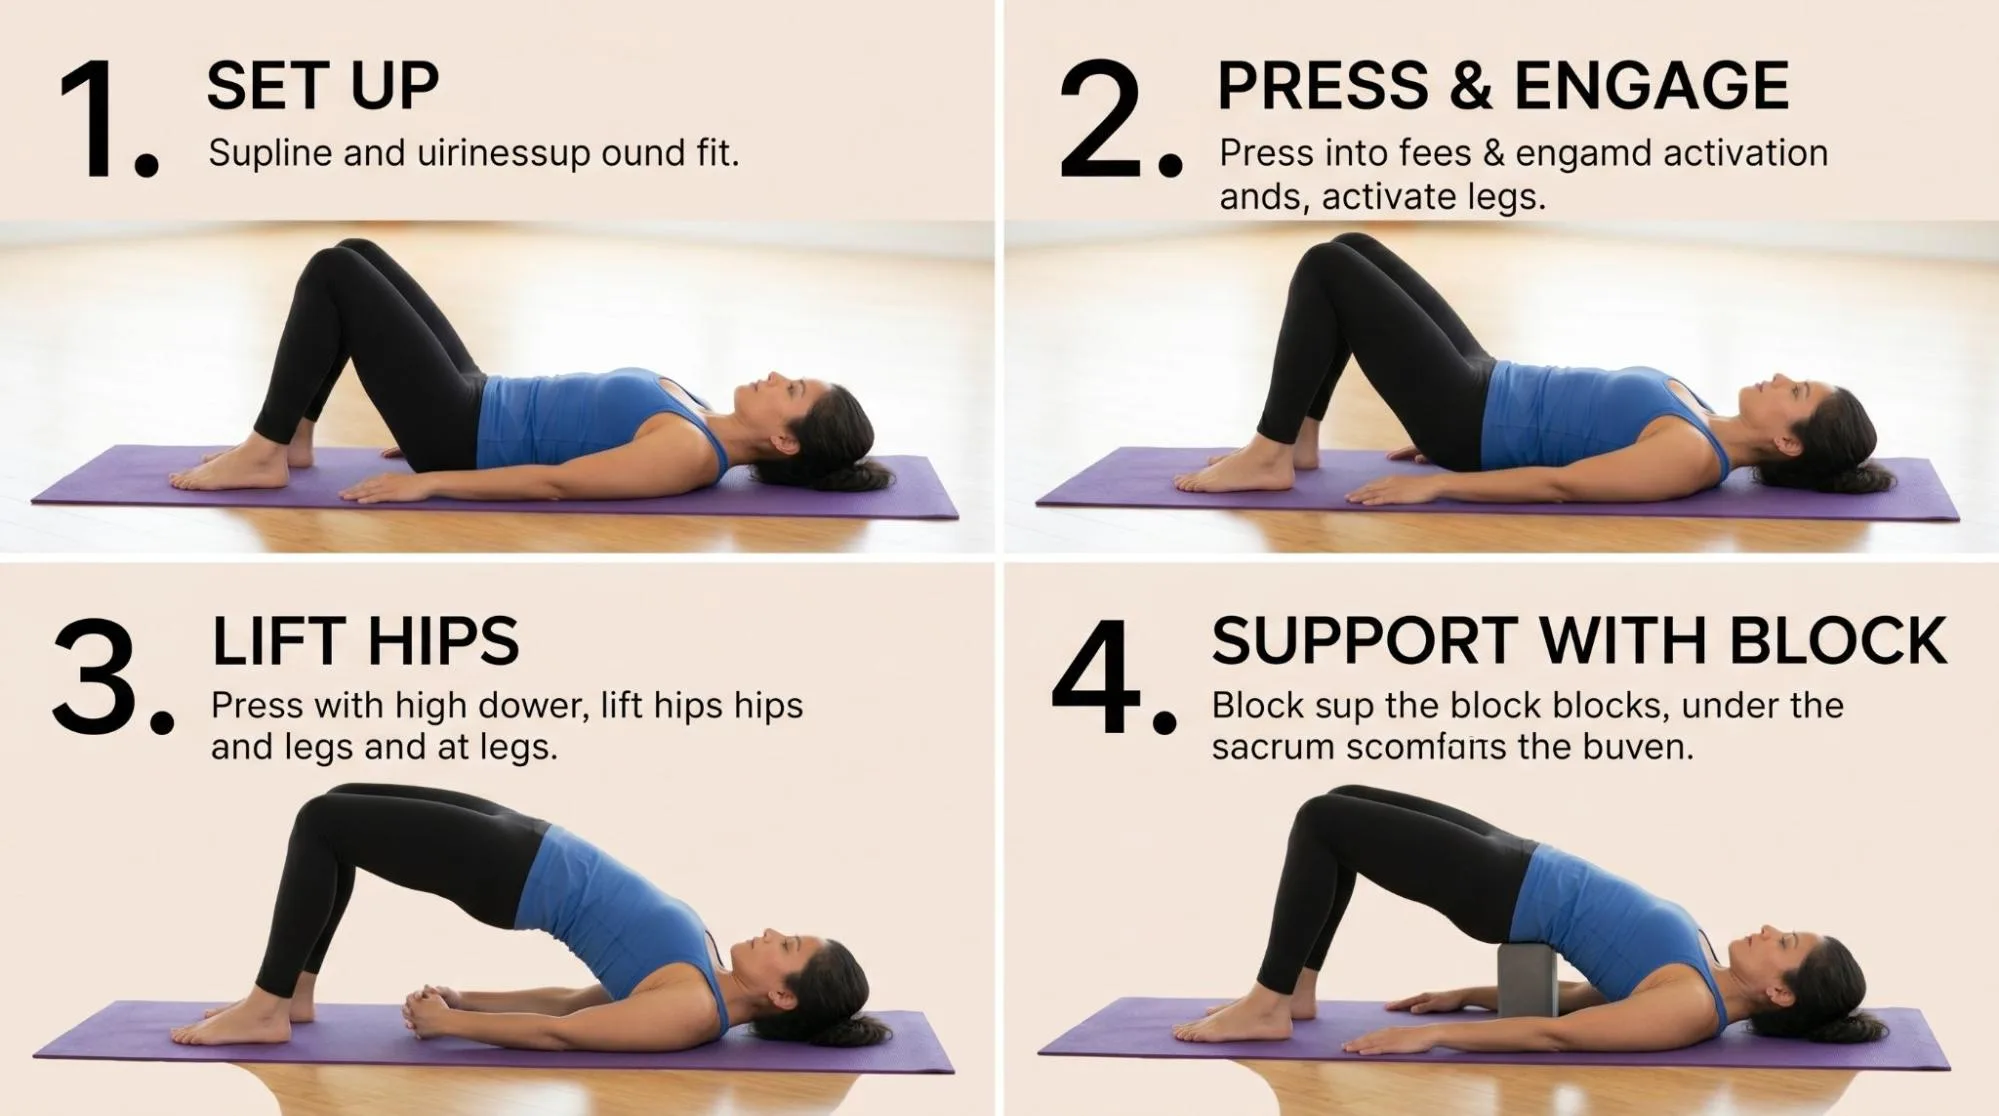
- Lie on your back on a yoga mat.
- Bend your knees and place your feet flat on the floor.
- Keep your feet hip width apart.
- Let your arms rest beside your body, palms face down or up.
- Press into your feet and lift your hips slowly.
- Slide the block under your sacrum.
- Lower your pelvis onto the block with care.
- Keep your knees pointing forward.
- Relax your shoulders, jaw, and belly.
- Breathe slowly for several rounds.
- To come out, press into your feet, lift your hips, remove the block, and lower down gently.
Stay aware of how the pose feels. You want support, not pinching or pressure.
Yoga Block Placement Options in Bridge Pose
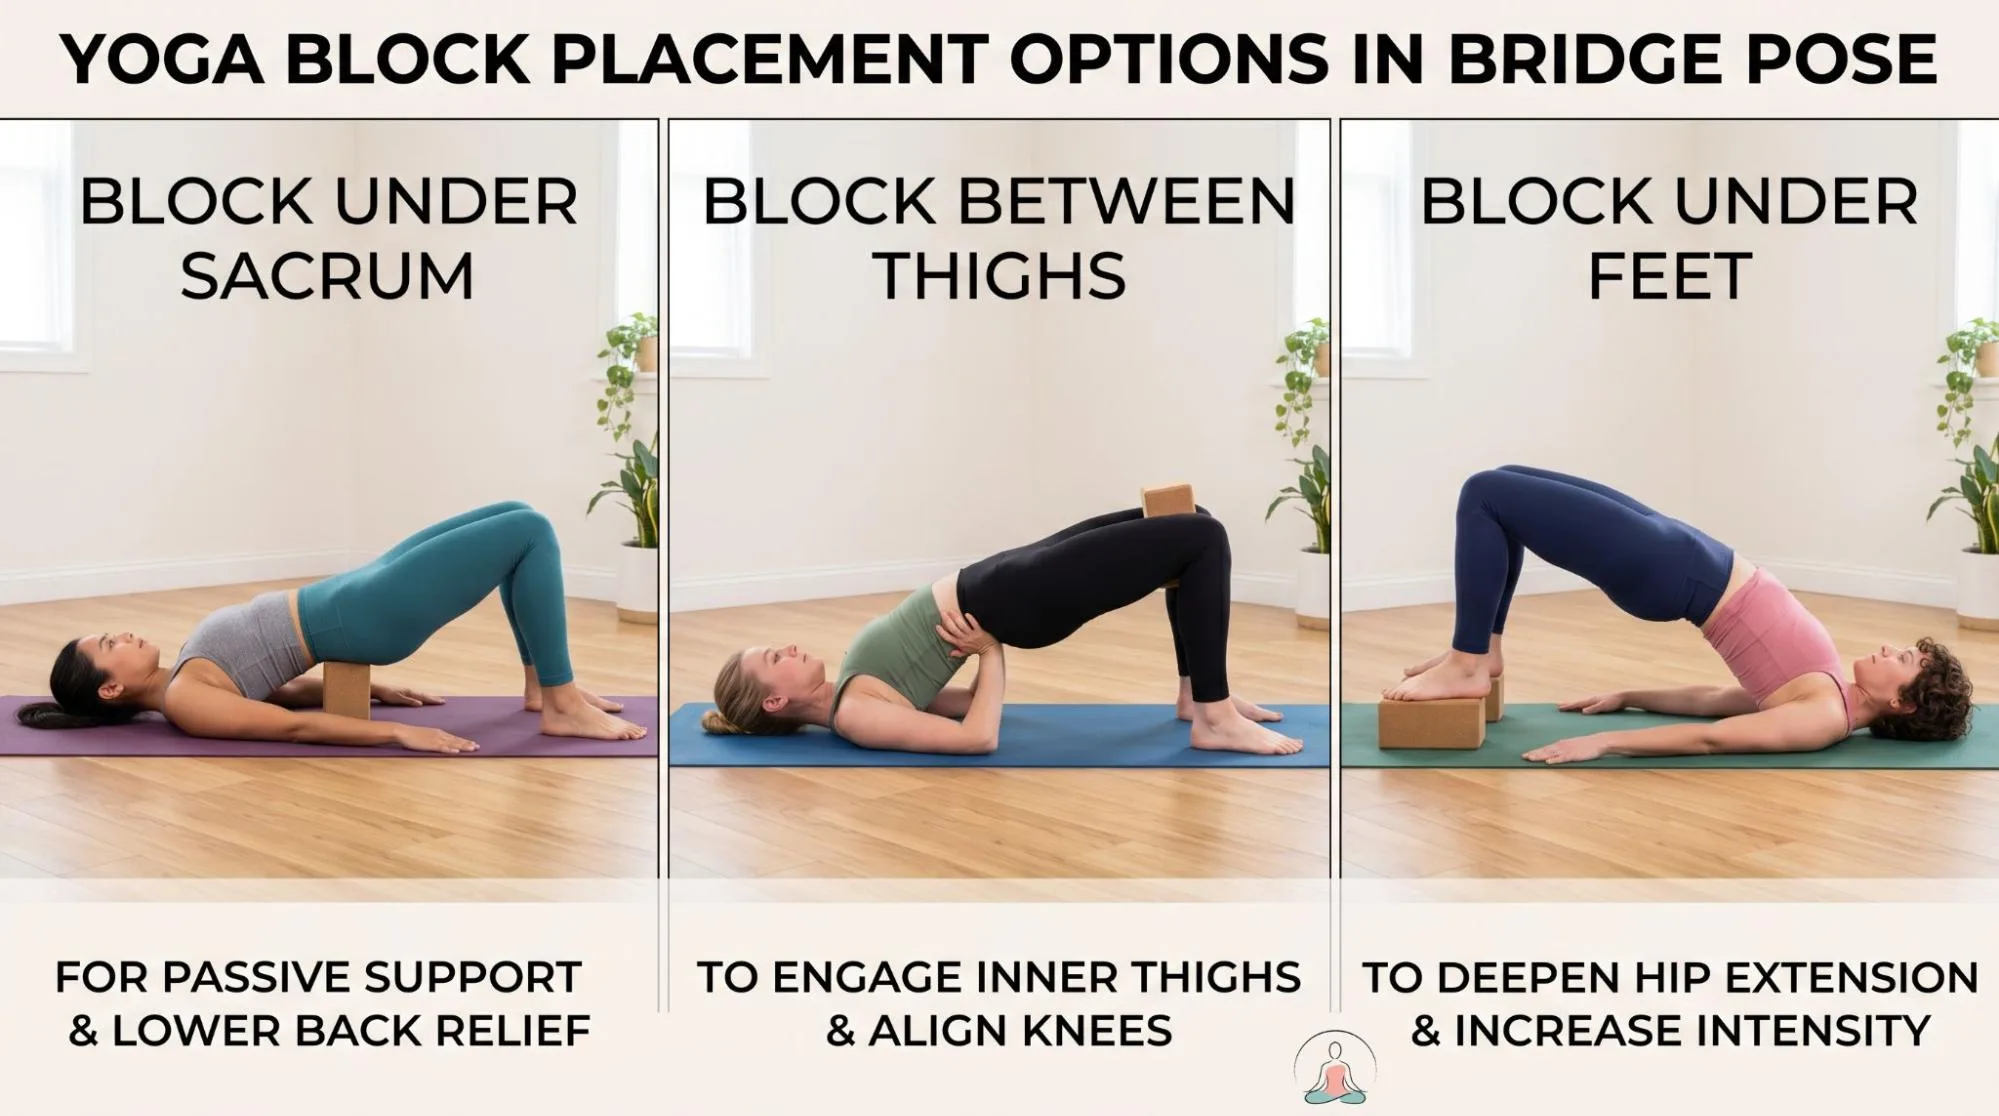
A block can be used in different ways depending on your goal.
Block Under the Sacrum
This is the classic restorative version. The block under your sacrum supports the pelvis and allows the spine to rest in a gentle backbend.
This placement is best for relaxation, lower back ease, chest opening, and breath awareness.
Block Between the Thighs
Placing a block between the thighs is more active. It helps keep the knees from falling outward and encourages inner thigh engagement.
This version is useful when practicing active Bridge Pose because it teaches alignment. Gently squeeze the block as you lift your hips.
Block Under the Feet
Putting a block under the feet changes the angle of the pose. It can increase the work in the legs and shift how the hips lift.
This variation is less common for restorative practice. Use it carefully and avoid it if it causes knee, ankle, or back discomfort.
Best Yoga Block Height for Supported Bridge Pose
Most yoga blocks have three height options: low, medium, and high. Start lower than you think you need.
Low Height
Low height is best for beginners, tight lower backs, and evening practice. It gives mild support without pushing the spine into a deep backbend.
This is usually the safest place to begin.
Medium Height
Medium height gives a stronger chest and hip flexor opening. It may feel good if you already practice yoga and your back feels comfortable in gentle backbends.
Stay here only if your breath remains smooth.
High Height
High height is intense. It creates a deeper lift and stronger front-body opening.
Many beginners do not need this version. If the pose feels sharp, compressed, or hard to breathe in, lower the block.
Learn More : Reclining Bound Angle Pose Benefits
Common Mistakes to Avoid
Supported Bridge Pose is simple, but small mistakes can make it uncomfortable.
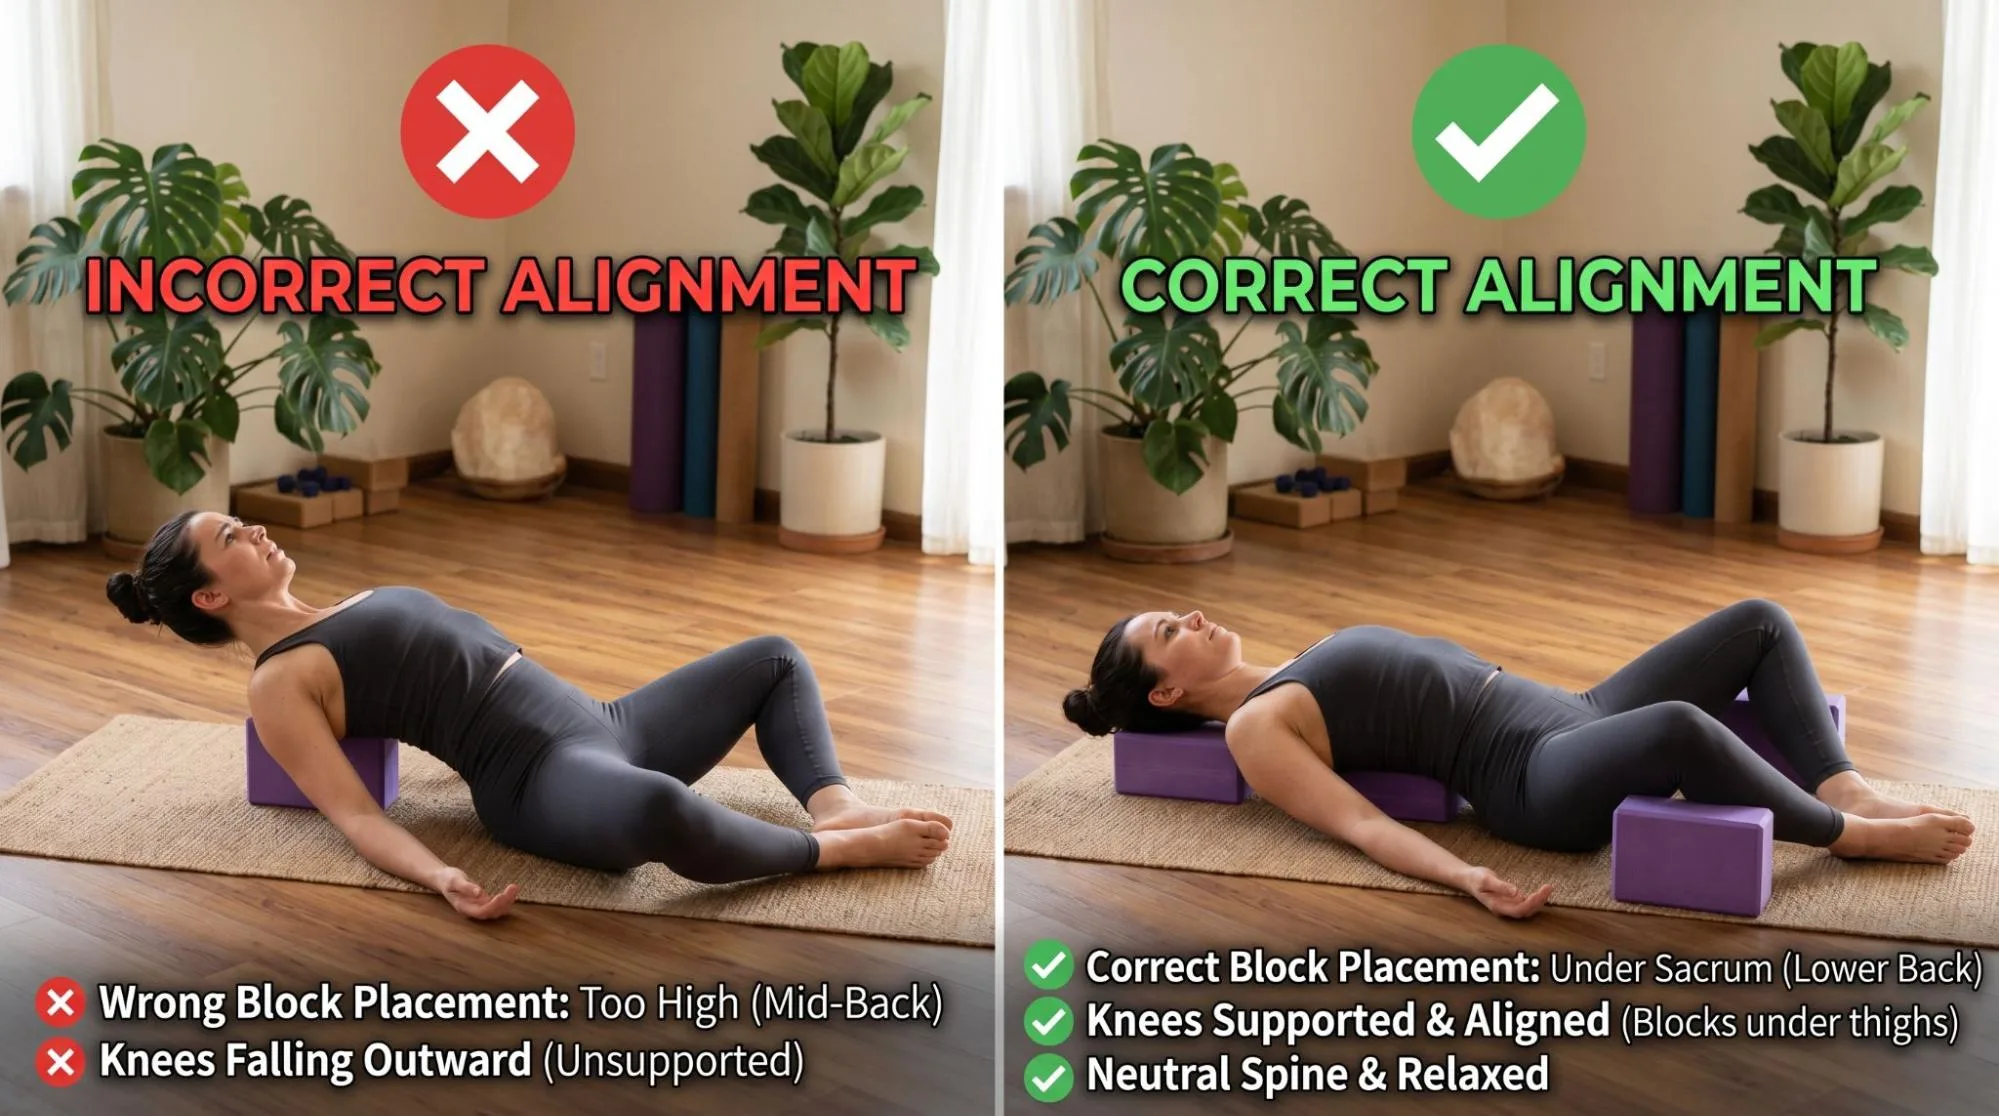
Placing the Block Too High on the Back
Do not place the block under the waist or lower ribs. That can press into the lumbar spine.
Place it under the sacrum instead.
Letting the Knees Fall Out
Keep your knees bent and pointing forward. If they fall out to the sides, your lower back and hips may feel strained.
You can place a second block between your thighs to help with alignment.
Using a Height That Is Too Intense
A higher block is not automatically better. The best height is the one where your body can relax.
If your breath becomes tight, use a lower height.
Turning the Head in the Pose
Avoid turning your head while your hips are lifted. The neck is in a vulnerable position.
Keep your gaze upward and your head centered.
Holding the Pose Too Long
More is not always better. If your back starts to feel compressed or your legs become numb or uncomfortable, come out.
A shorter, comfortable hold is better than forcing a long one.
Safety Tips for Using a Yoga Block in Bridge Pose
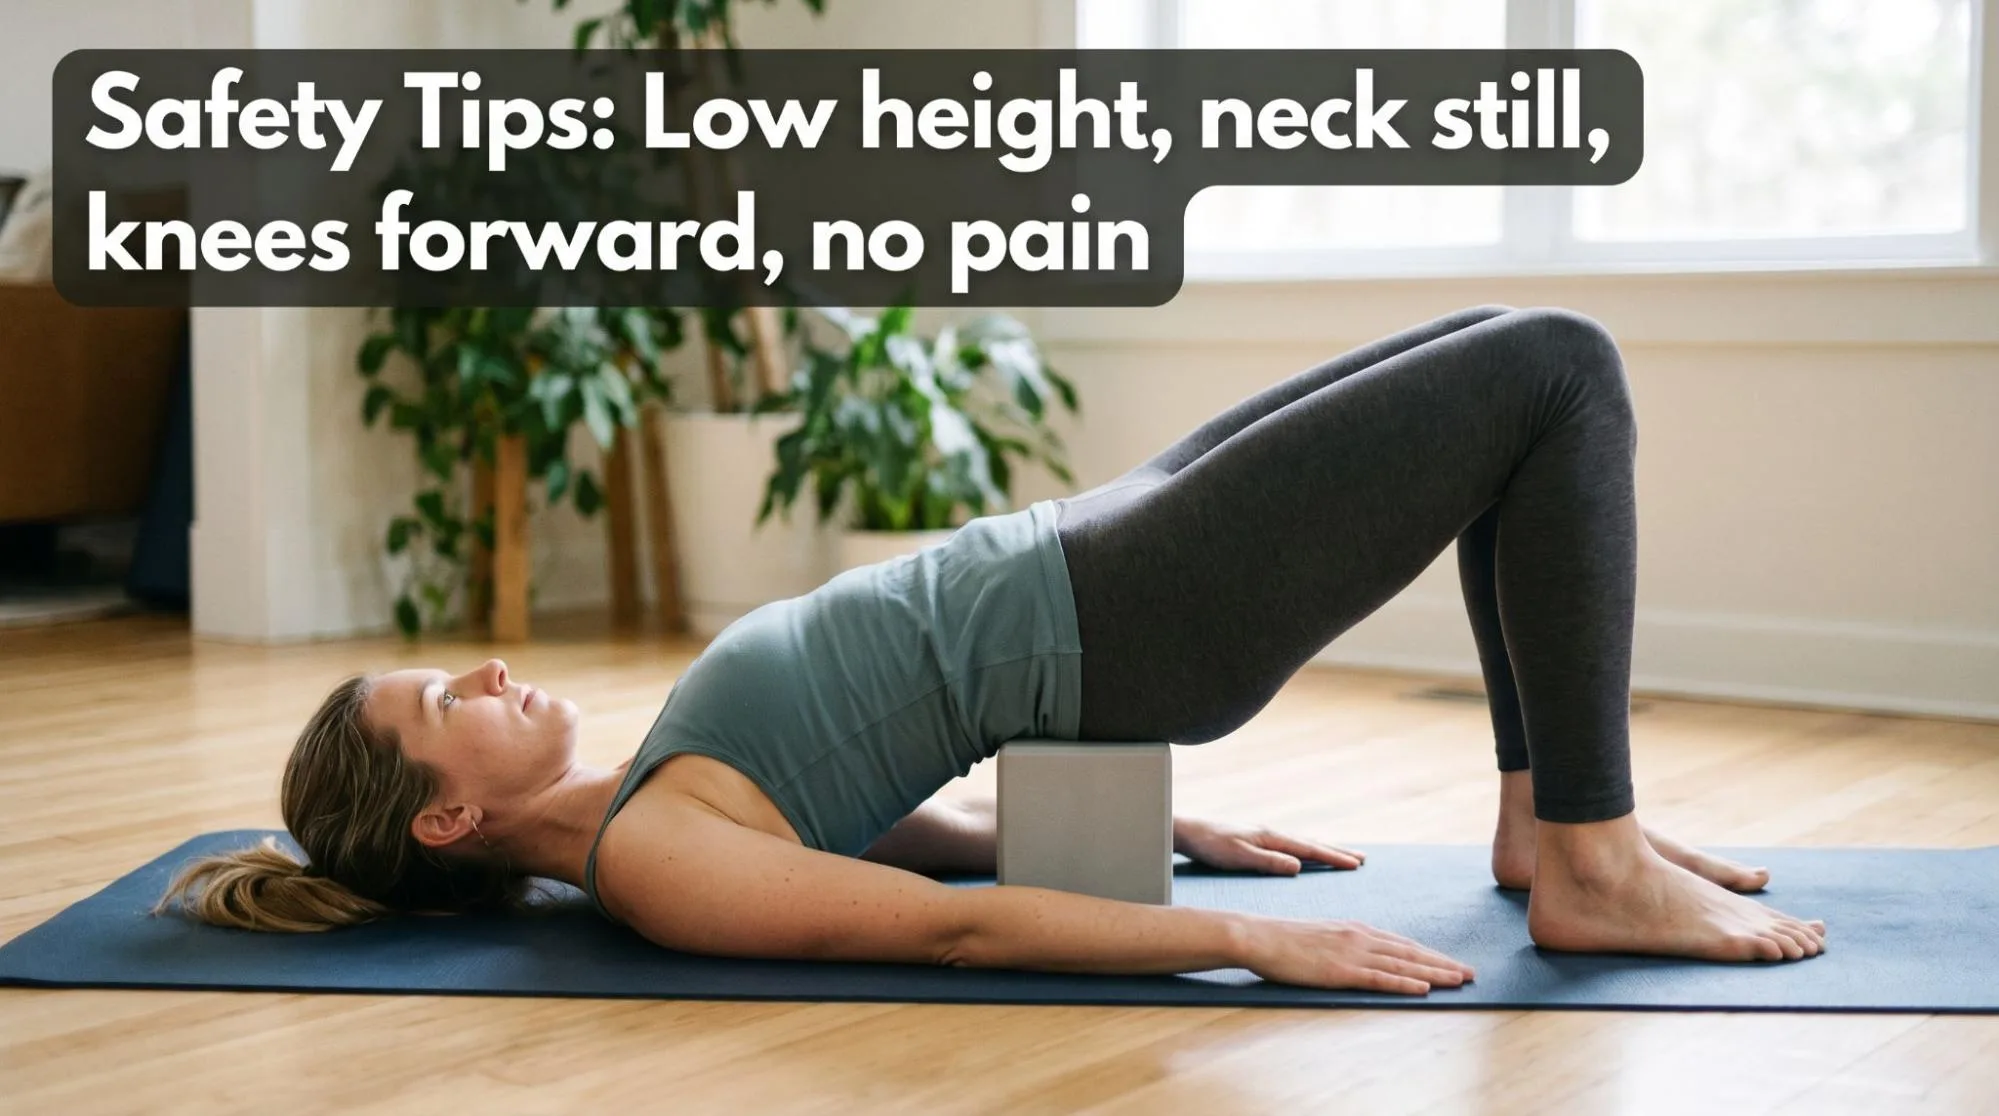
Practice slowly and listen to your body. Supported Bridge Pose should feel spacious, not painful.
Helpful safety tips:
- Start with the block on the lowest height
- Keep feet flat and hip width apart
- Keep your knees bent and steady
- Avoid pressure in the lower back
- Come out slowly
- Do not force the chest or hips higher
- Stop if you feel sharp pain, dizziness, or numbness
If you have a serious back, neck, hip, or blood pressure condition, ask a qualified yoga teacher or healthcare professional before trying it.
Who Should Be Careful with Supported Bridge Pose?
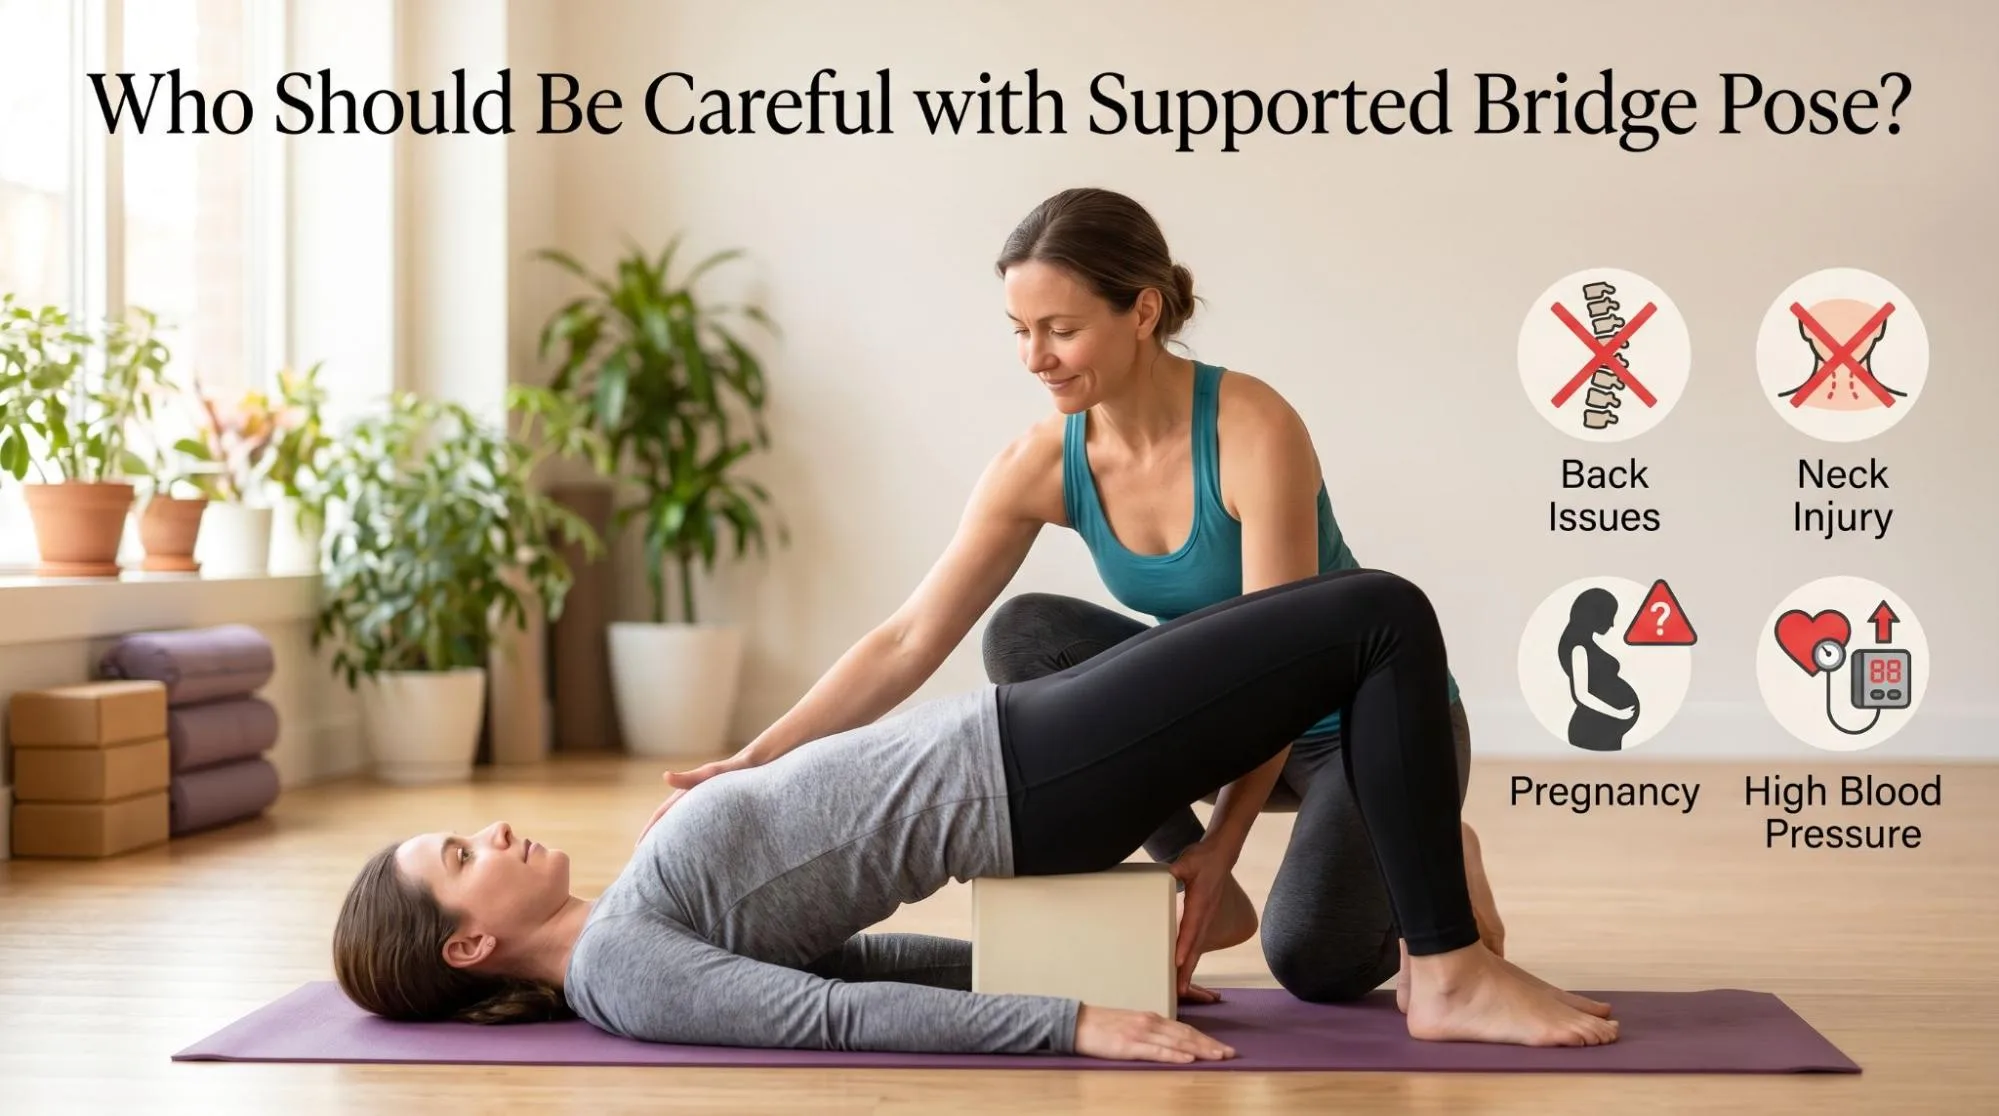
Be careful with Supported Bridge Pose if you have:
- Recent back injury
- Neck pain or cervical spine issues
- Hip pain
- Shoulder discomfort
- Severe osteoporosis
- Uncontrolled high blood pressure
- Recent abdominal surgery
- Pregnancy, unless guided by a trained prenatal yoga teacher
This does not mean everyone in these groups must avoid the pose. It simply means support and guidance matter.
Best Time to Practice Supported Bridge Pose
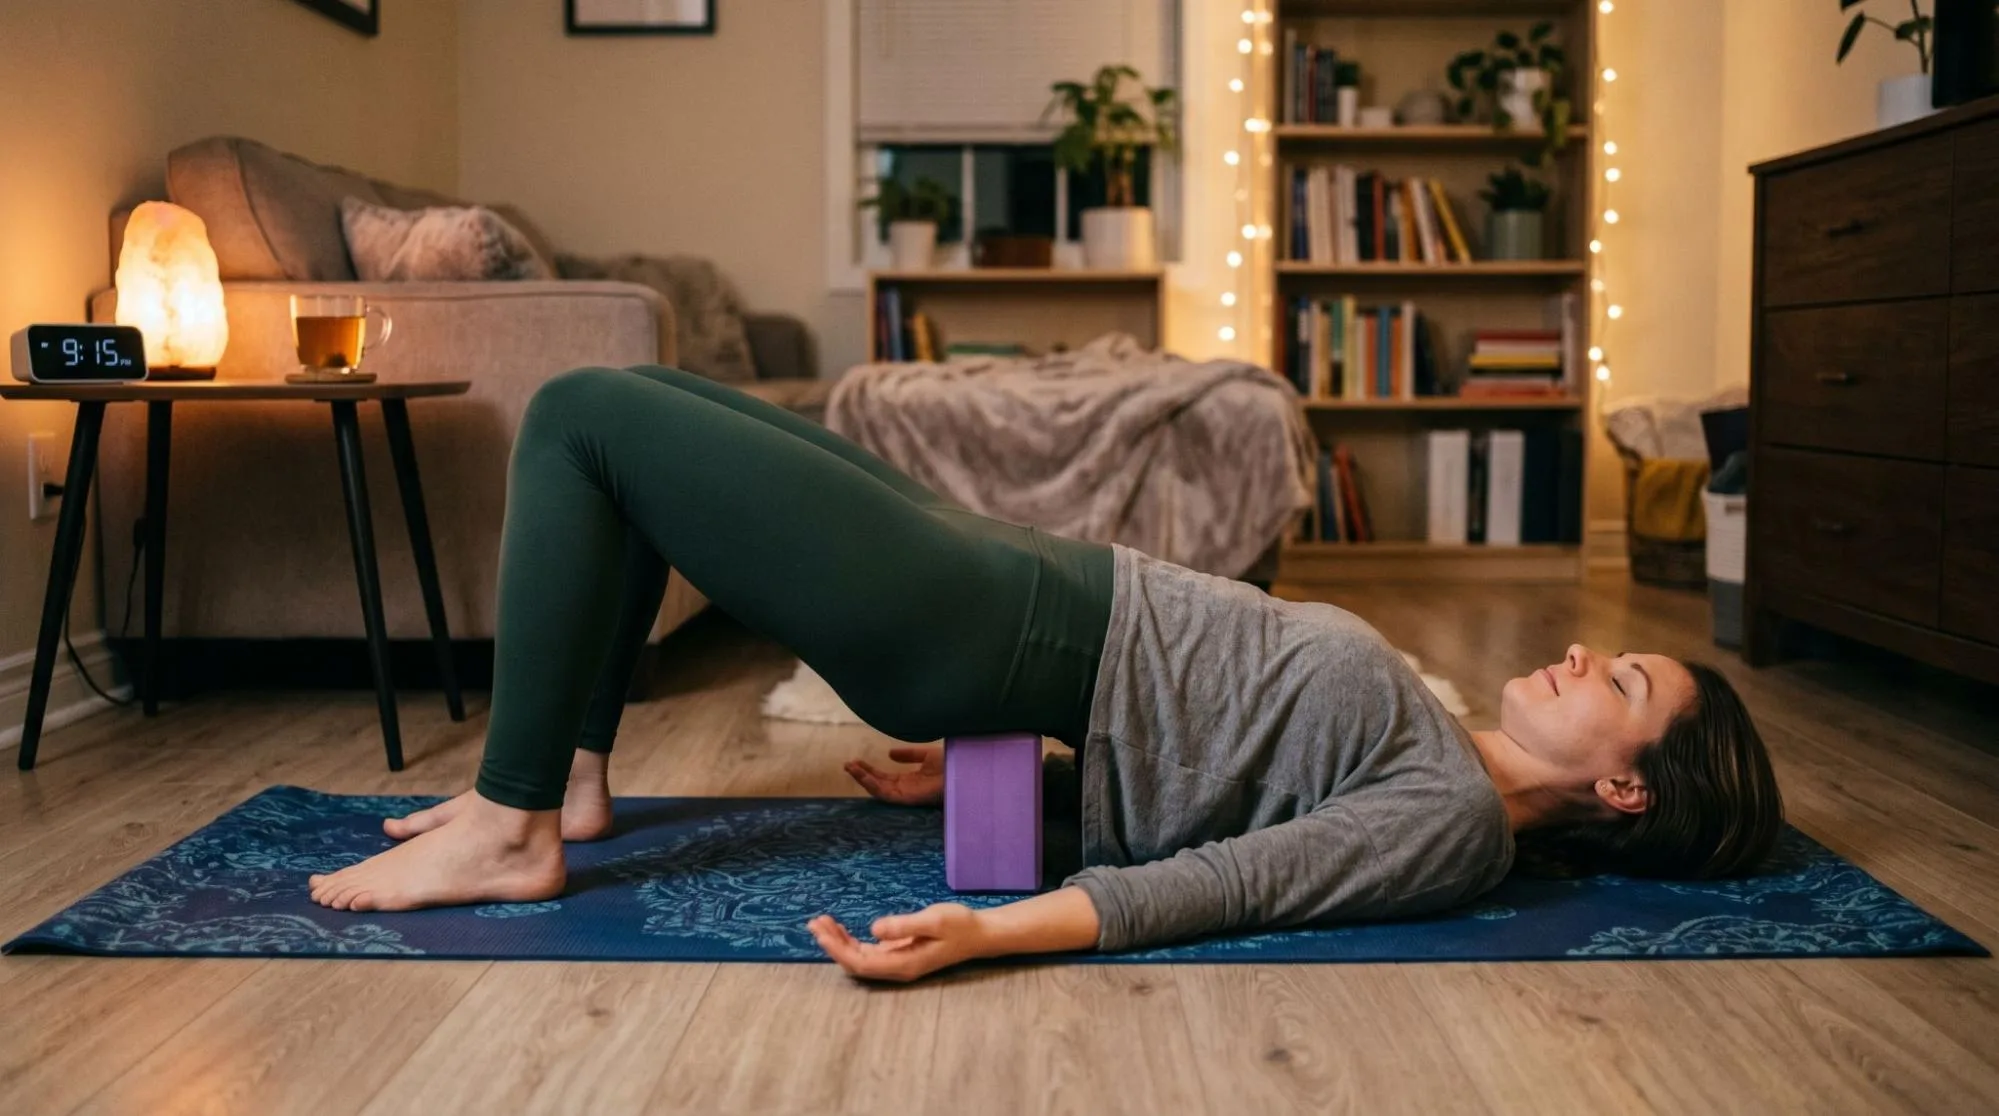
You can practice it almost any time, but it often feels best:
- After long sitting
- After walking or standing all day
- During a restorative yoga session
- Before sleep
- After gentle warm-up movements
- When your body feels tight but tired
Avoid going straight into a high block version when your body is cold.
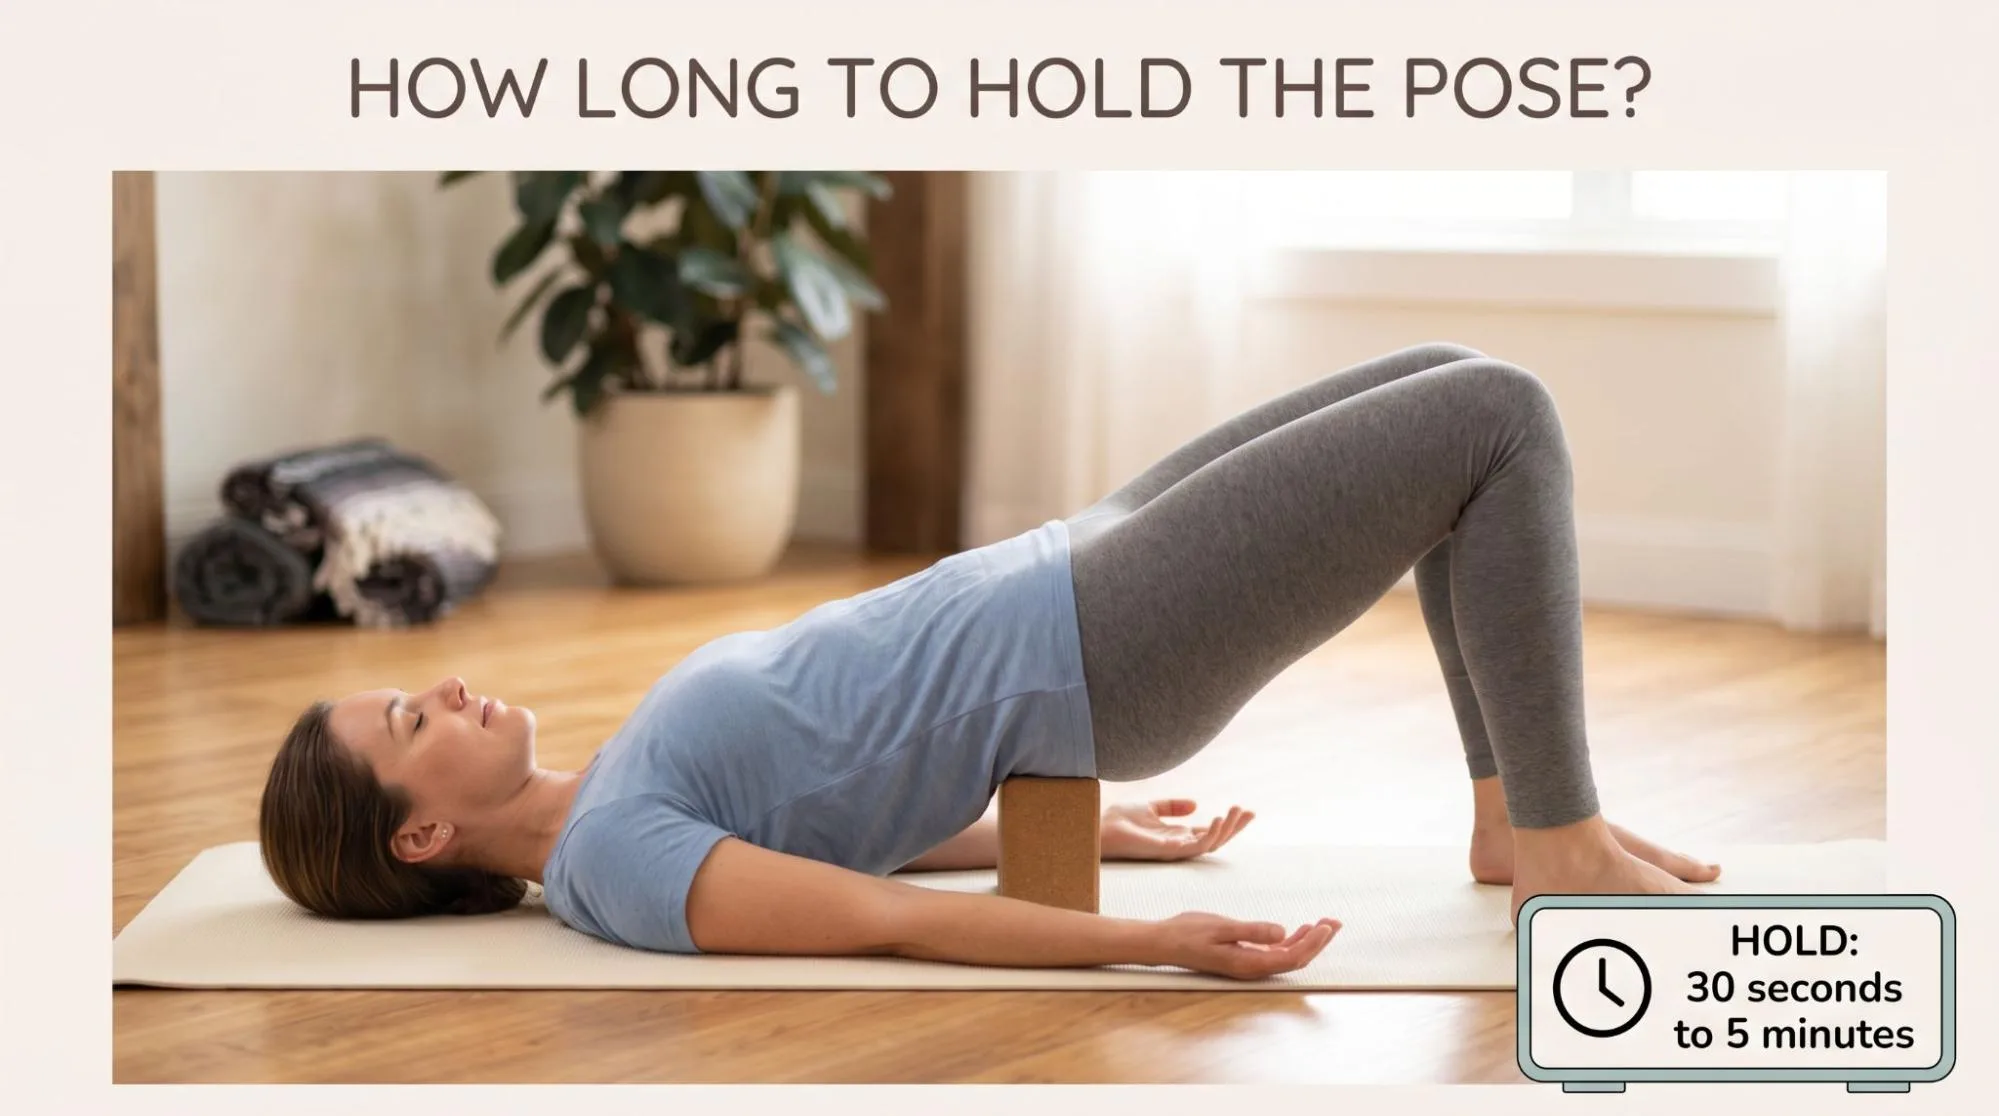
How Long Should You Hold the Pose?
For beginners, 30 seconds to 1 minute is enough.
With experience, you may stay for 2 to 5 minutes if the pose feels comfortable and your breath stays easy.
Come out earlier if you feel pressure, tingling, dizziness, or discomfort.
Simple Restorative Yoga Sequence with Supported Bridge Pose
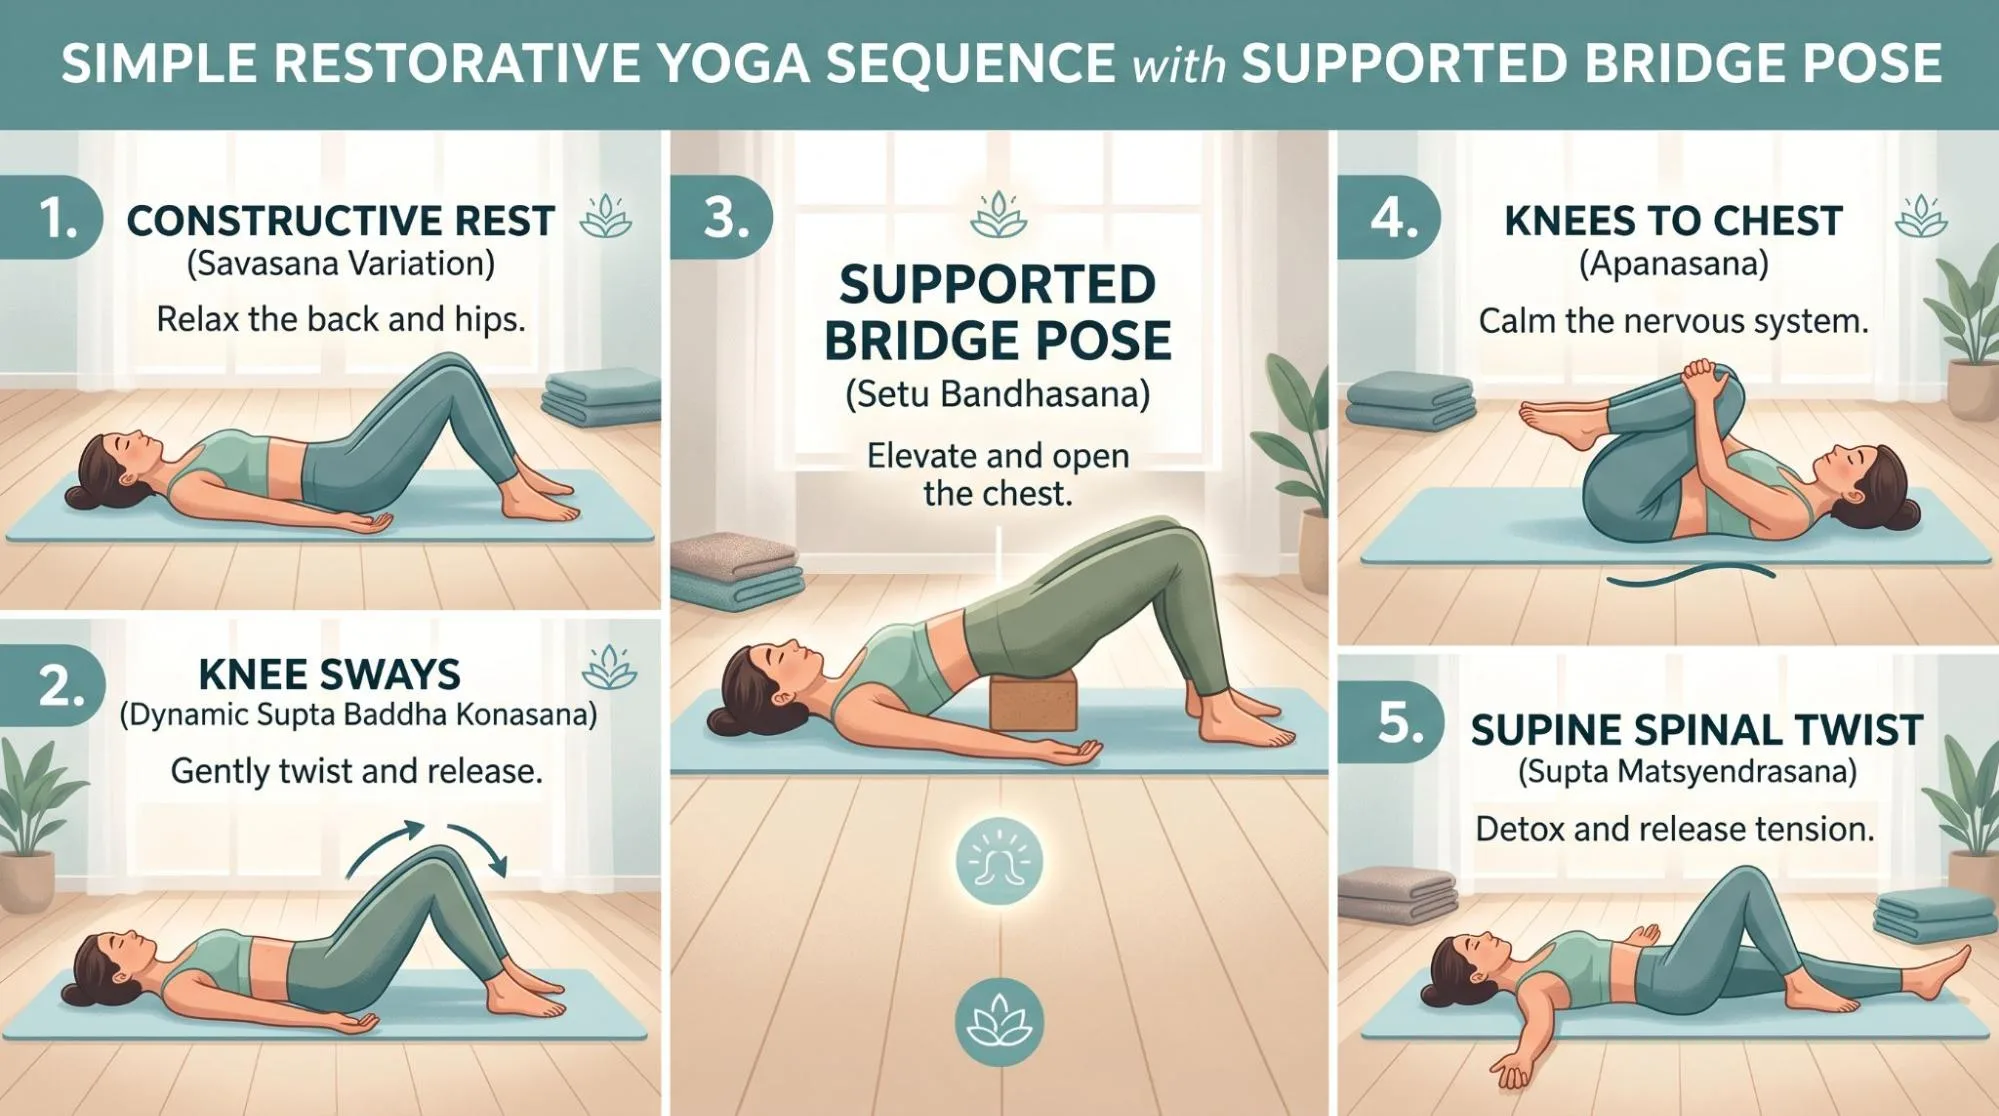
Here is a short sequence you can try:
- Constructive Rest — Lie on your back with knees bent and feet flat for 1 minute.
- Gentle Knee Sways — Move knees side to side slowly for 6 to 8 rounds.
- Supported Bridge Pose — Place the block under your sacrum and rest for 1 to 3 minutes.
- Knees to Chest — Remove the block and hug knees in gently.
- Supine Twist — Let knees fall to each side for a soft twist.
- Rest — Lie still for 1 to 2 minutes.
Keep it simple. Restorative yoga works because it gives the body time to settle.
Frequently Asked Questions
Is Supported Bridge Pose With Block Benefits Good for Lower Back Pain?
It can be helpful for mild lower back tension when the block is placed correctly under the sacrum. Avoid it if you feel sharp pain, pinching, or pressure in the lower back.
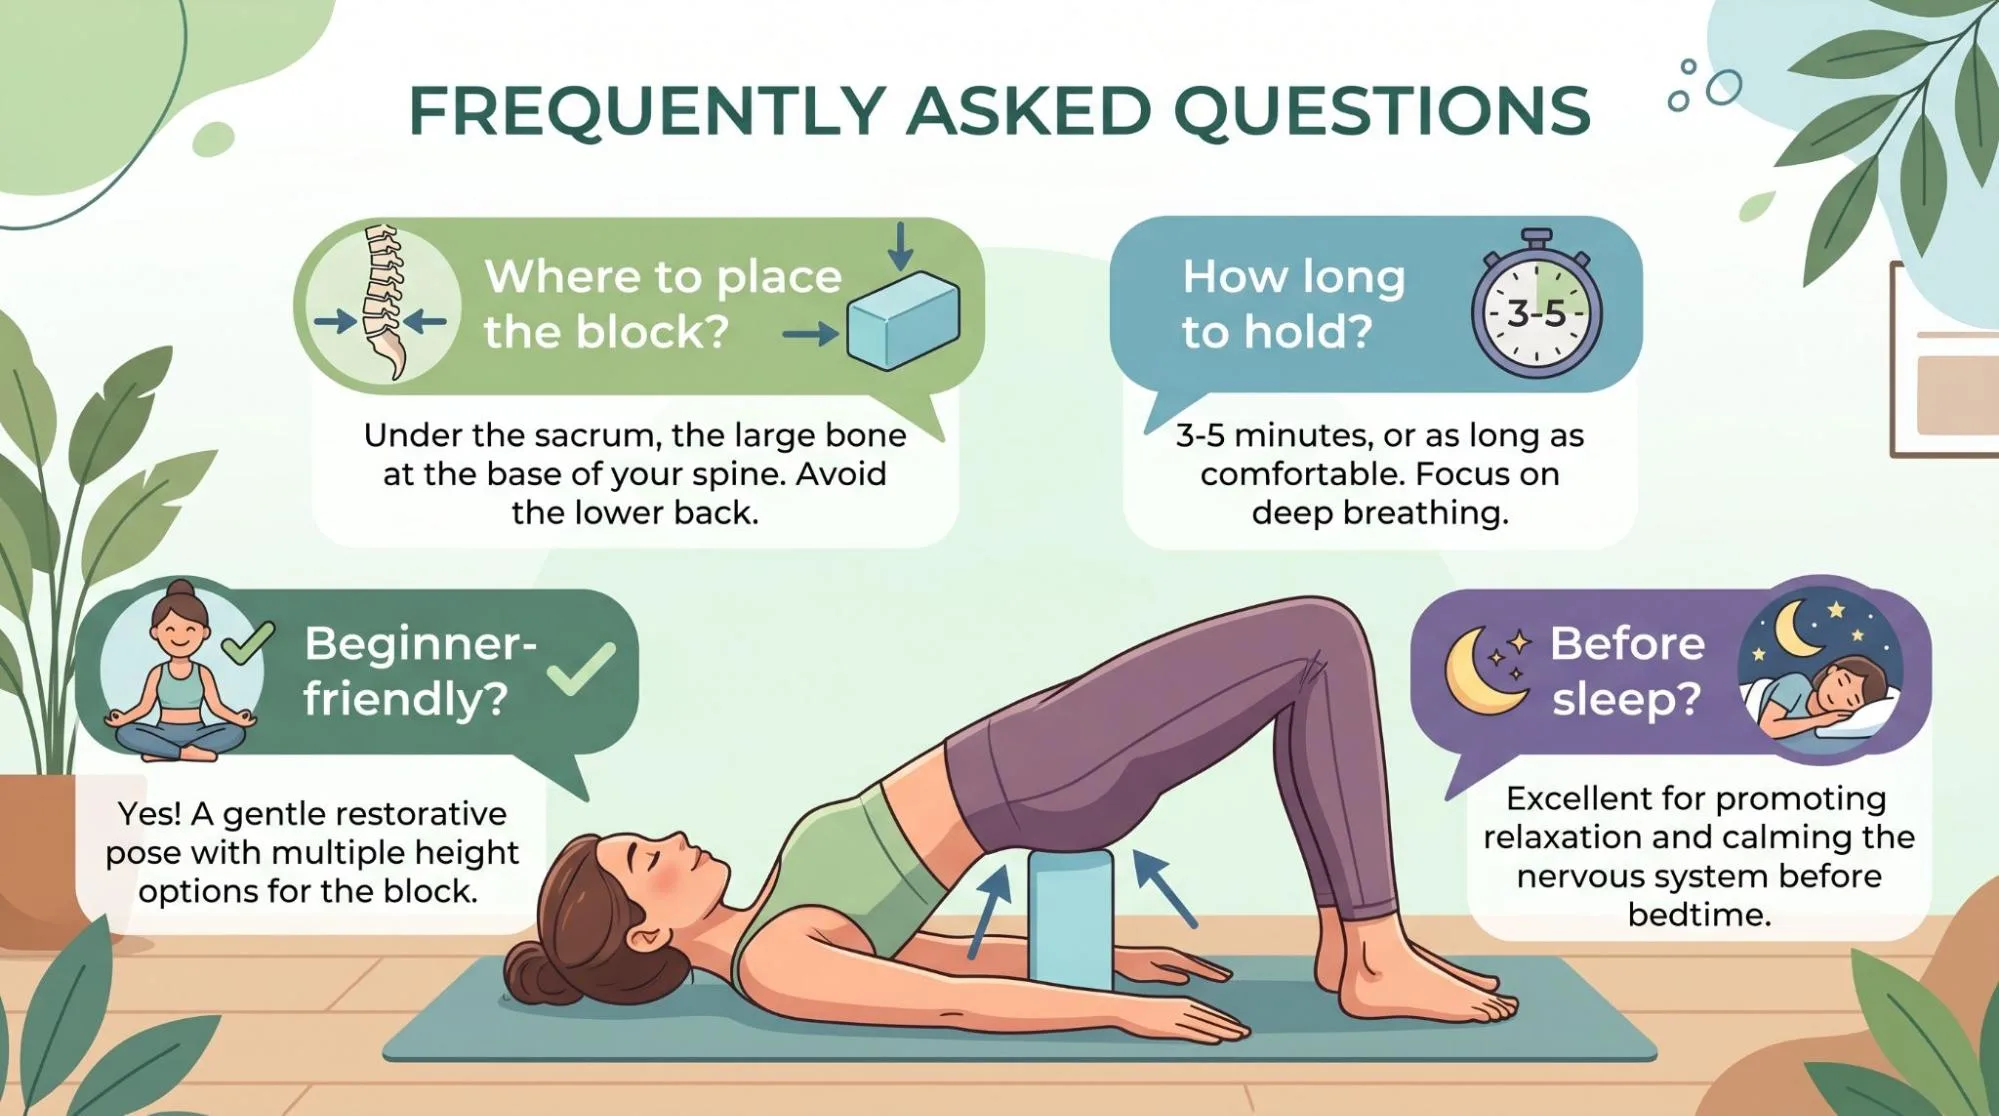
Where should I place the yoga block in Bridge Pose?
Place the block under your sacrum, not under the soft curve of your lower back. The sacrum is the firm, broad area at the base of the spine.
Is Supported Bridge Pose good for beginners?
Yes, Supported Bridge Pose is beginner-friendly when practiced on the low block height. It gives support and reduces the effort needed to hold the pose.
How long should I stay in Supported Bridge Pose?
Start with 30 seconds to 1 minute. If it feels comfortable, you can slowly build up to 2 to 5 minutes.
What does a yoga block under the sacrum do?
A block under the sacrum supports the pelvis, gently lifts the hips, opens the front body, and may help the lower back feel more spacious.
Can I use Supported Bridge Pose before sleep?
Yes, many people use it before sleep because it encourages slower breathing and relaxation. Keep the block low and the pose gentle.
Should I use the high side of the block?
Only use the high side if you already feel comfortable in backbends. Beginners usually do better with the low or medium height.
Can Supported Bridge Pose improve posture?
It can support better posture by opening the chest, shoulders, hip flexors, and front body. For lasting posture improvement, combine it with strength work and daily movement.
What is the difference between active Bridge Pose and Supported Bridge Pose?
Active Bridge Pose uses muscle strength to lift your hips. Supported Bridge Pose uses a block to hold the pelvis, making the pose more restful and restorative.
Can I place the block between my thighs in Bridge Pose?
Yes. Placing a block between your thighs can help keep the knees aligned and activate the inner thighs. This is usually used in active Bridge Pose rather than the fully supported version.
Learn More : Supine Spinal Twist Benefits Explained
Final Thoughts
Supported Bridge Pose with a block is a small practice with a surprisingly big effect. It can ease lower back tension, open tight hip flexors, soften the chest, support better breathing, and help the nervous system settle.
Start low. Keep your feet flat. Let the block support your sacrum, not your lower back. And remember, the best version of the pose is not the deepest one. It is the one where your body can breathe, release, and feel safe.
Frequently Asked Questions
Where should the block go in Supported Bridge Pose?
Place it beneath the broad back of the pelvis, not directly under the lower back. Start with the lowest height and adjust only if the position remains comfortable.
How long can beginners hold Supported Bridge Pose?
Begin with one to three minutes of relaxed breathing. Come out slowly and stop sooner if you feel strain or discomfort.
Can this pose replace treatment for back pain?
No. It can be a gentle restorative exercise for some people, but persistent or severe symptoms should be assessed by a qualified professional.
