
What is Plow Pose (Halasana)?
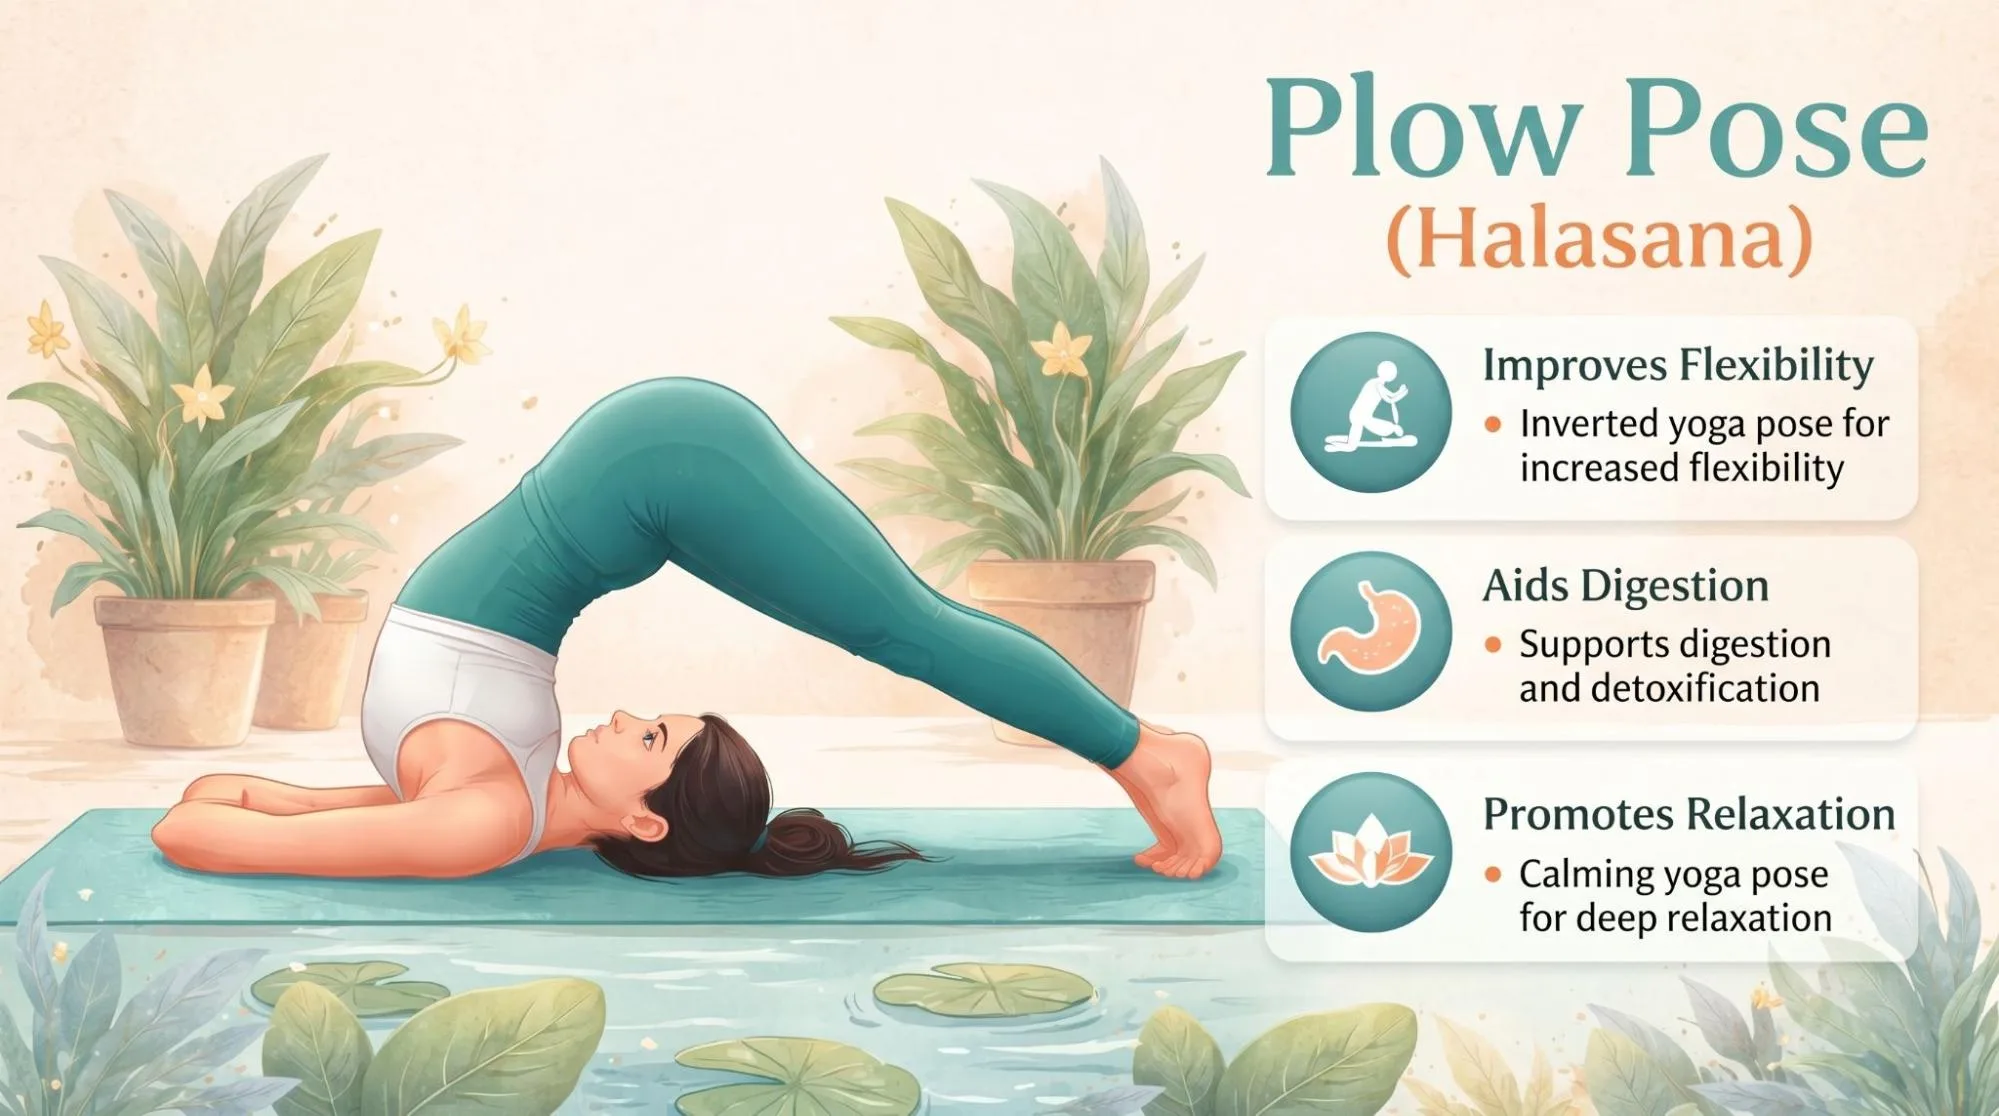
The Plow Pose, known as Halasana in yoga, is a deep stretching posture where the legs move over the head while the shoulders and upper back stay grounded. It is considered an inverted pose because the hips lift above the heart.
This pose is often practiced near the end of a yoga session because it encourages the body to slow down and relax. While it may look advanced at first, many people can safely practice Plow Pose with small adjustments and proper support.
Halasana stretches the spine, shoulders, and hamstrings while also gently compressing the abdominal area. Many yoga practitioners describe it as both energizing and deeply relaxing at the same time.
Why is Plow Pose Called “Halasana”?
The word “Halasana” comes from the Sanskrit word hala, which means “plow.” A plow is a traditional farming tool used to prepare the soil for planting.
In the pose, the body shape resembles a curved plow, especially when the legs move over the head and the spine rounds naturally. Ancient yoga traditions often named poses after shapes found in nature, animals, or everyday life.
Key Benefits of Practicing Plow Pose (Halasana)
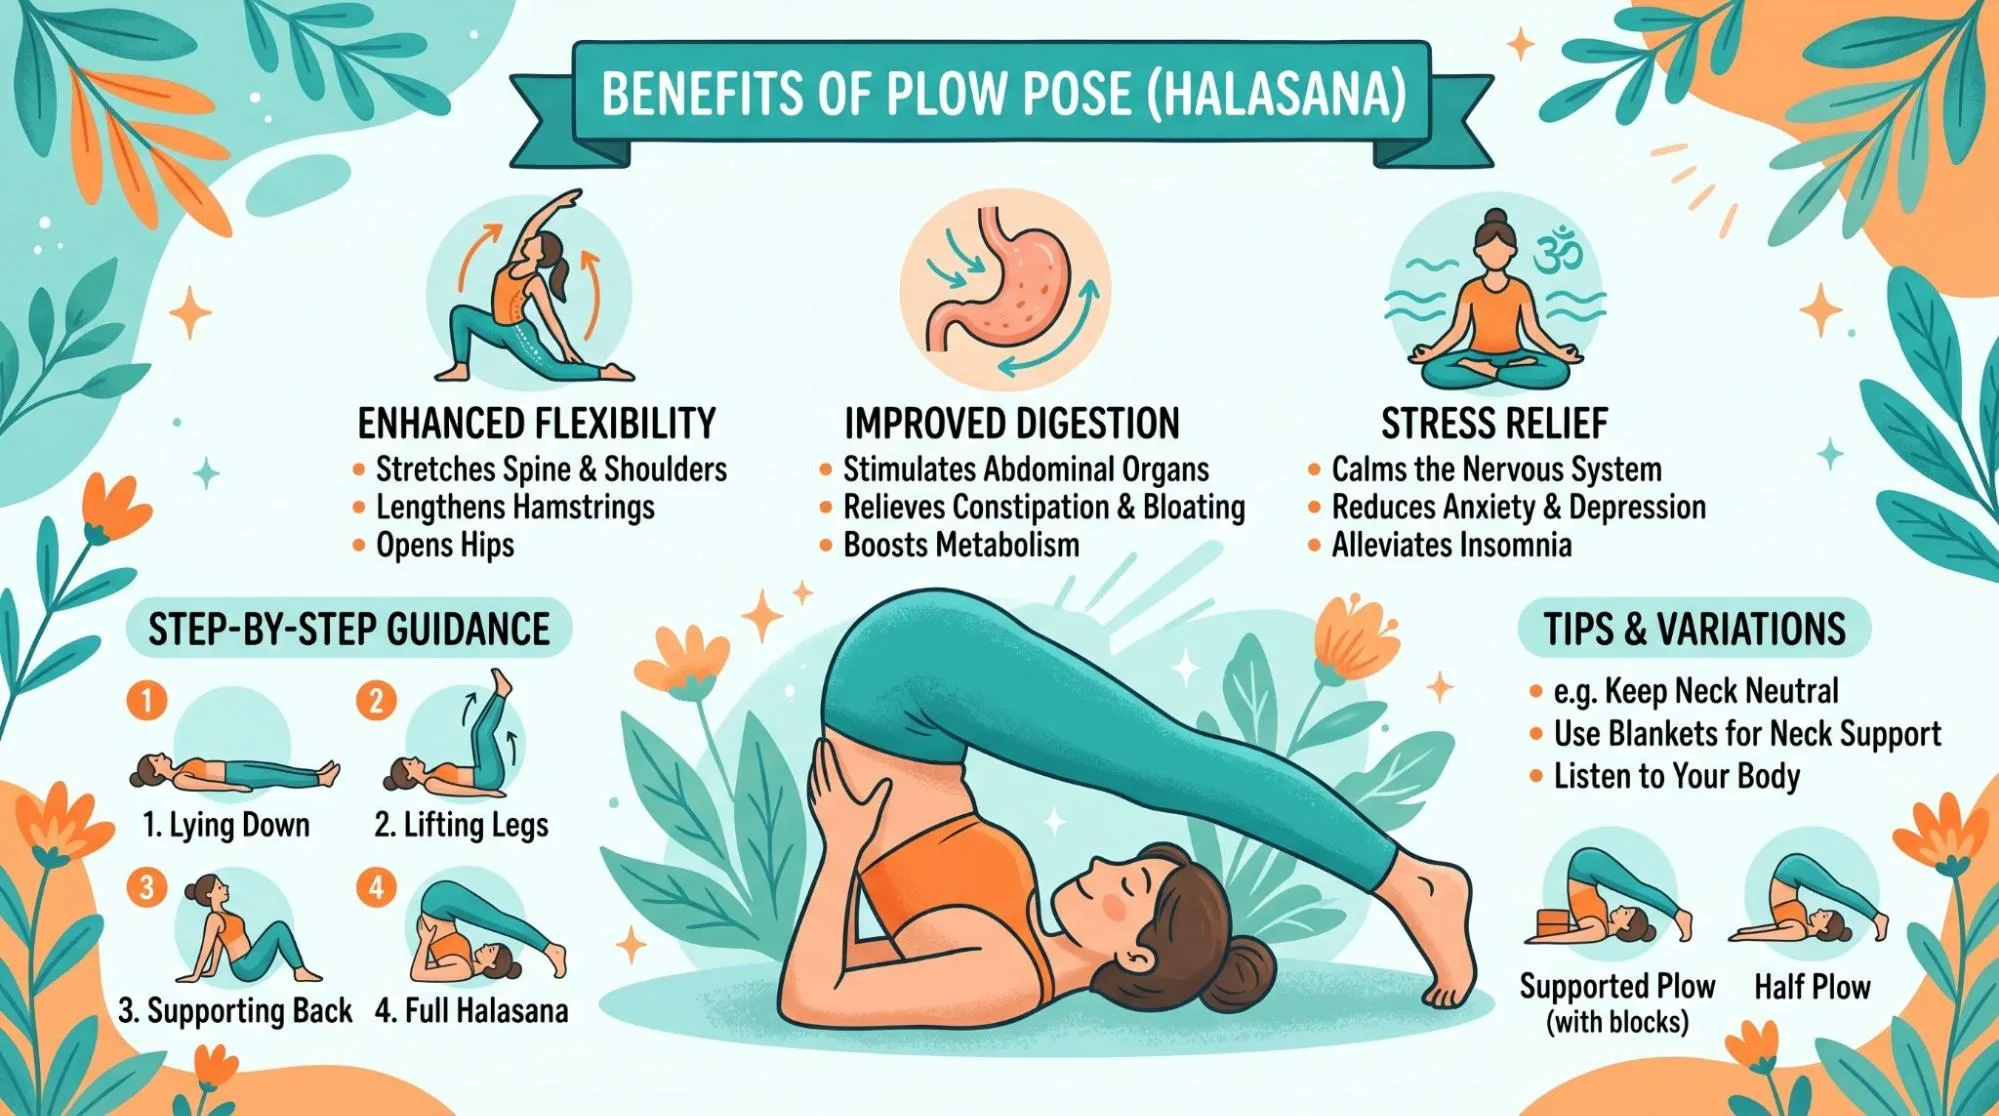
Plow Pose is beneficial in numerous ways to your body and the mind. The following are the key factors why practicing Halasana can be a game-changer in your yoga practice:
Learn More : this inversion Halasana Step by Step Guide
Improves Flexibility
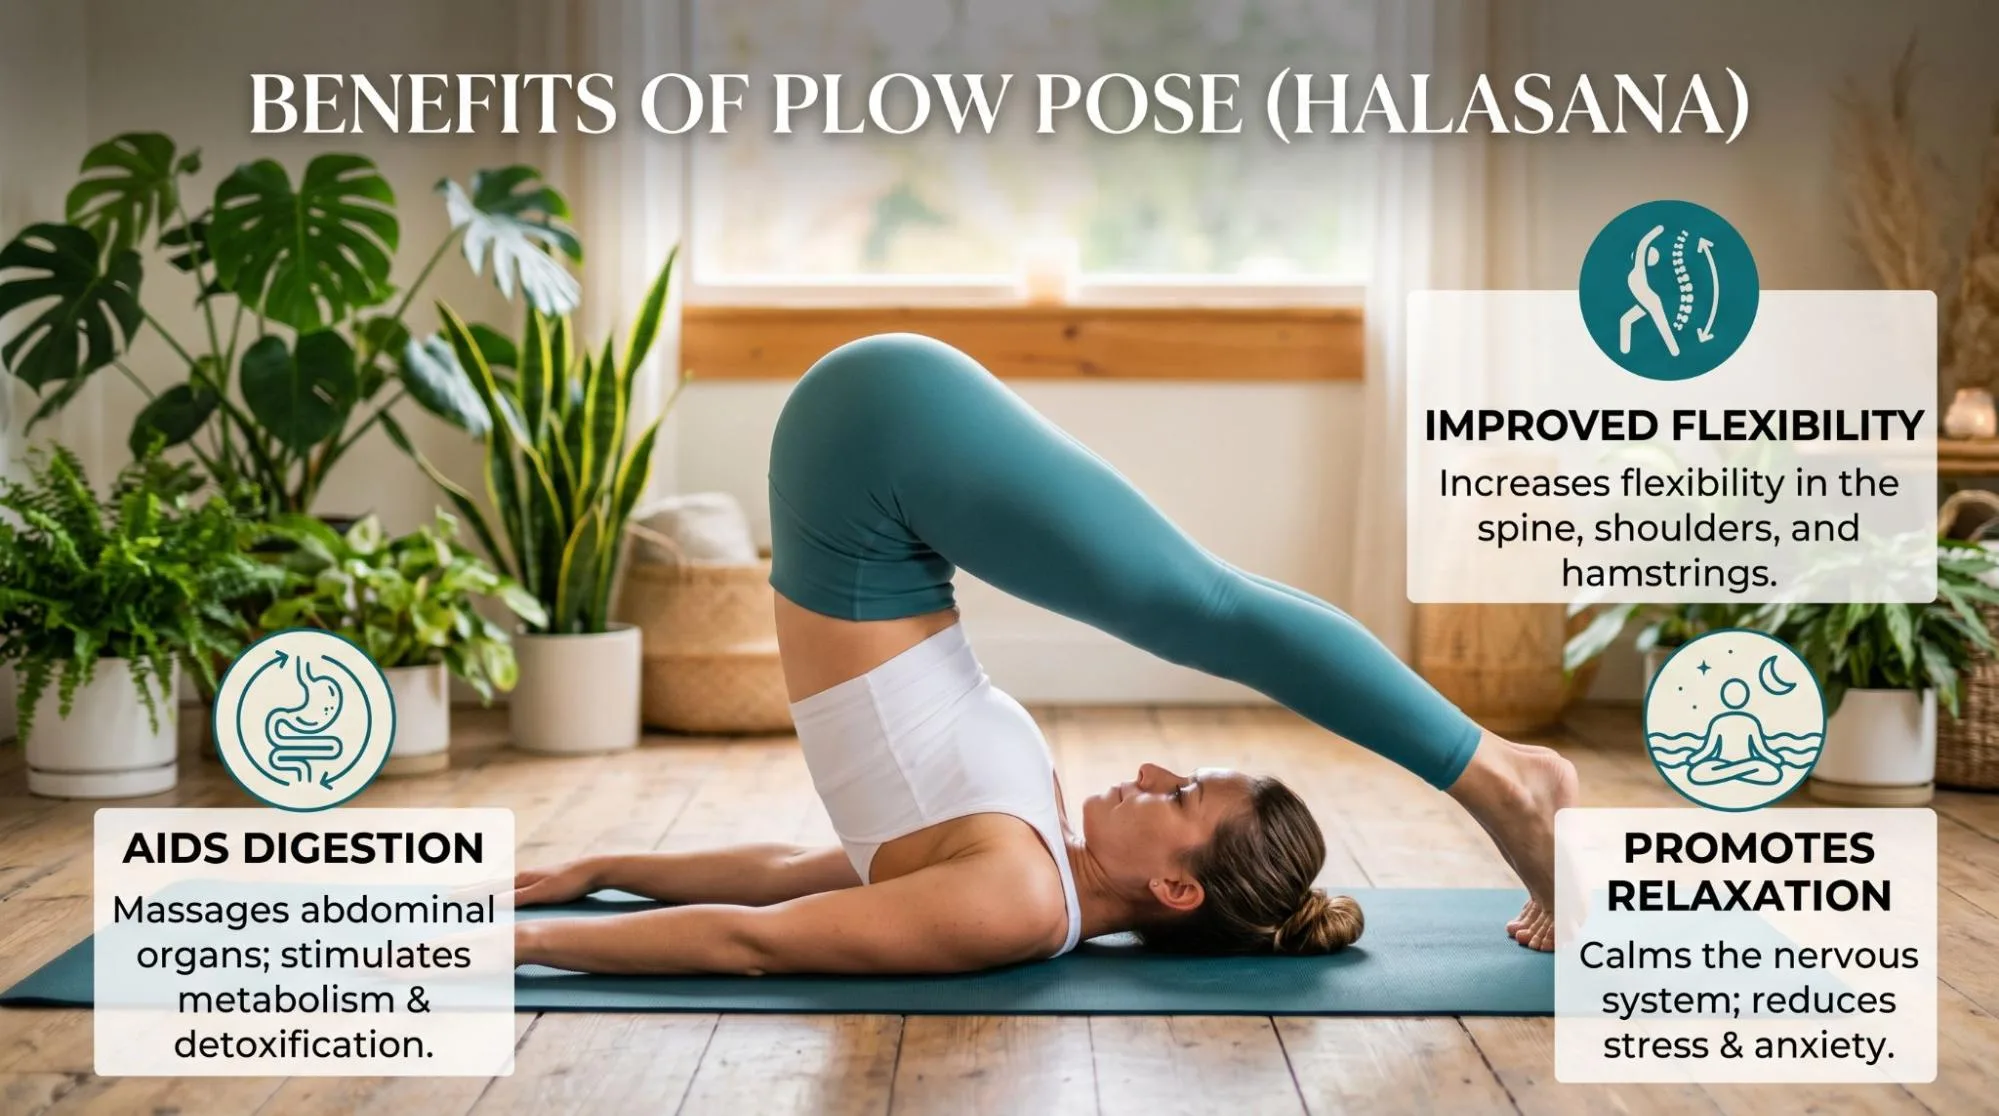
One of the biggest reasons people practice this inversion is to improve flexibility through the spine and back body.
As you slowly roll into the posture, the muscles along the spine lengthen while the shoulders and hamstrings stretch deeply. With regular practice, many people notice better mobility in areas that often feel tight from sitting for long hours.
this inversion may help:
- Stretch the shoulders and upper back
- Improve spinal mobility
- Lengthen the hamstrings
- Reduce stiffness in the hips
The key is to move slowly rather than forcing the body into the deepest version of the pose.
Aids Digestion
The gentle compression around the abdomen during halasana may support digestion and circulation in the digestive organs.
Some yoga teachers include this pose in calming evening routines because it can help reduce bloating and encourage smoother digestion after long periods of inactivity.
Deep breathing during the pose also helps relax the nervous system, which may indirectly support digestive health.
Promotes Mental Calmness and Stress Relief
this inversion has a naturally inward and quiet feeling. Since the body folds inward and the gaze stays soft, many people find it mentally calming.
Slow breathing in the pose may help:
- Reduce mental restlessness
- Ease stress and tension
- Encourage relaxation before sleep
- Create a deep relaxing effect on the nervous system
Many restorative yoga classes include similar inverted poses because they encourage stillness and slower breathing.
Strengthens Core Muscles
Although this inversion is often known for flexibility, it also requires core control.
To safely lift your hips and bring the legs over your head, the abdominal muscles must stay active. The core helps protect the lower back and keeps the movement controlled instead of rushed.
The more slowly you move into and out of the posture, the more core engagement you build.
Relieves Back and Neck Tension
When practiced correctly, halasana can help release tightness through the back and shoulders.
The pose creates gentle length through the spine while stretching the muscles around the upper back. Many people who spend hours at desks enjoy the opening the chest effect that comes with proper shoulder positioning.
That said, neck safety matters greatly here. People with cervical spine issues or existing neck injuries should practice carefully and may need guidance from a qualified yoga teacher.
Related reading: Shoulder Stand Yoga Pose: Benefits, Steps, Safety Tips & Beginner Guide
How to Perform this inversion (Halasana)
this inversion (Halasana) represents a very challenging pose in yoga, which consists of numerous steps of motion. It can include some initial struggles, but, with time, it evolves into a highly rewarding pose, that can enhance flexibility, digestion, and offer mental relaxation. The following is a step-by-step to do Halasana, instructions, and some advice of getting the perfect pose and alignment.
Step-by-Step Instructions to Perform this inversion (Halasana)
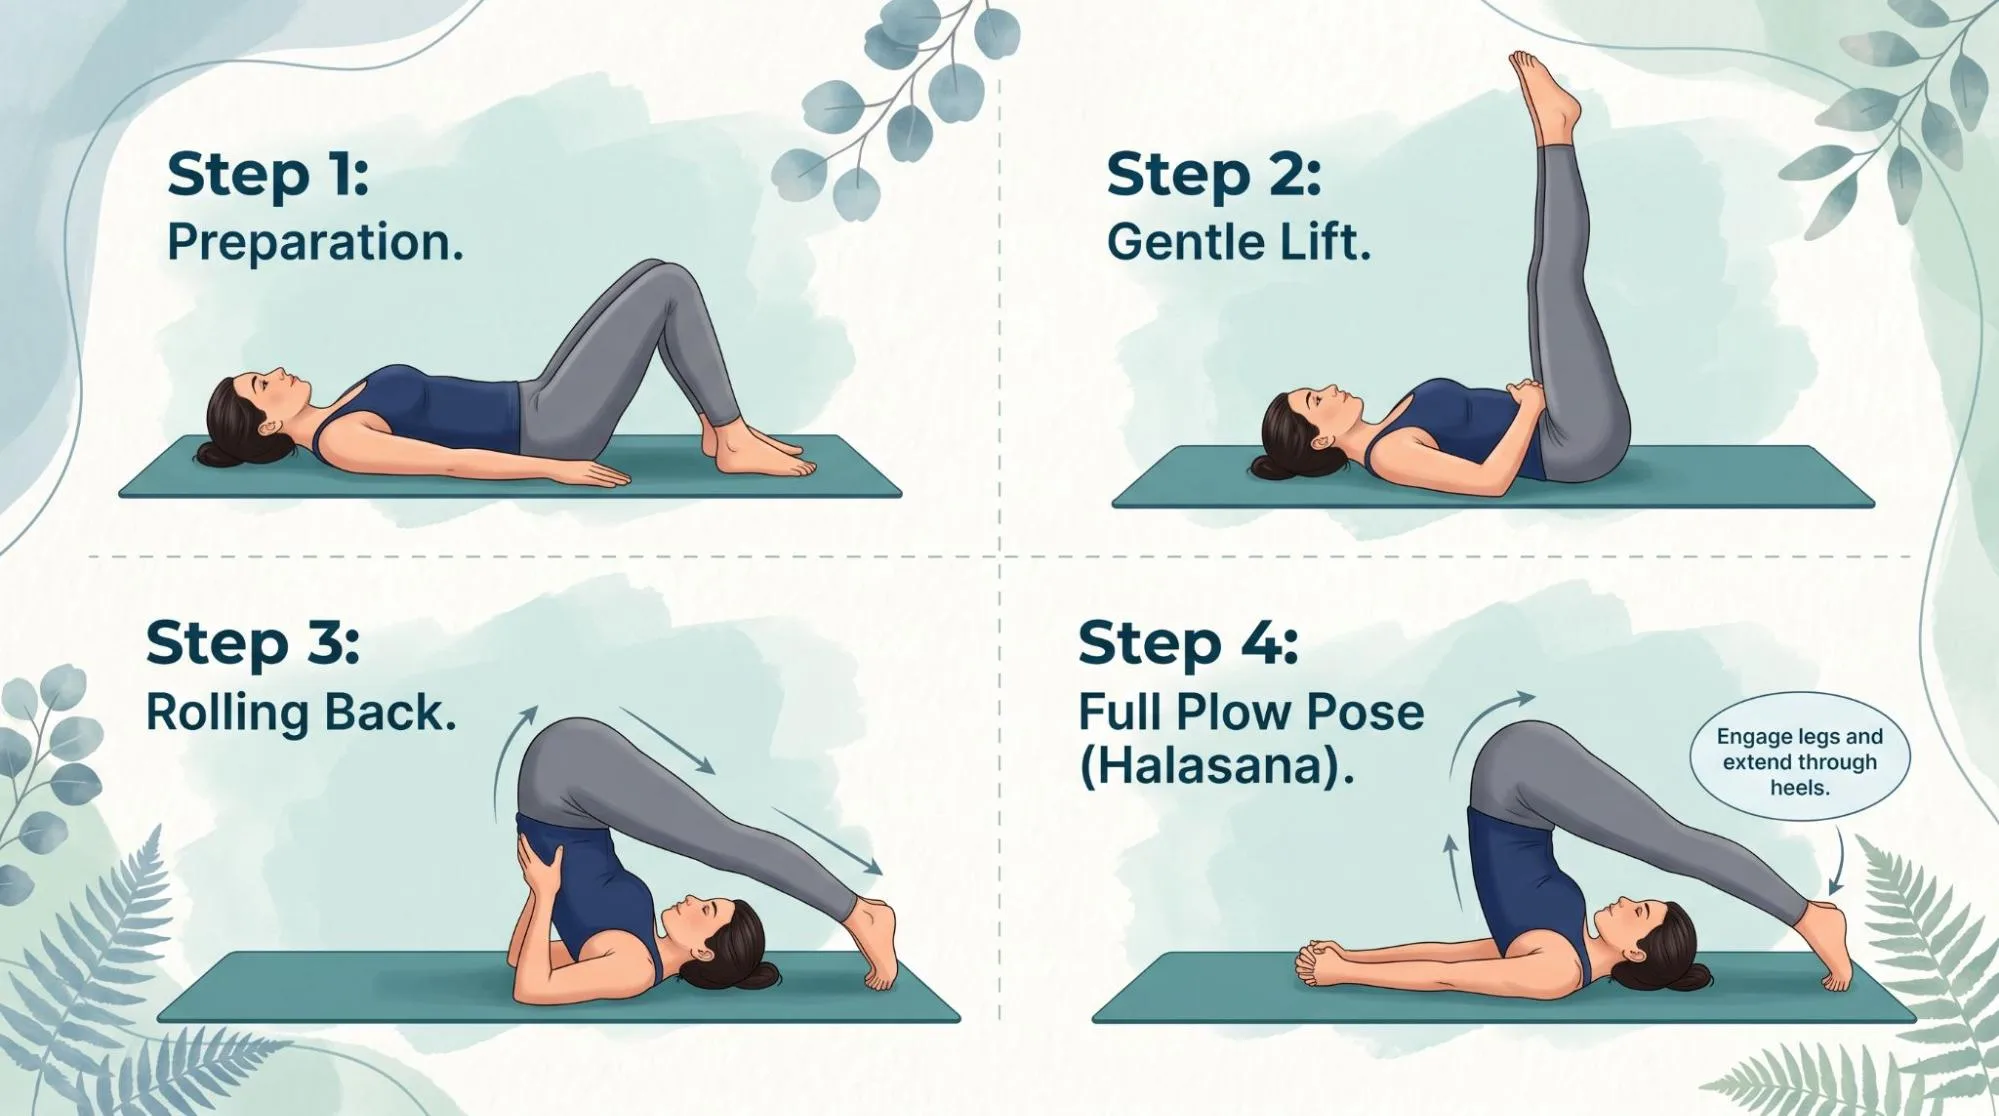
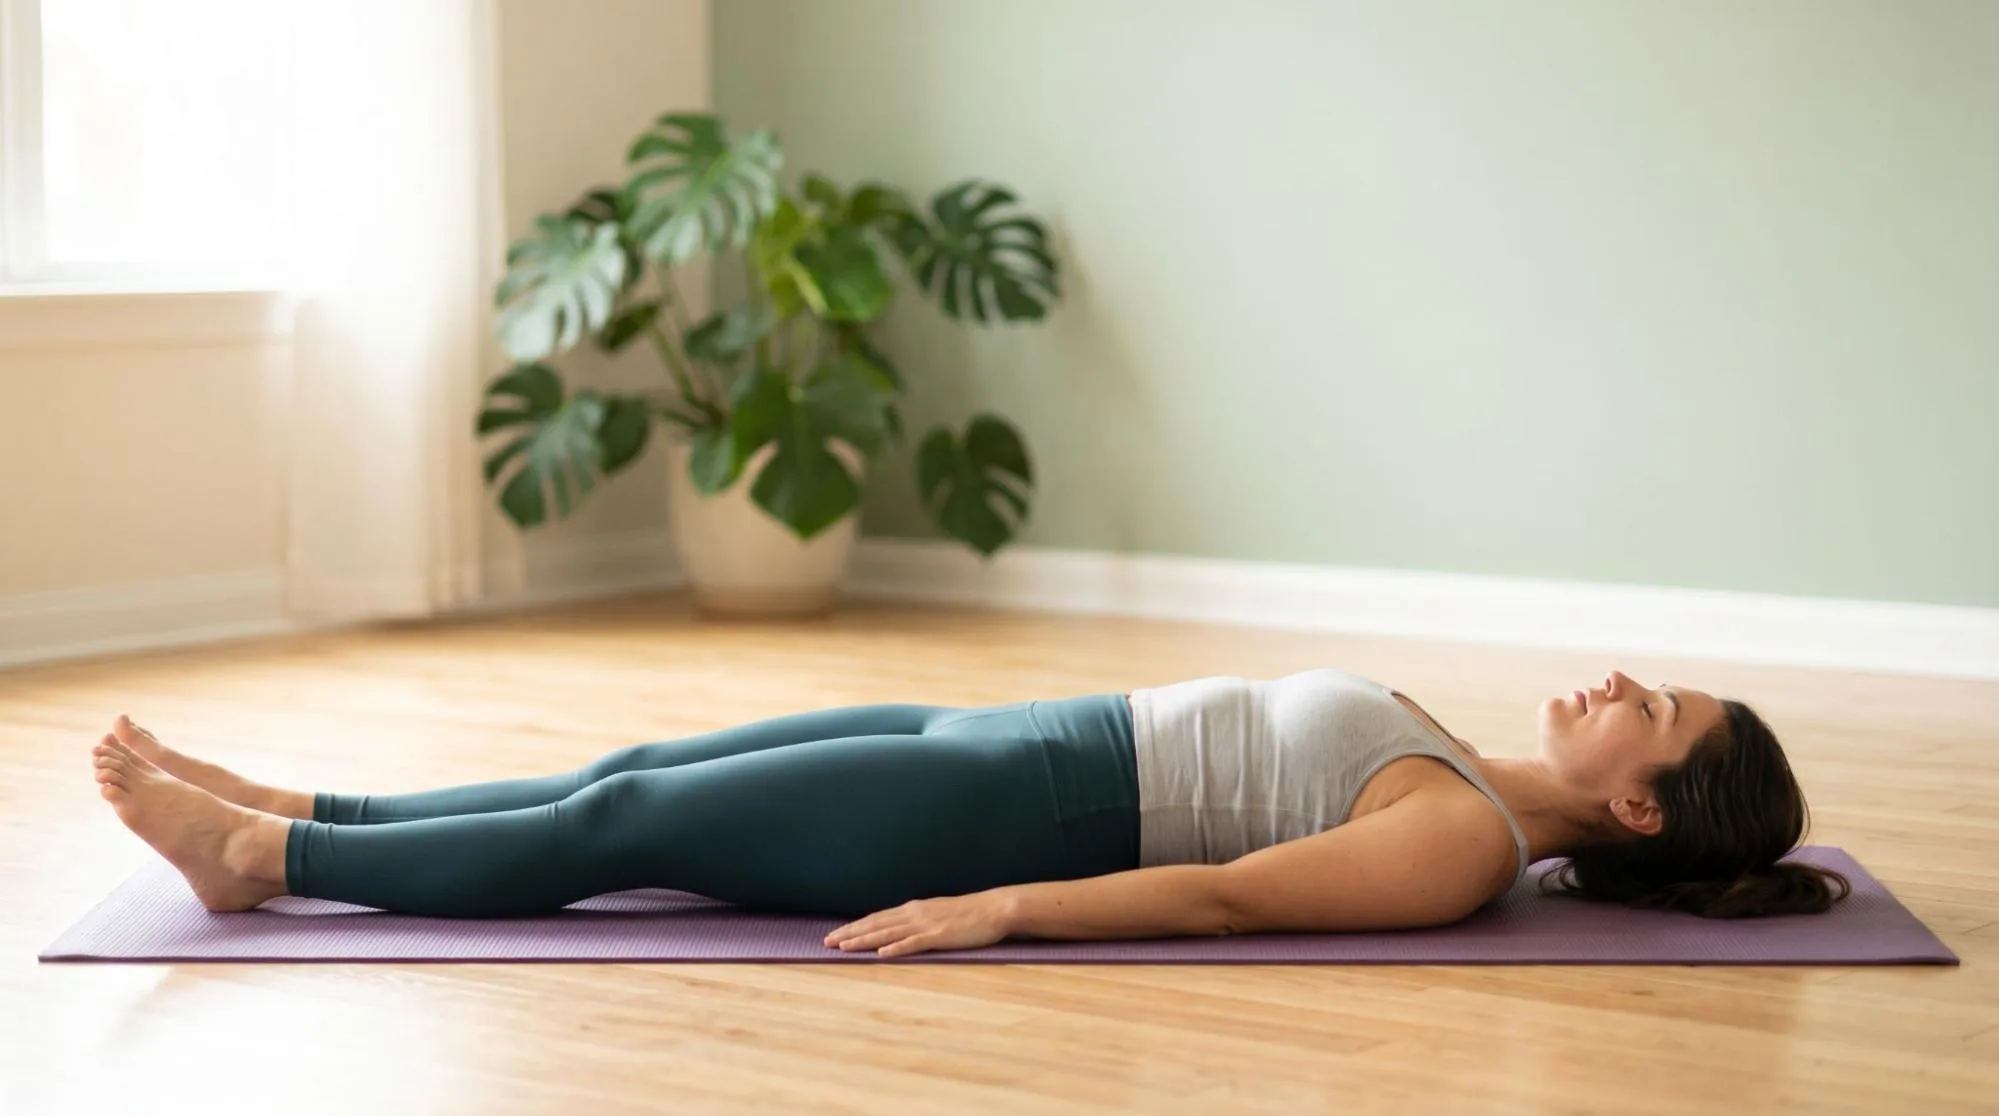
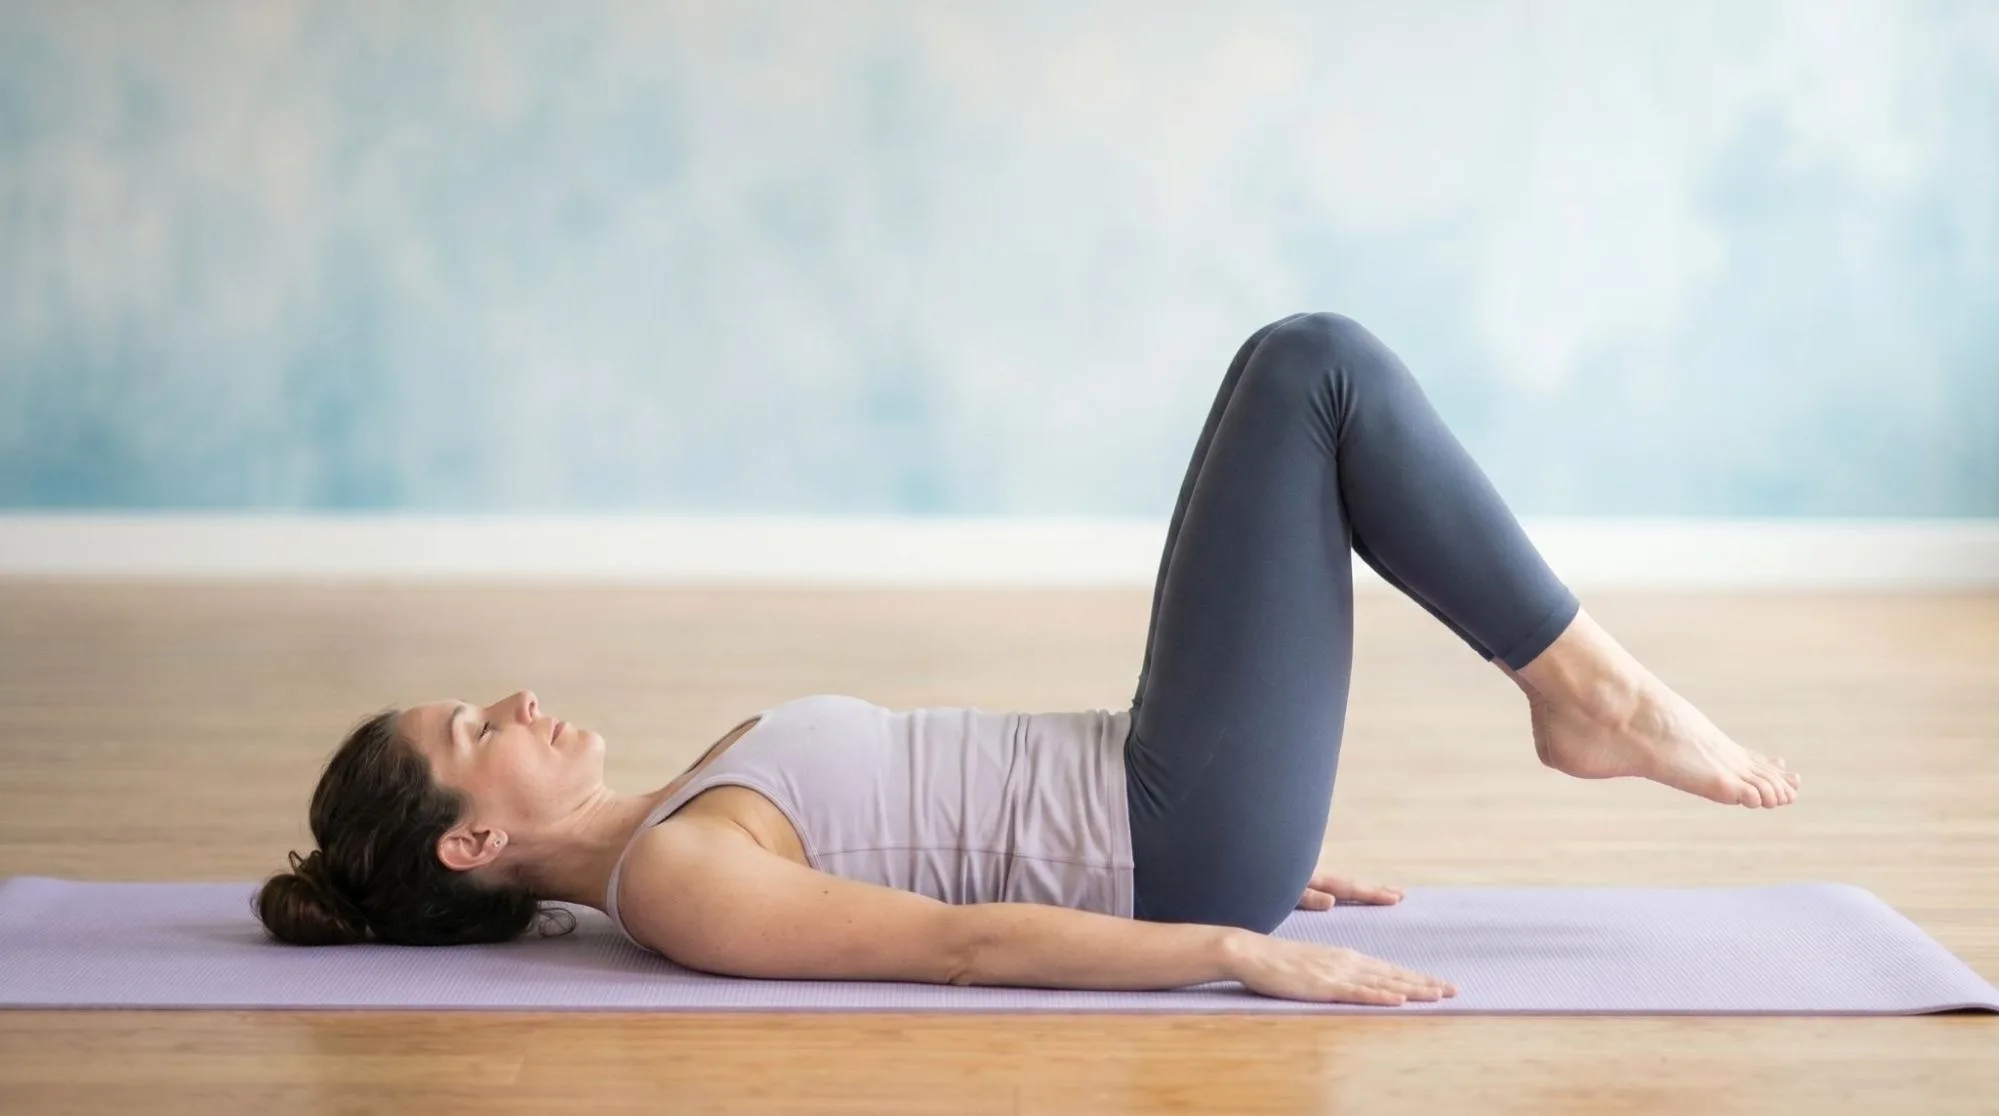
Step 1: Start in a Supine Position (Lie on Your Back)
Lie flat on the mat with your arms resting beside the body. Keep the palms facing downward and allow the shoulders to relax.
Take a few slow breaths before beginning.
Step 2: Activate the Core Muscles
Gently tighten the abdominal muscles to prepare the body for movement.
This support helps protect the lower back as you begin to lift your legs.
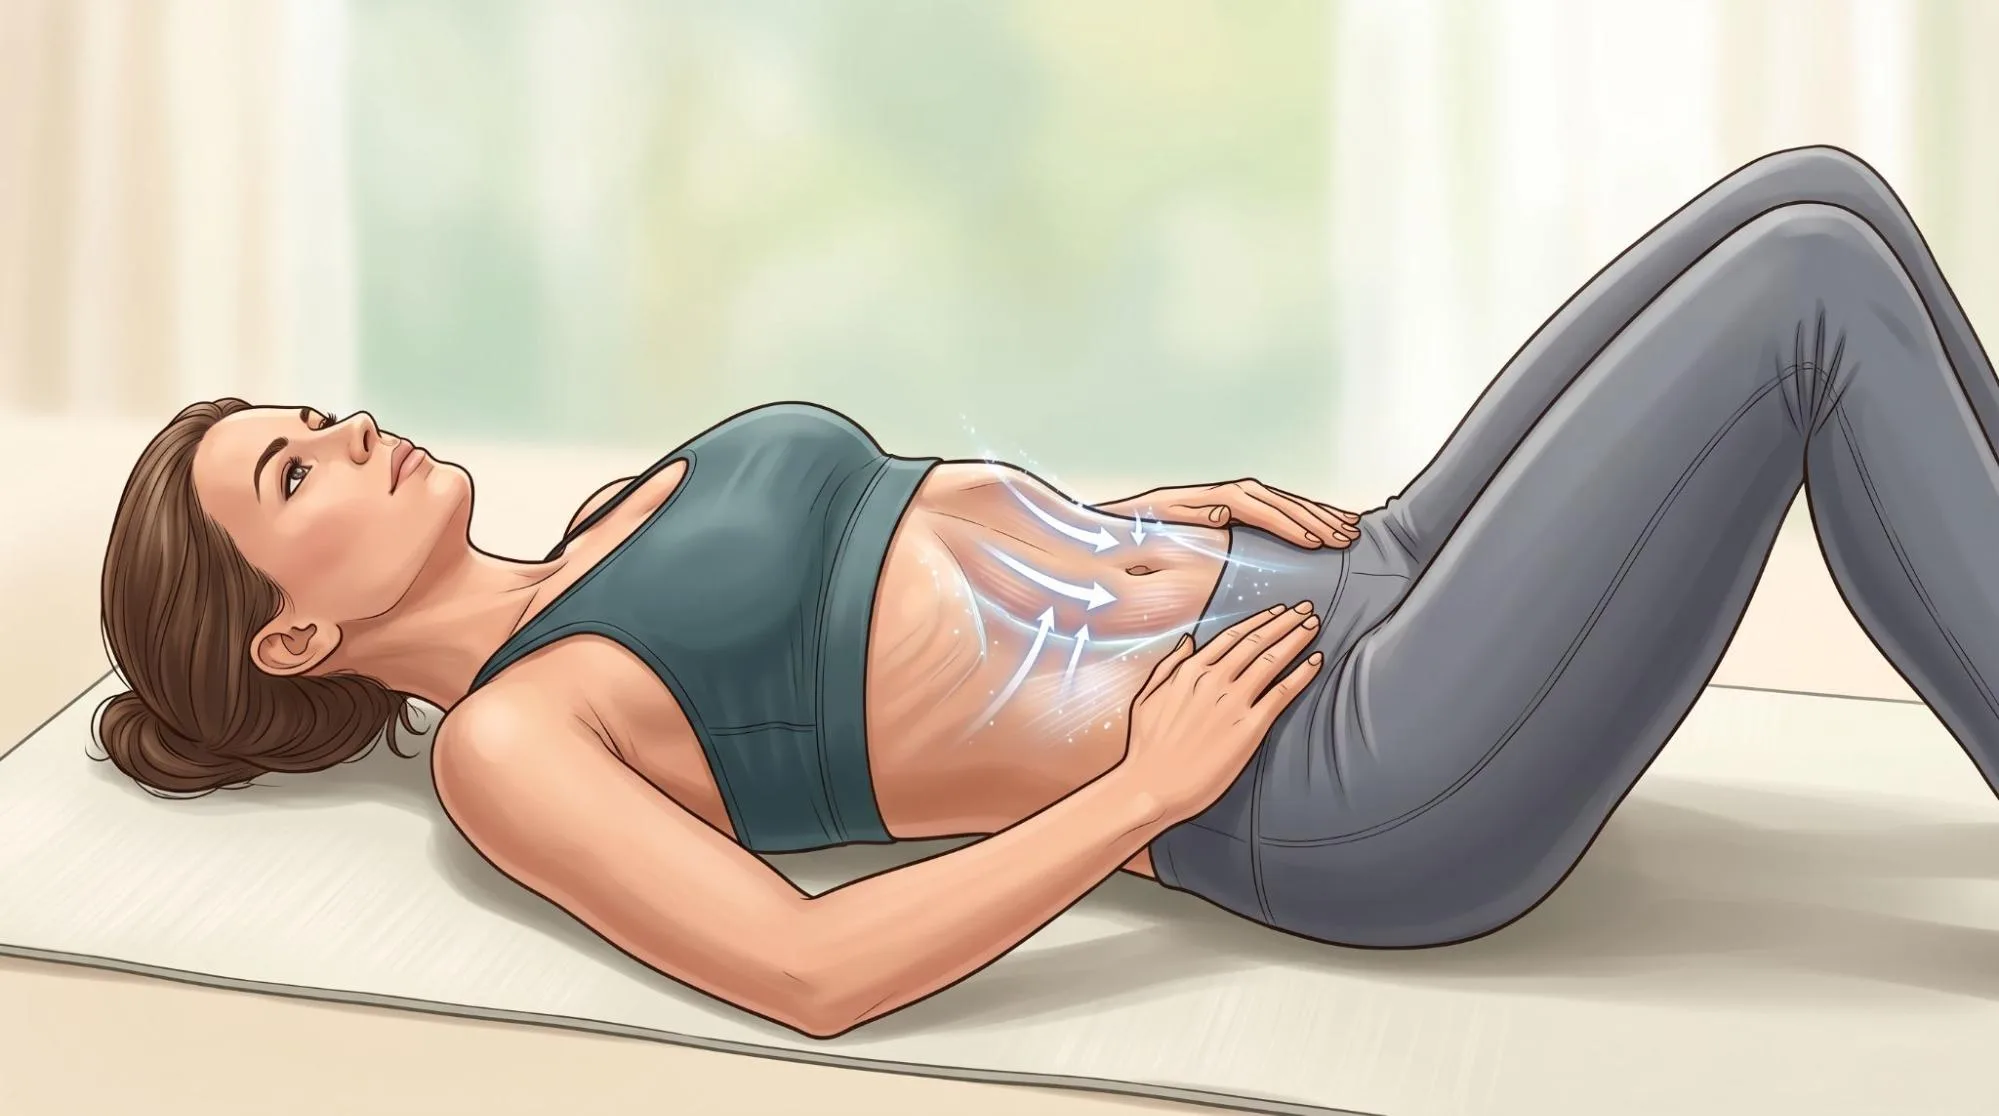
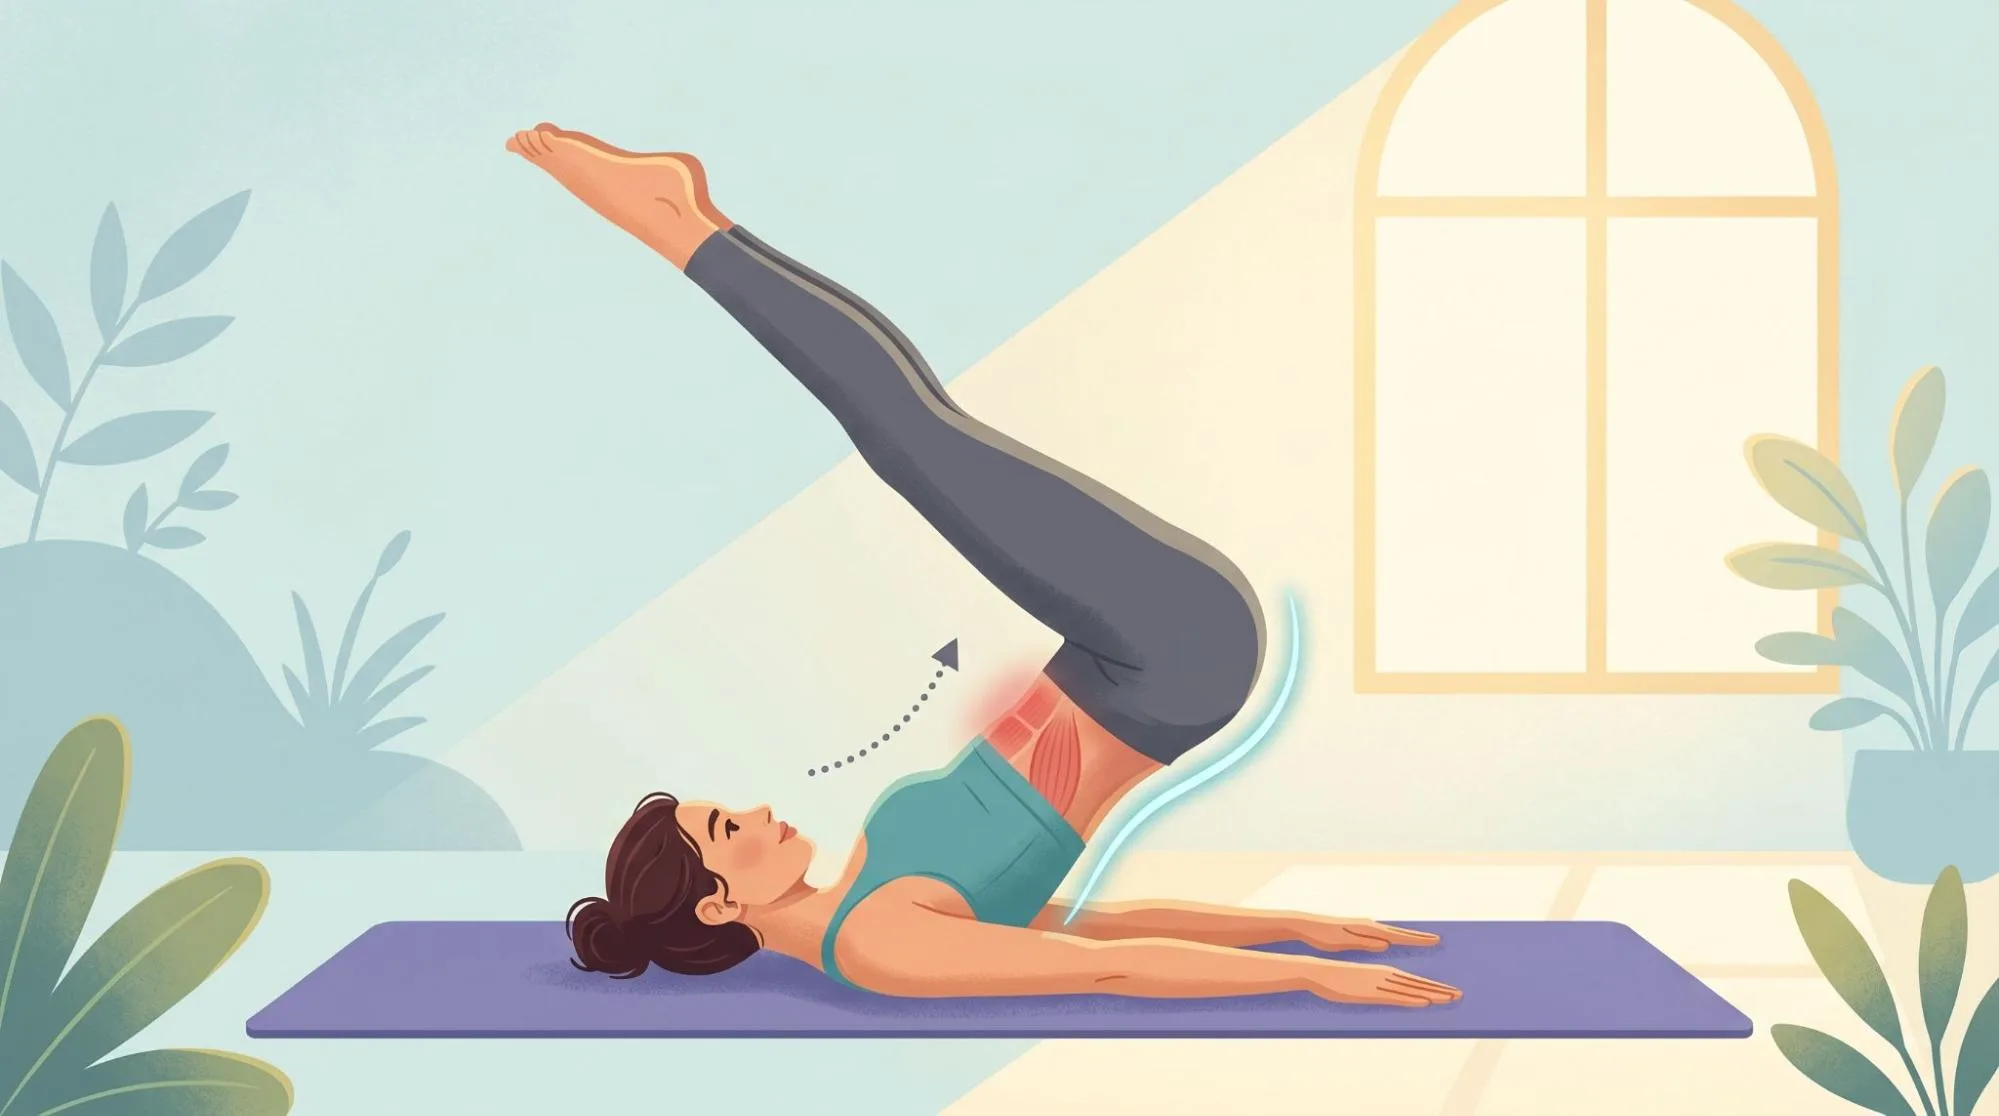
Step 3: Lift Your Legs Towards the Ceiling
Slowly lift your legs until they point upward.
Keep the movement controlled instead of swinging the legs quickly.
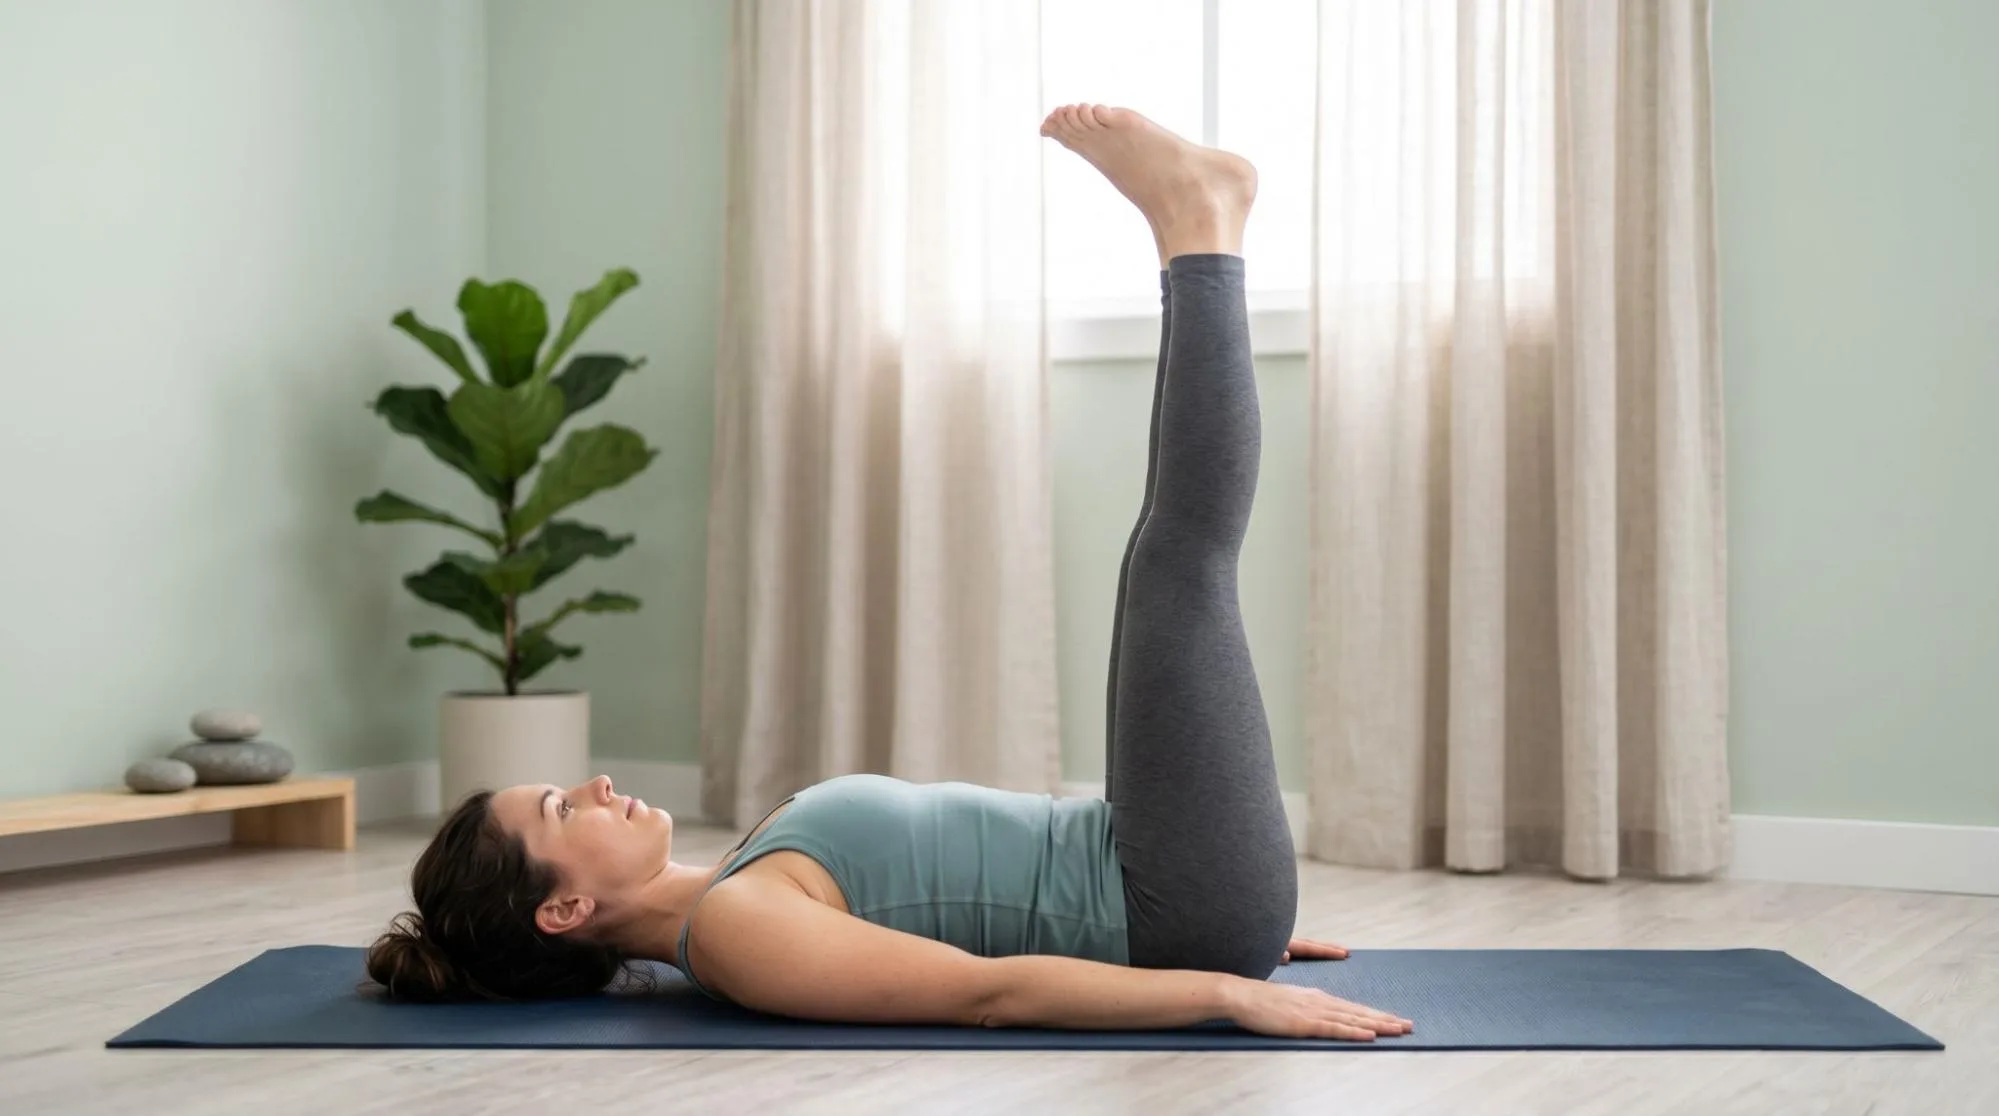
Step 4: Begin to Roll Your Spine Off the Ground
Press your arms into the mat and lift your hips upward.
As you move, slowly roll the spine off the floor one vertebrae at a time. Avoid jerking the body upward.
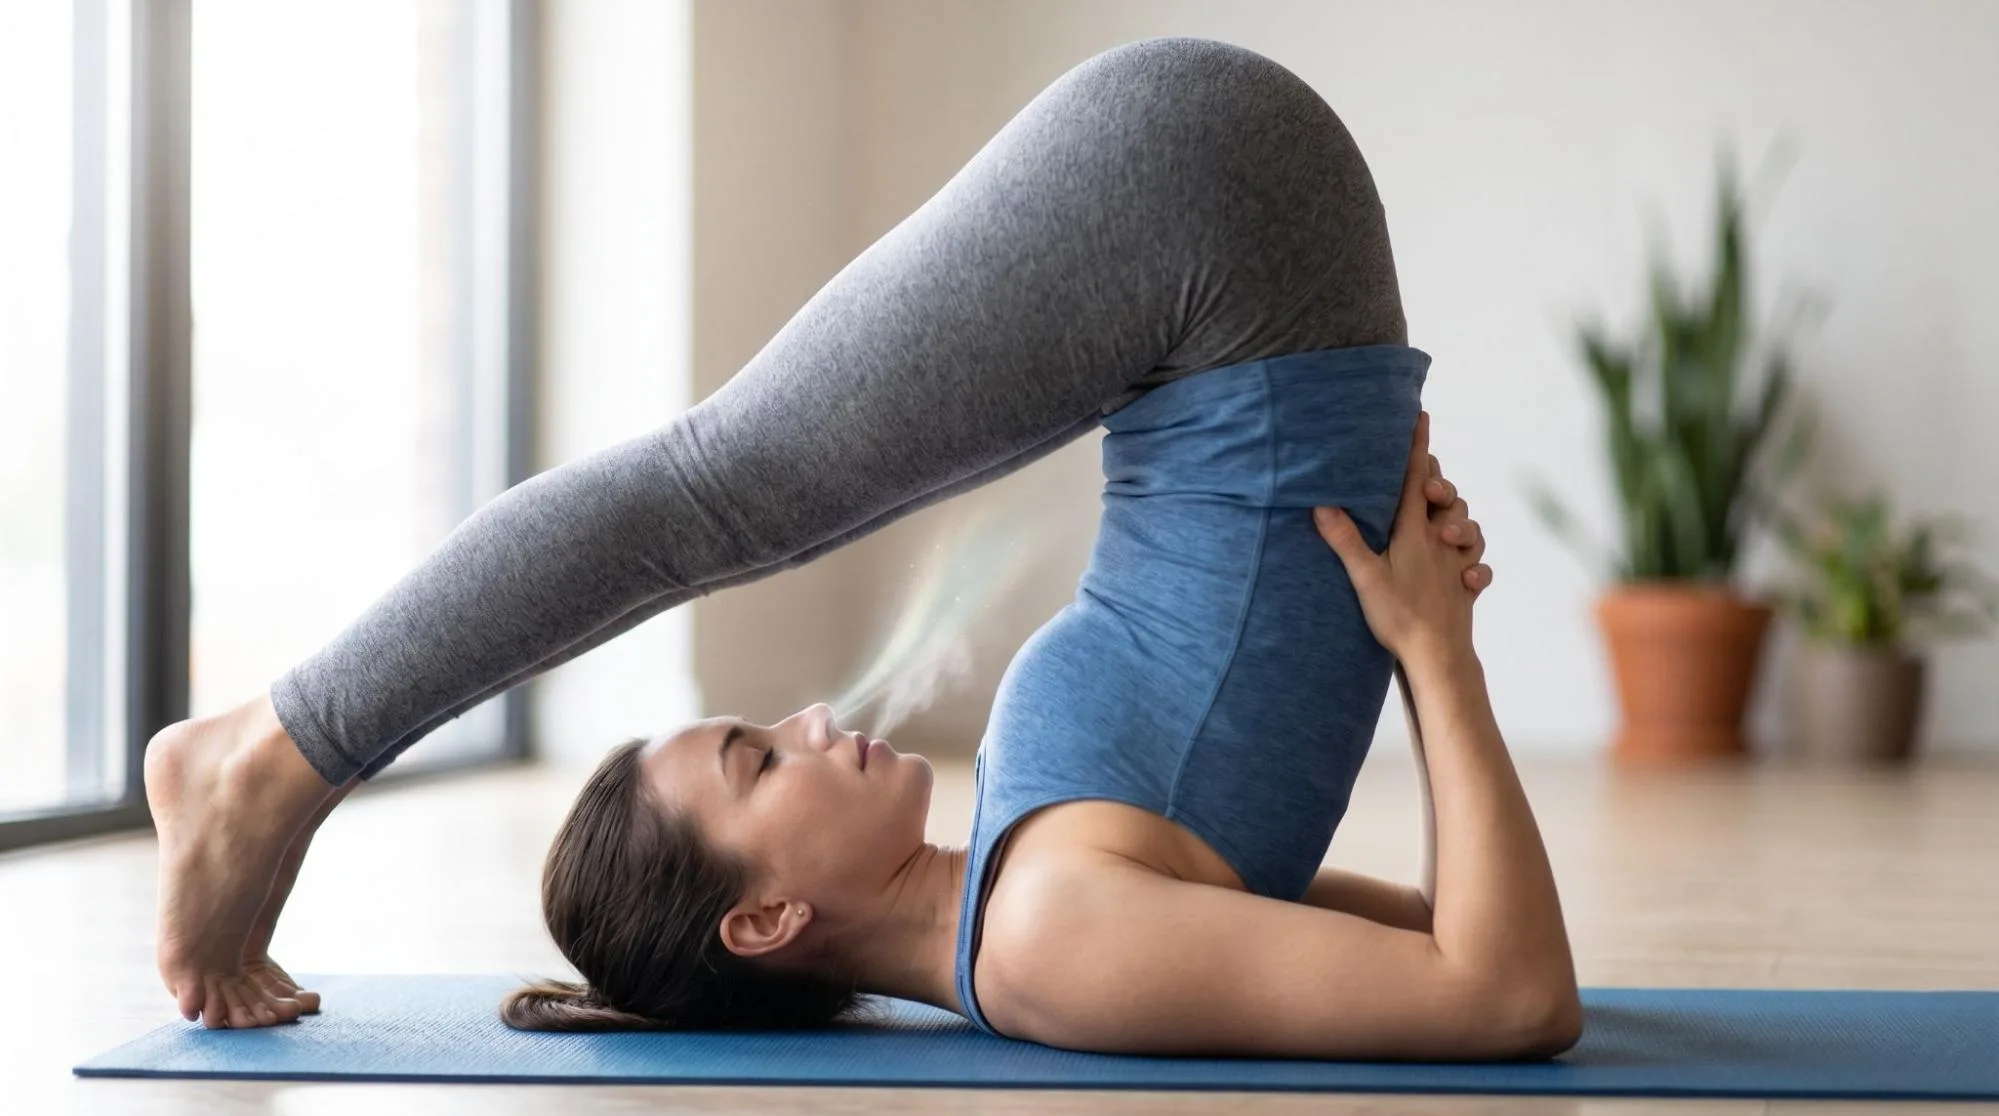
Bring Your Legs Over Your Head
Carefully guide the legs over your head toward the floor behind you.
If your feet do not reach the floor comfortably, that is completely fine. Don’t reach or force the position.
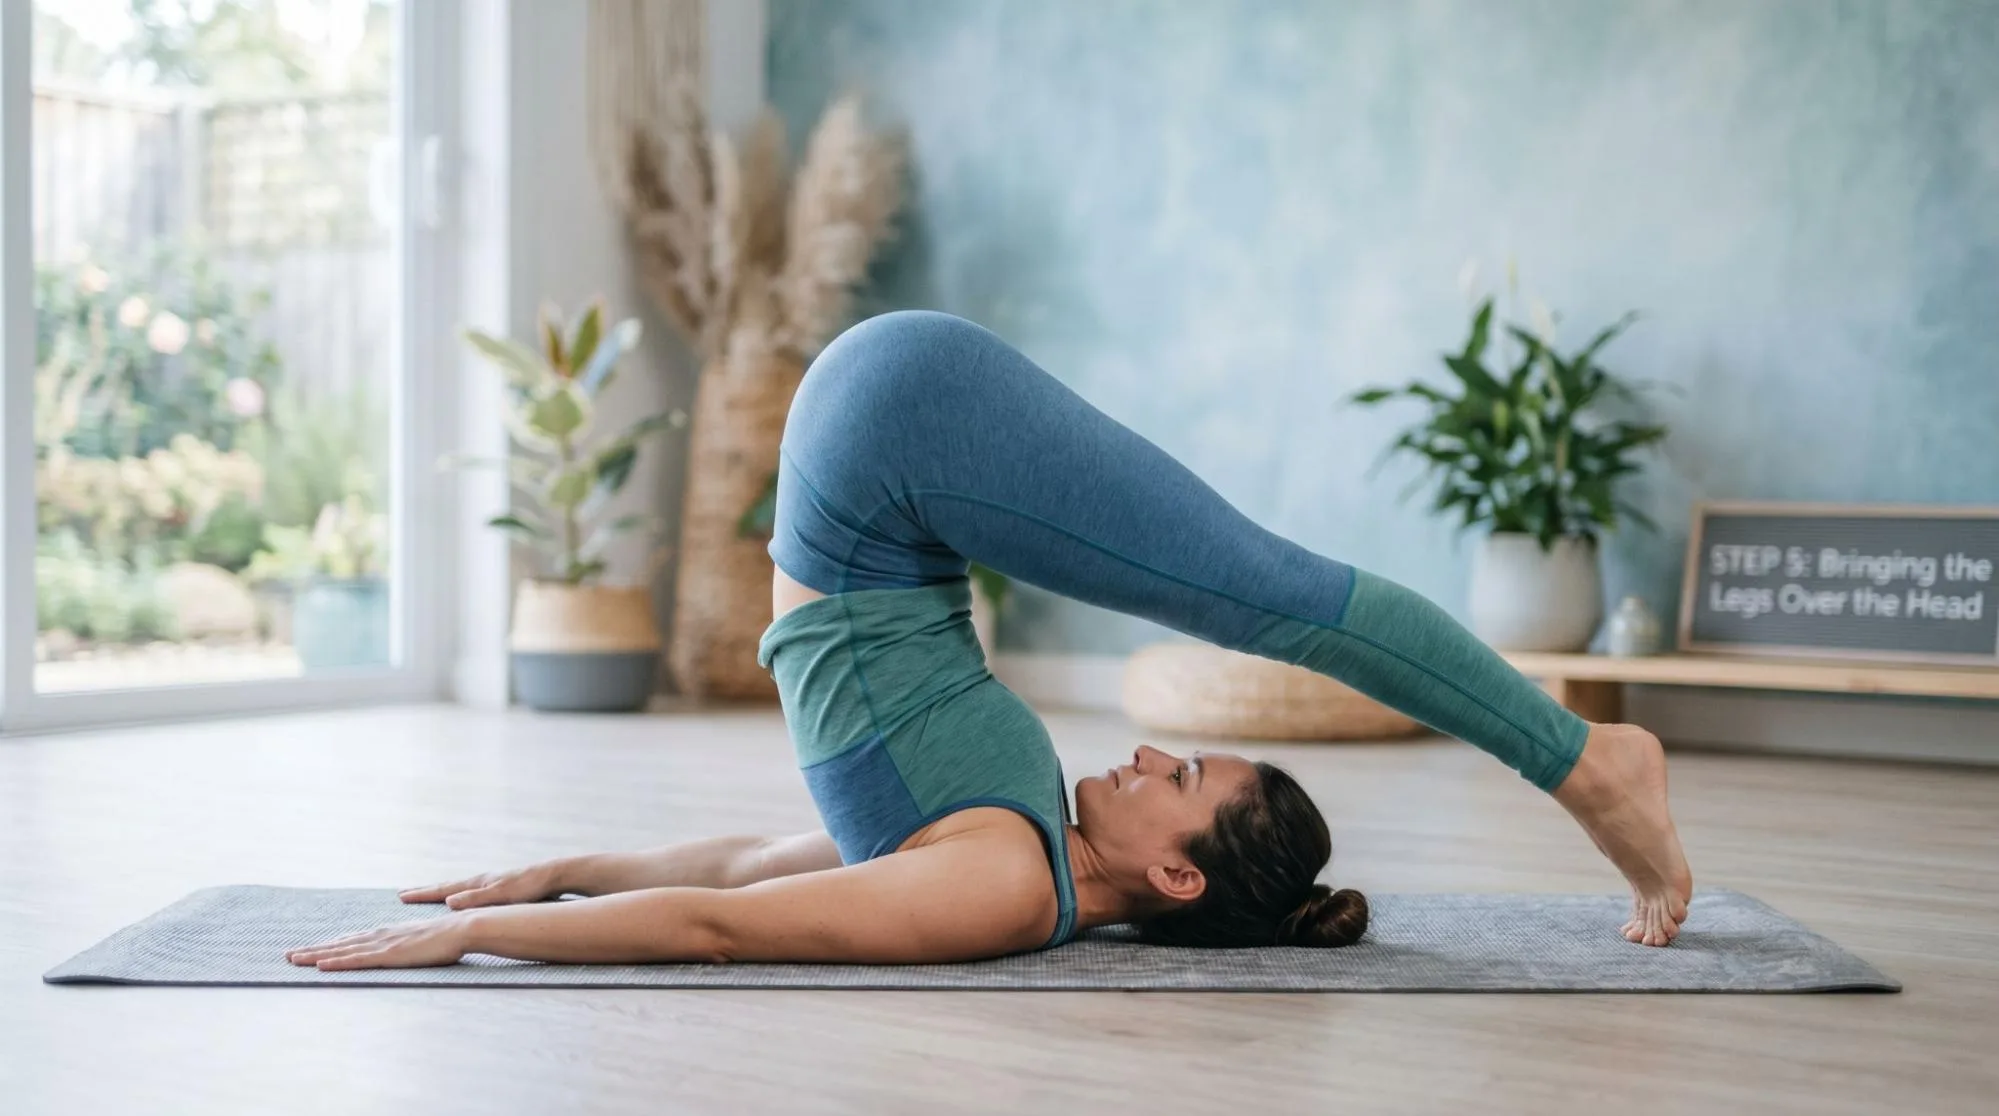
Step 6: Support Your Body with Your Arms
Keep pressing the arms into the floor for stability.
Some practitioners interlace the fingers beneath the back to help stretch the shoulders and support the chest.
Step 7: Engage Your Thighs and Keep the Legs Straight
Try to keep the legs active and strong.
If the hamstrings feel tight, you can slightly bend your knees rather than straining.
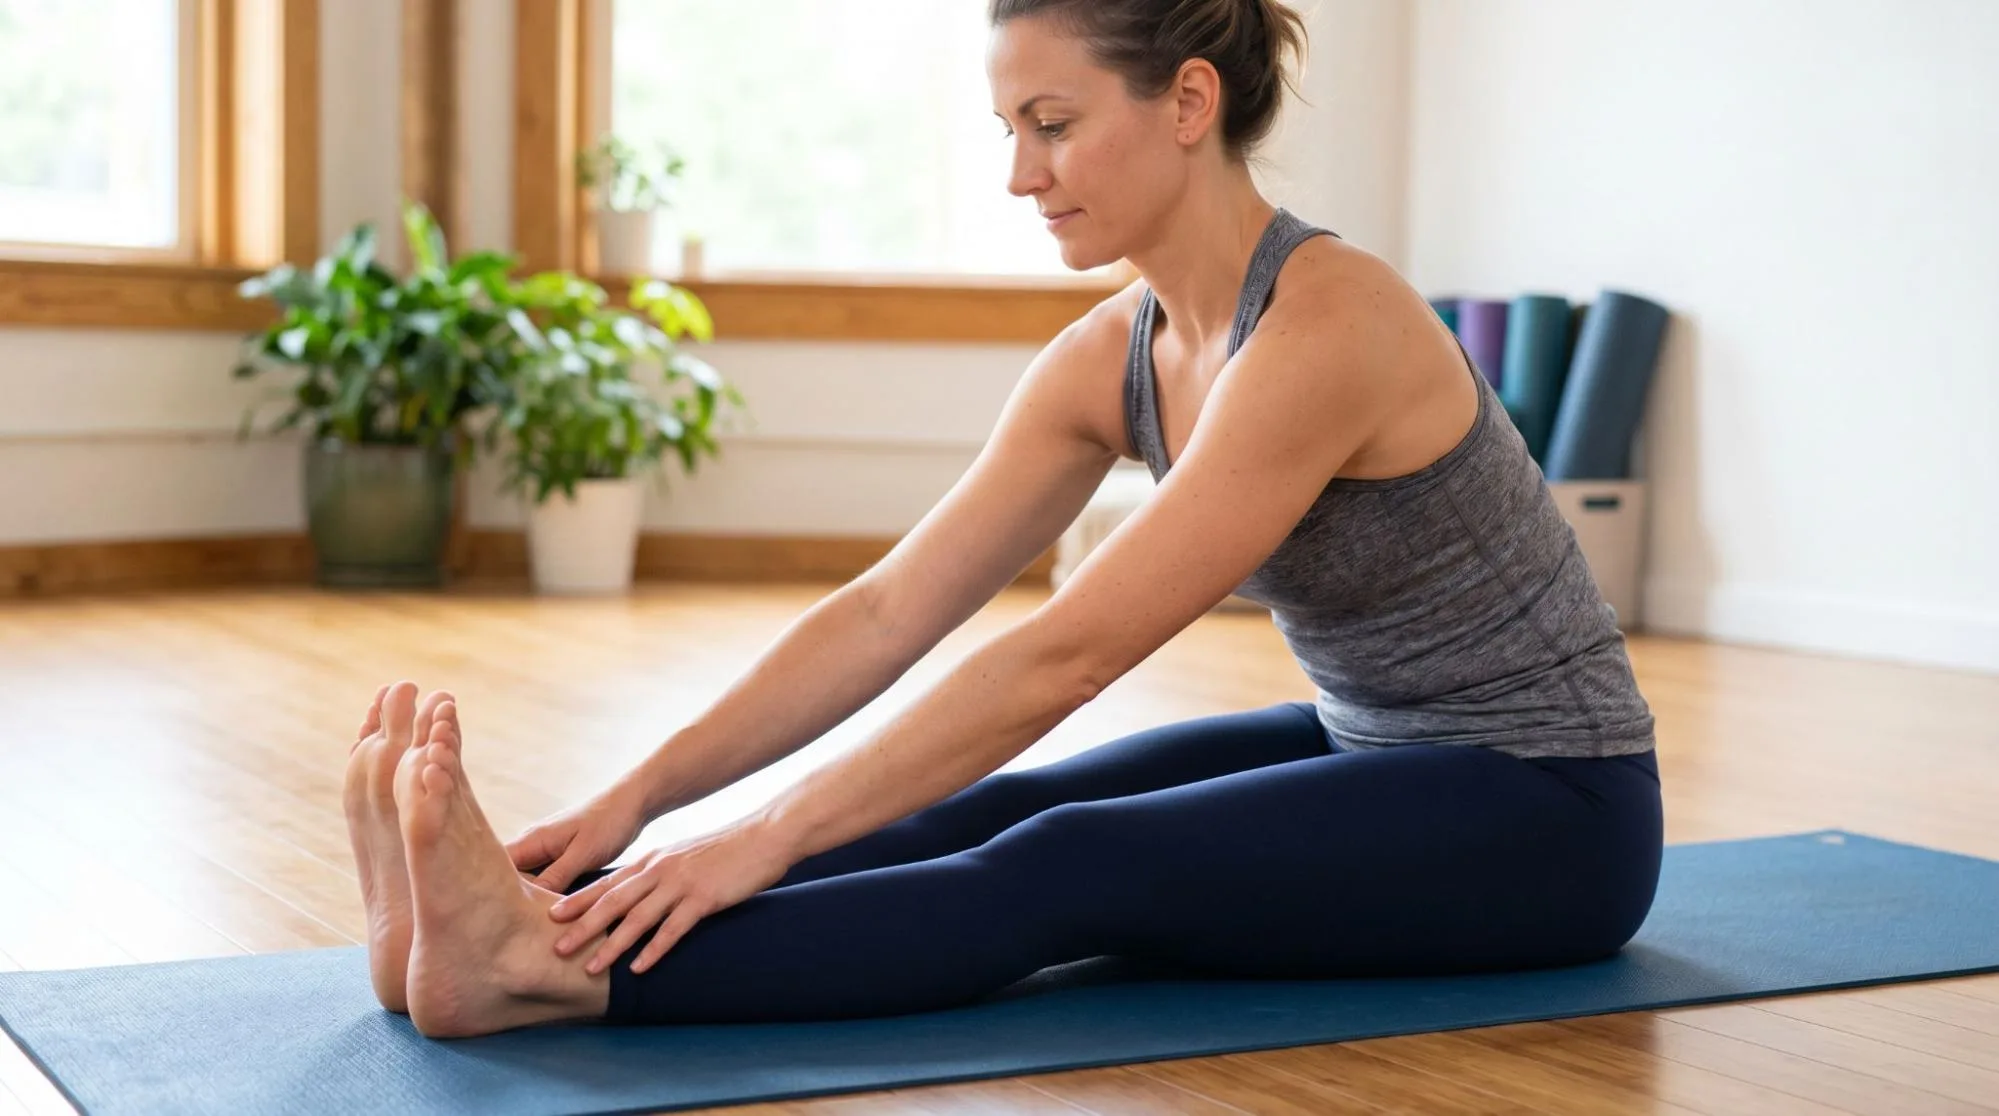
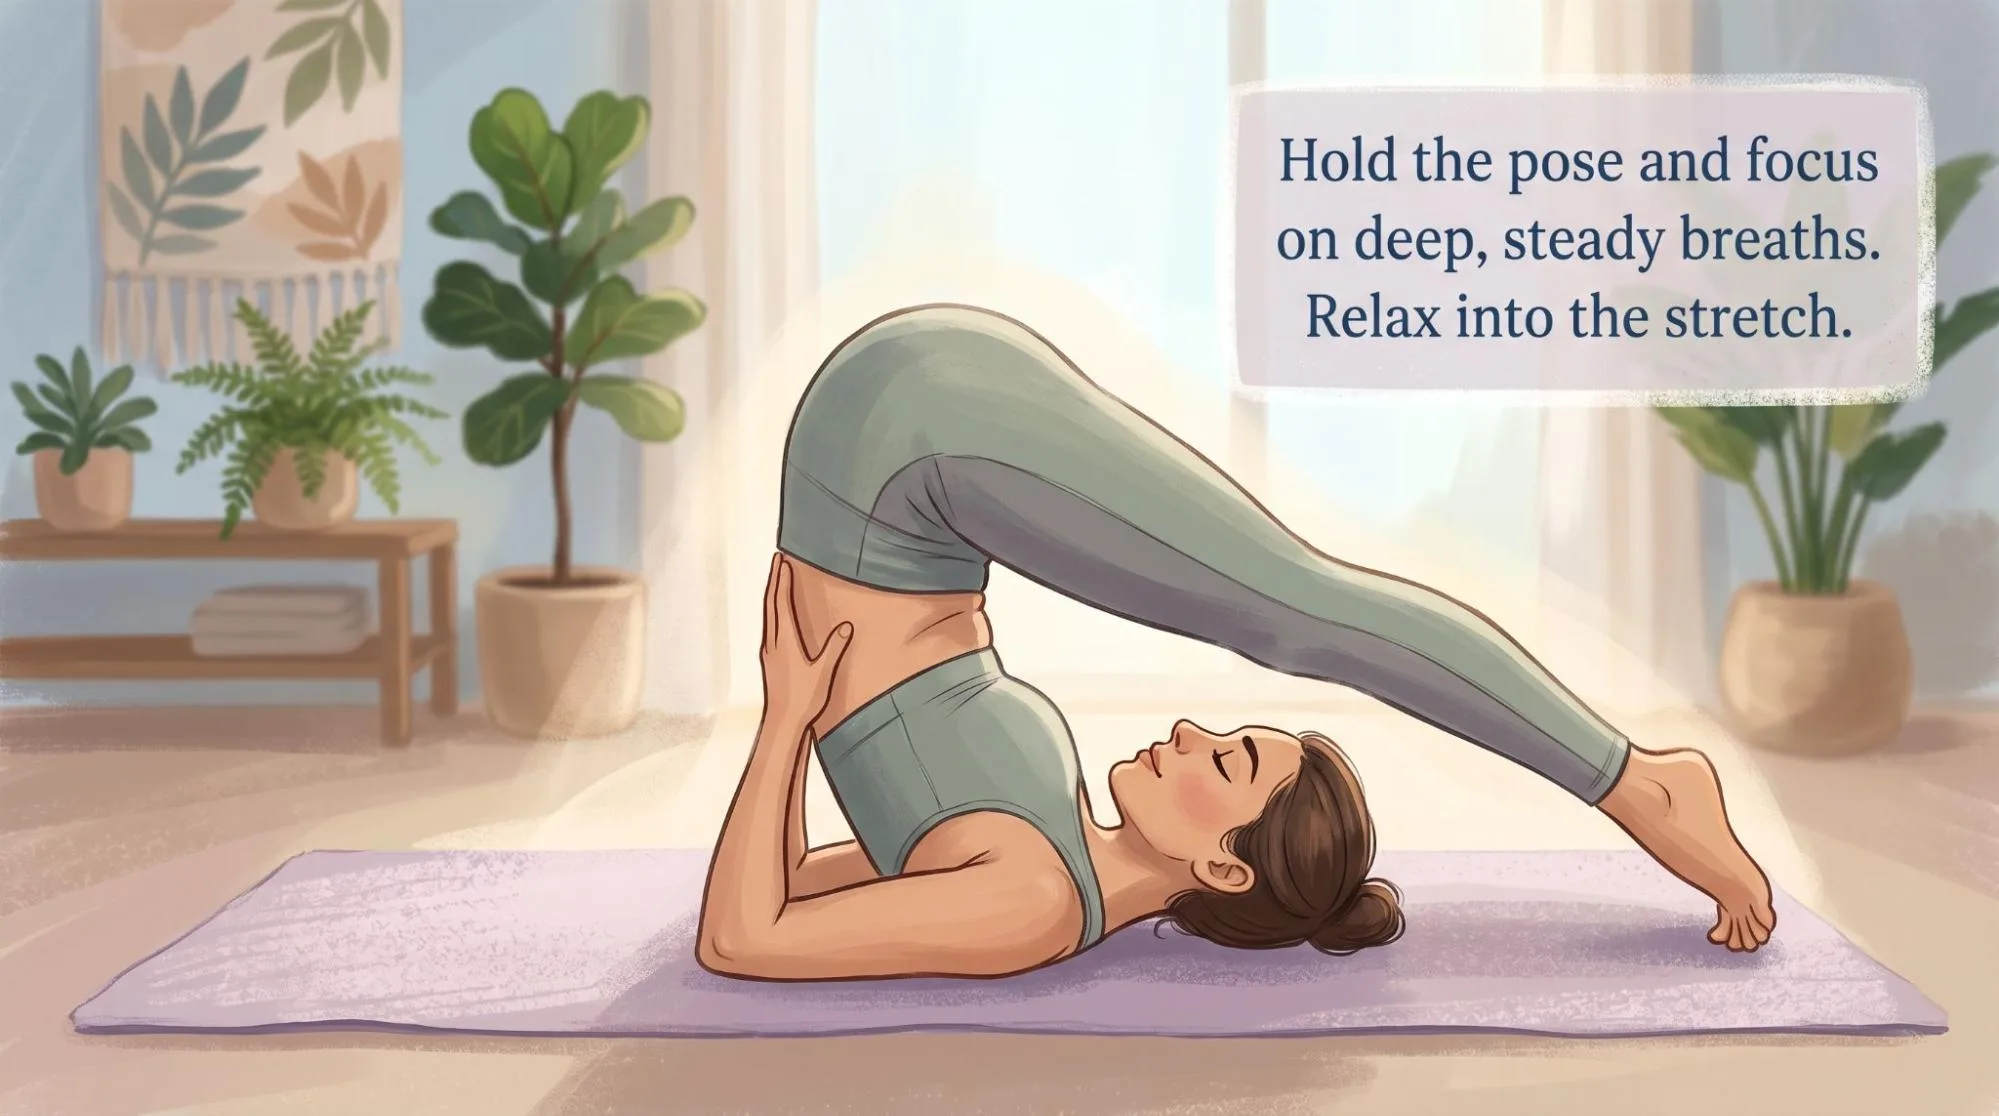
Step 8: Hold the Pose and Breathe
Stay in the pose for several slow breaths.
Keep the face relaxed and avoid unnecessary tension in the jaw or shoulders.
Never turn your head while in this inversion, as this may place stress on the cervical spine.
Step 9: Release the Pose Slowly and Mindfully
To come out safely, slowly roll down one vertebrae at a time.
Move slowly instead of dropping the hips quickly onto the floor.
Step 10: Relax in a Supine Position
Once your back returns to the mat, slowly lower your legs and rest flat on the mat for a few breaths.
Allow the body to settle before moving again.
Tips for Proper Alignment and Safety
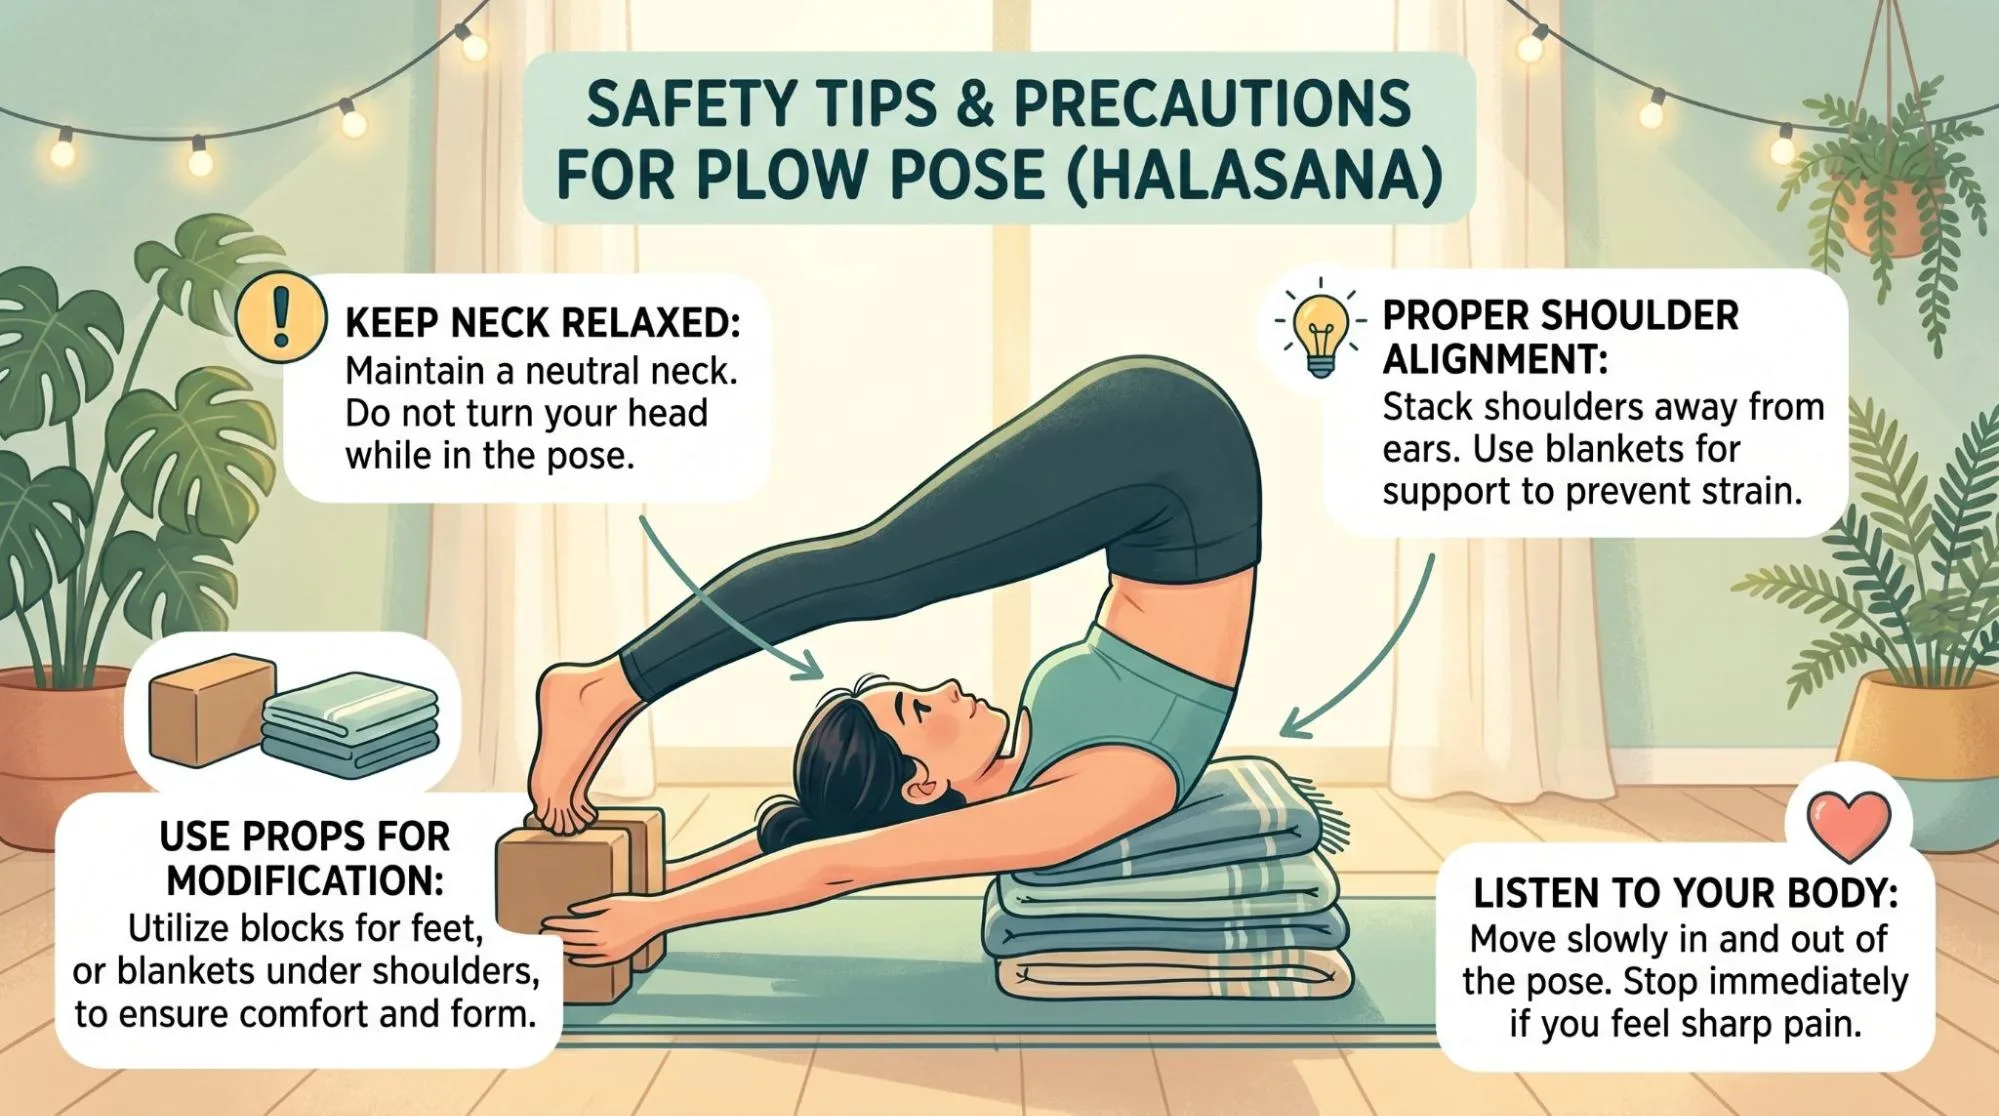
Neck Alignment
- Protecting the neck is the most important part of practicing this inversion safely.
- Keep the neck neutral
- Never turn your head
- Spread weight across the shoulders rather than the neck
- Use folded blankets beneath the shoulders if needed
Folded blankets can reduce pressure on the cervical spine and create more space for the neck.
Shoulder Positioning
The shoulders should feel grounded and stable.
Press your arms firmly into the floor and gently draw the shoulder blades together to help with opening the chest.
Leg Engagement
Keep the legs active rather than loose.
Strong legs help stabilize the pose and reduce unnecessary strain through the lower back.
Flexibility Awareness
Not everyone will bring the feet fully to the floor, especially beginners.
Listen to your body carefully. If the hamstrings or lower back feel strained, slightly bend your knees or use support.
Breath Control
Breathing should stay smooth and steady.
If breathing becomes restricted or uncomfortable, ease out of the pose slowly.
Modifications for Beginners
Some of the adjustments that can be made to ensure you can practice safely and effectively are listed below should you be new to inversion or practicing this inversion:
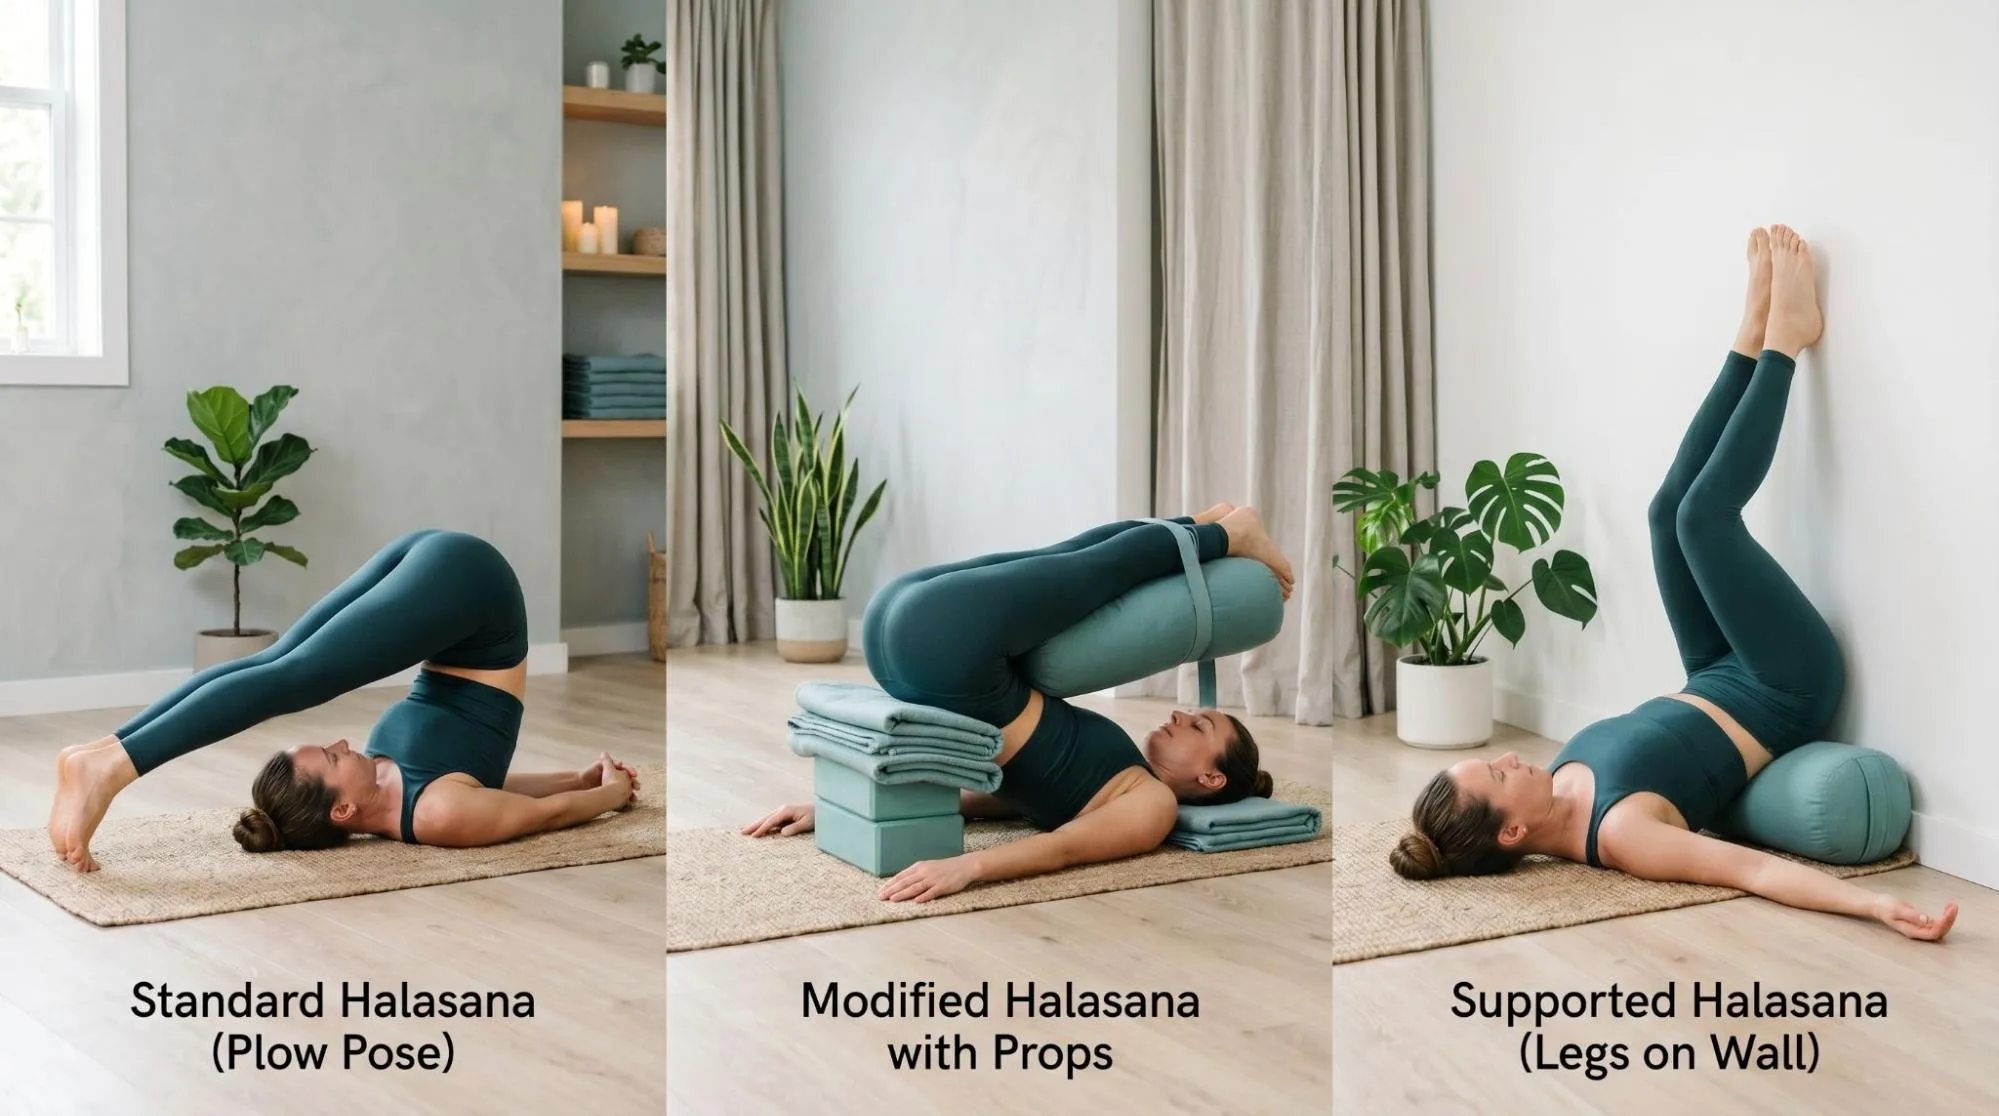
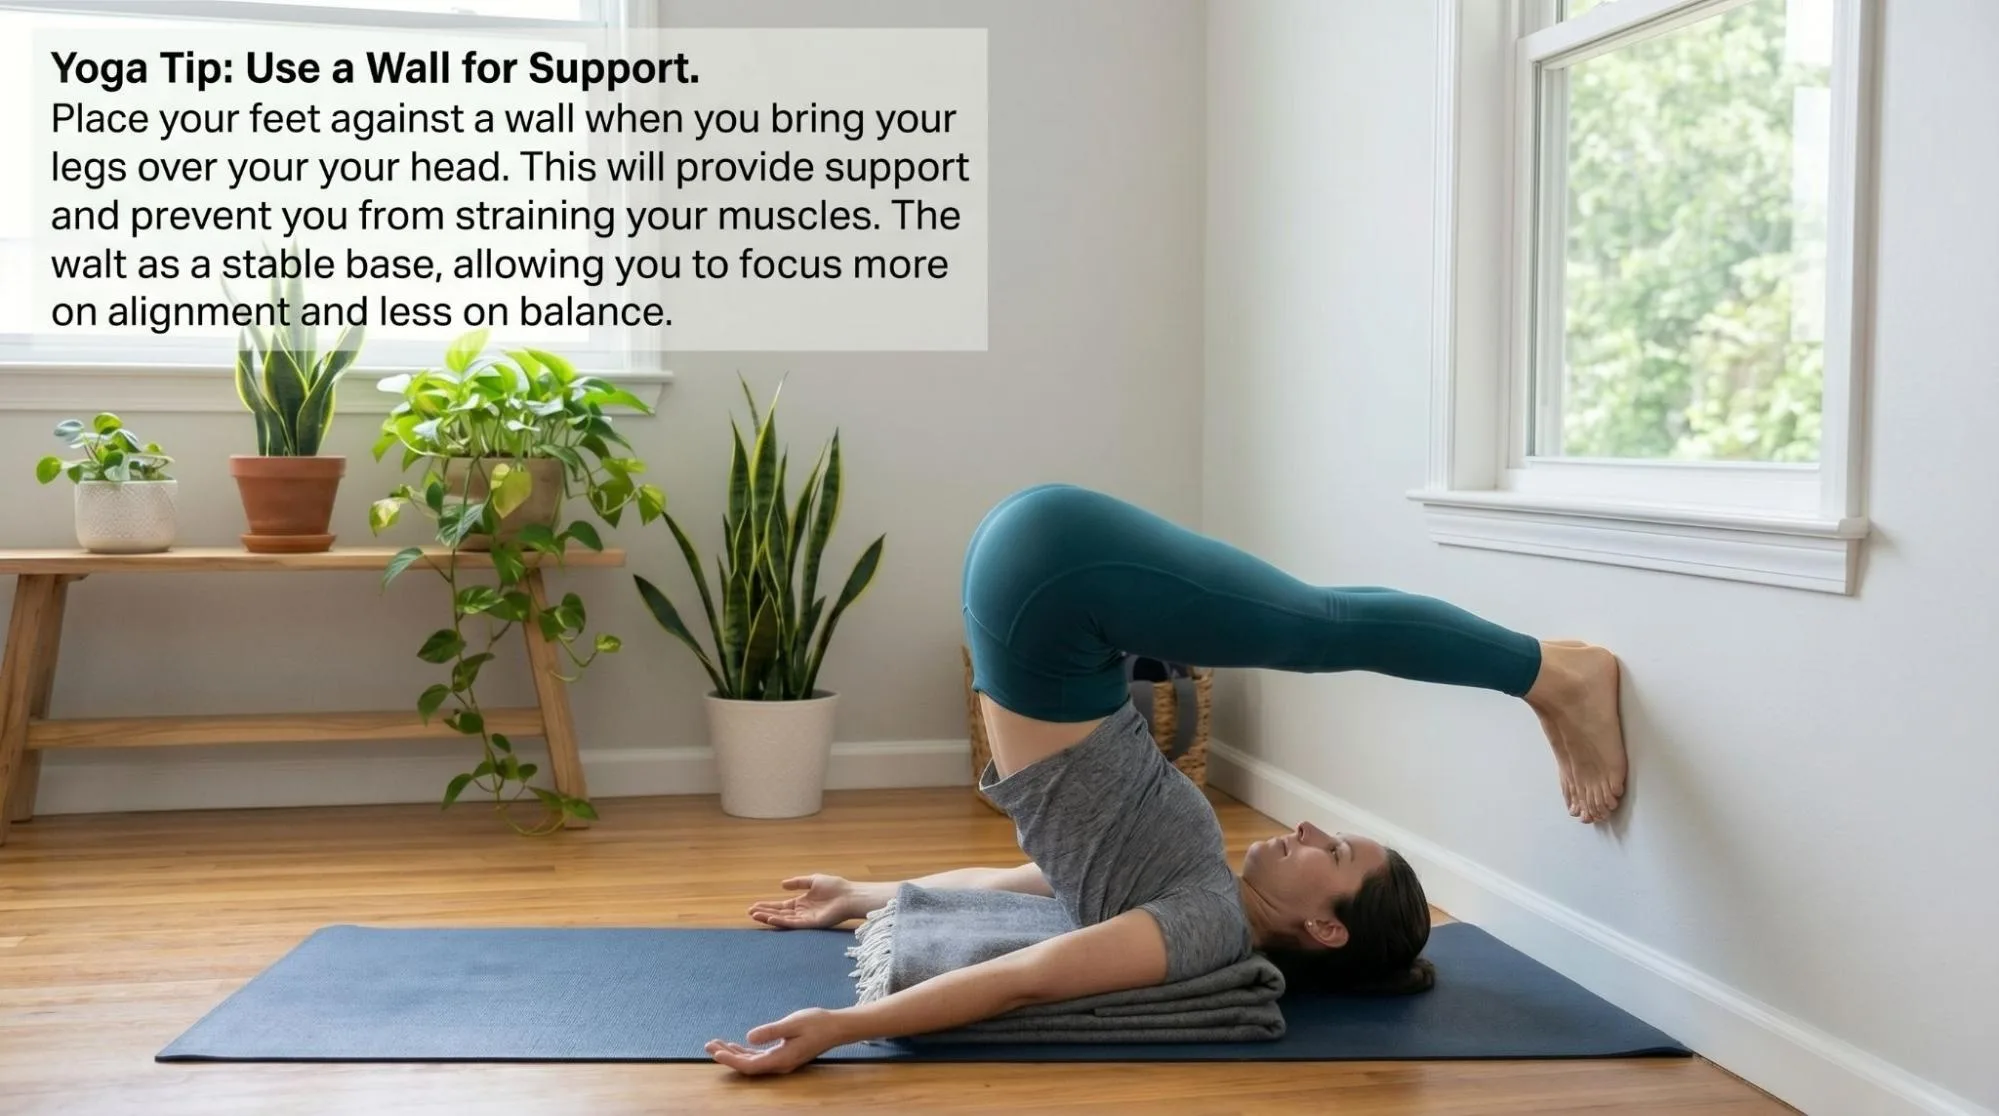
Use a Wall for Support
Practicing near a wall can help beginners feel safer while learning how to lift the hips and control the movement.
The wall can also prevent the legs from going too far overhead.
Bend the Knees
You do not need perfectly straight legs to benefit from the pose.
A soft bend in the knees often makes halasana more comfortable and accessible.
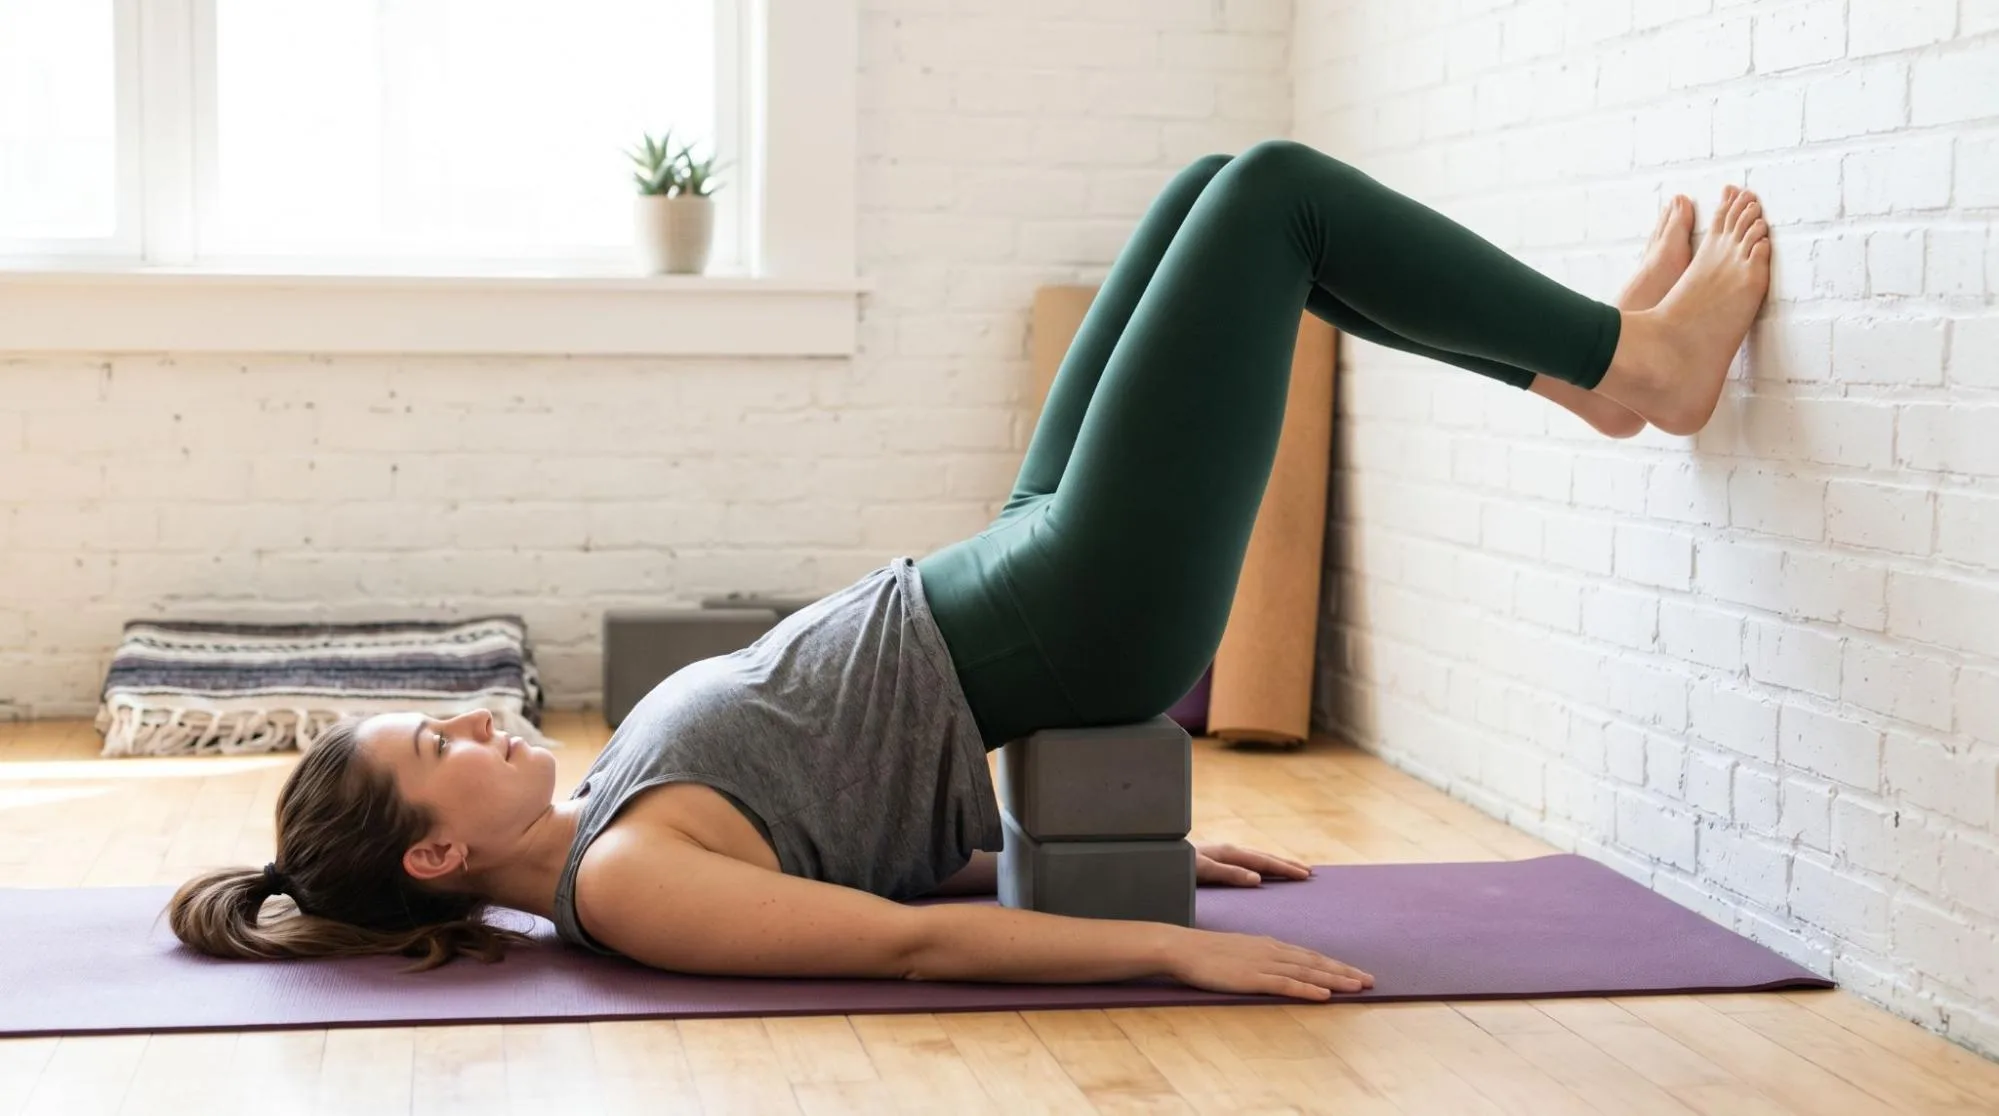
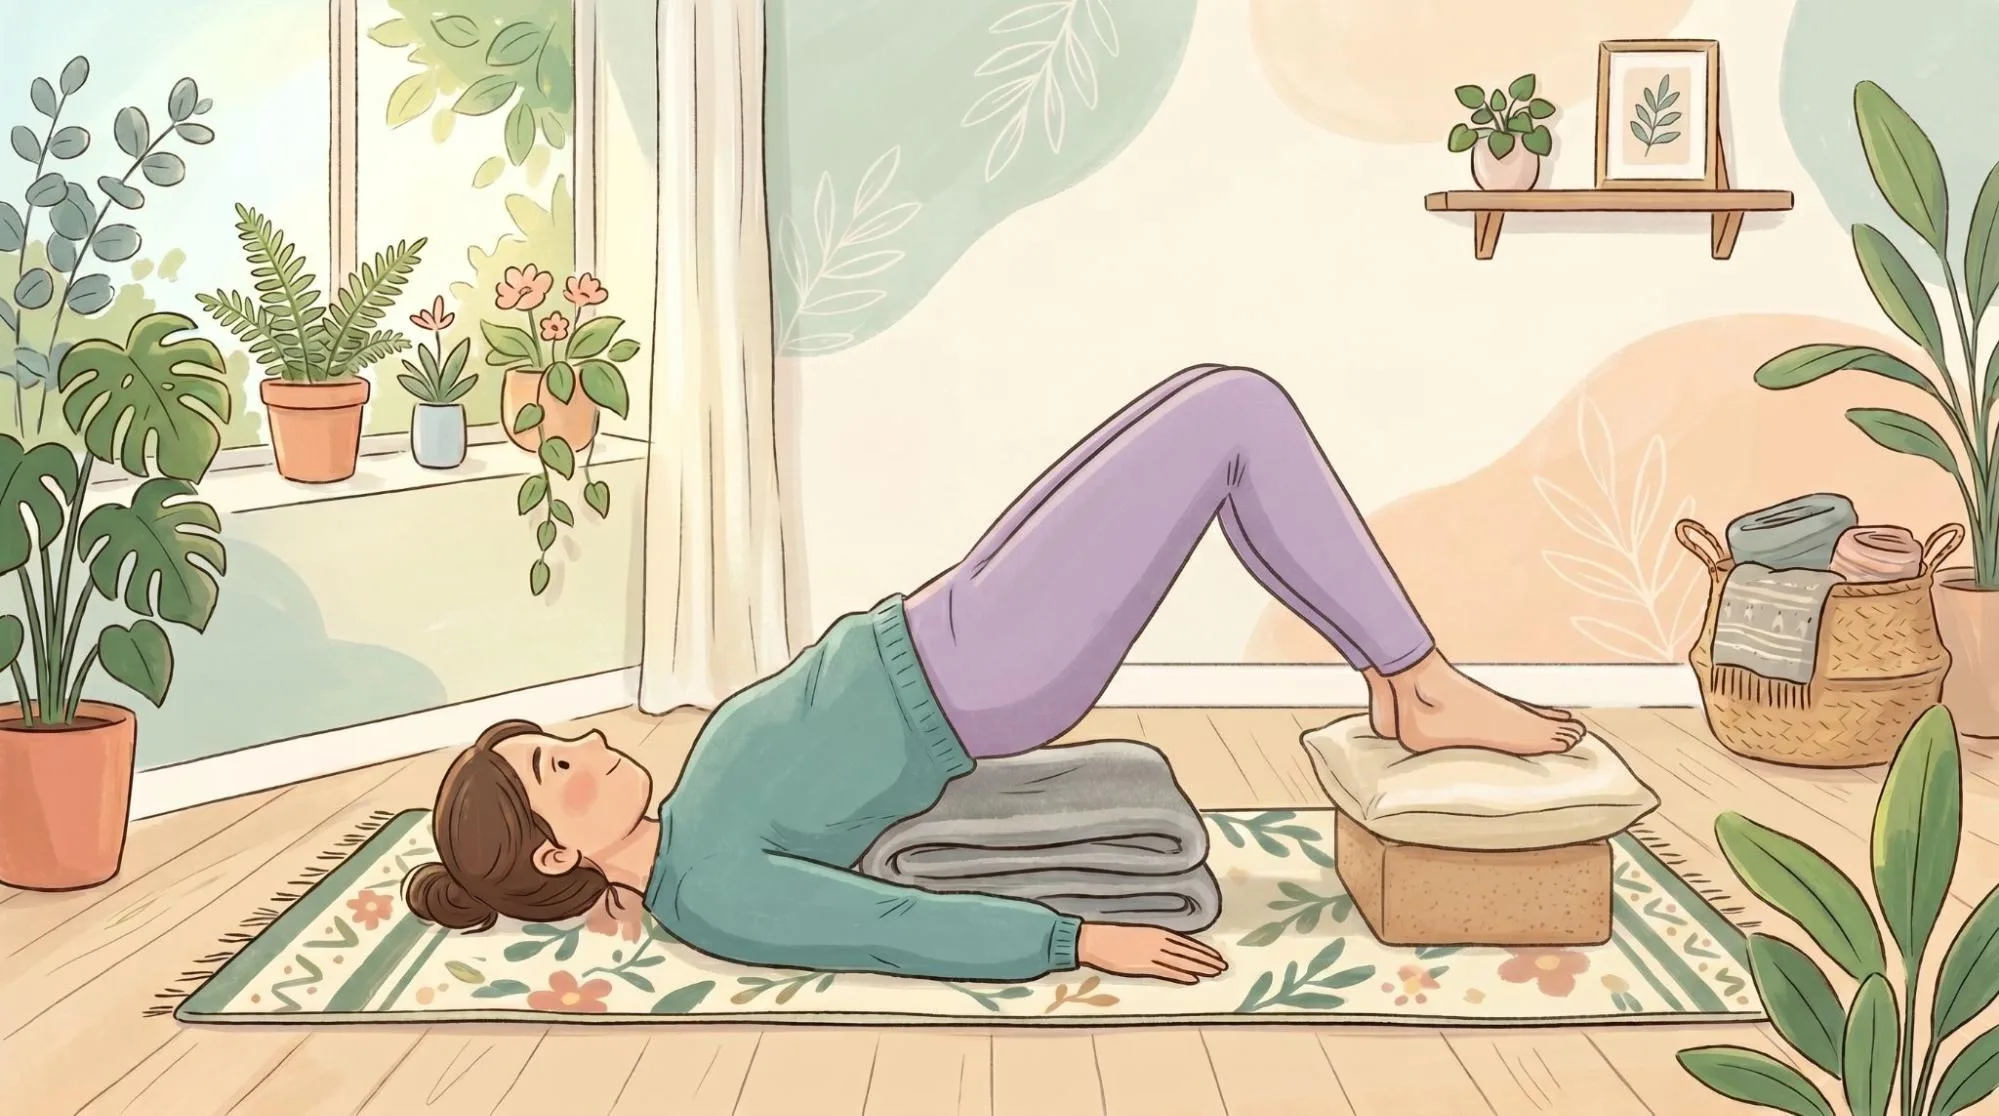
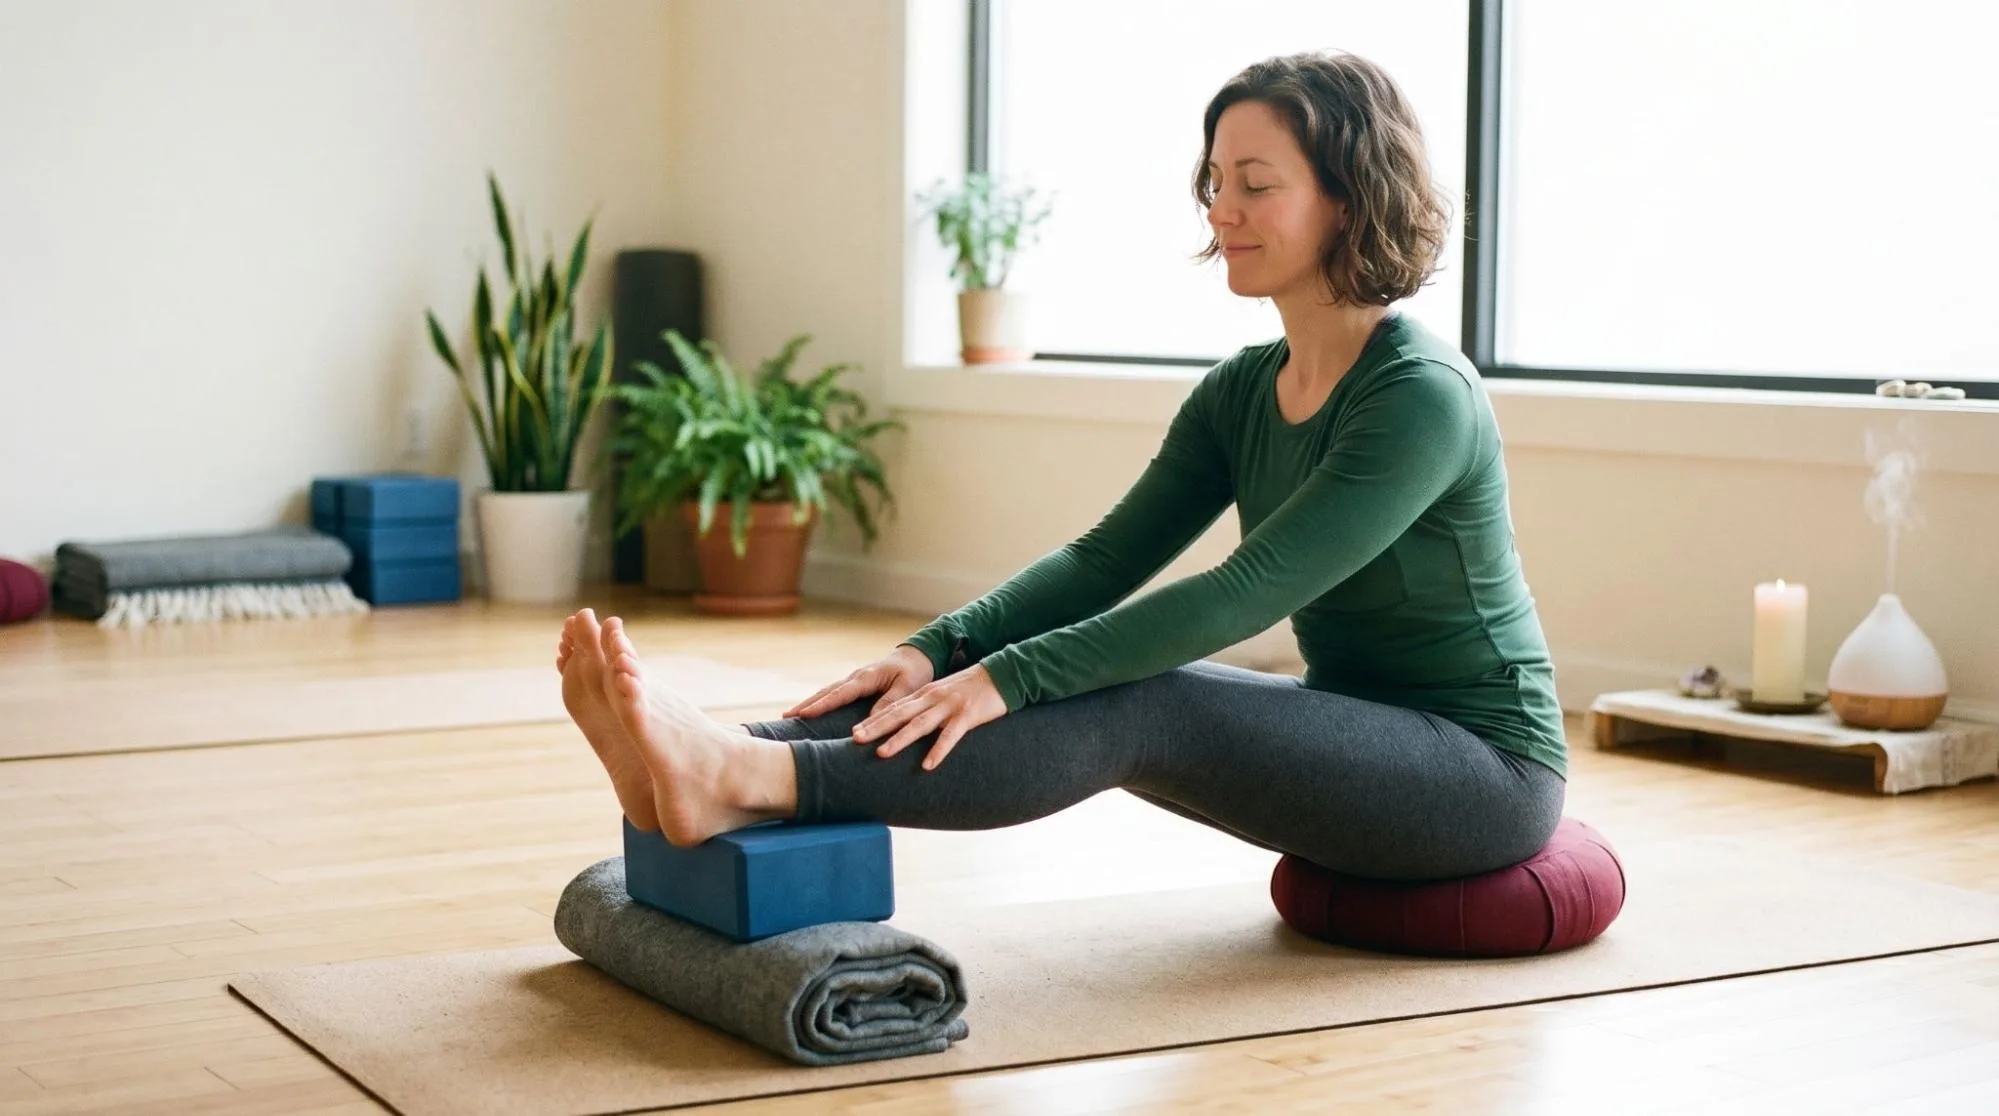
Use a Prop
Props can make the pose far more comfortable.
Useful supports include:
- Folded blankets beneath the shoulders
- A yoga chair behind the head
- Bolsters under the hips
- Blocks for foot support
These modifications help many people practice this inversion without strain.
Common Mistakes to Avoid in this inversion
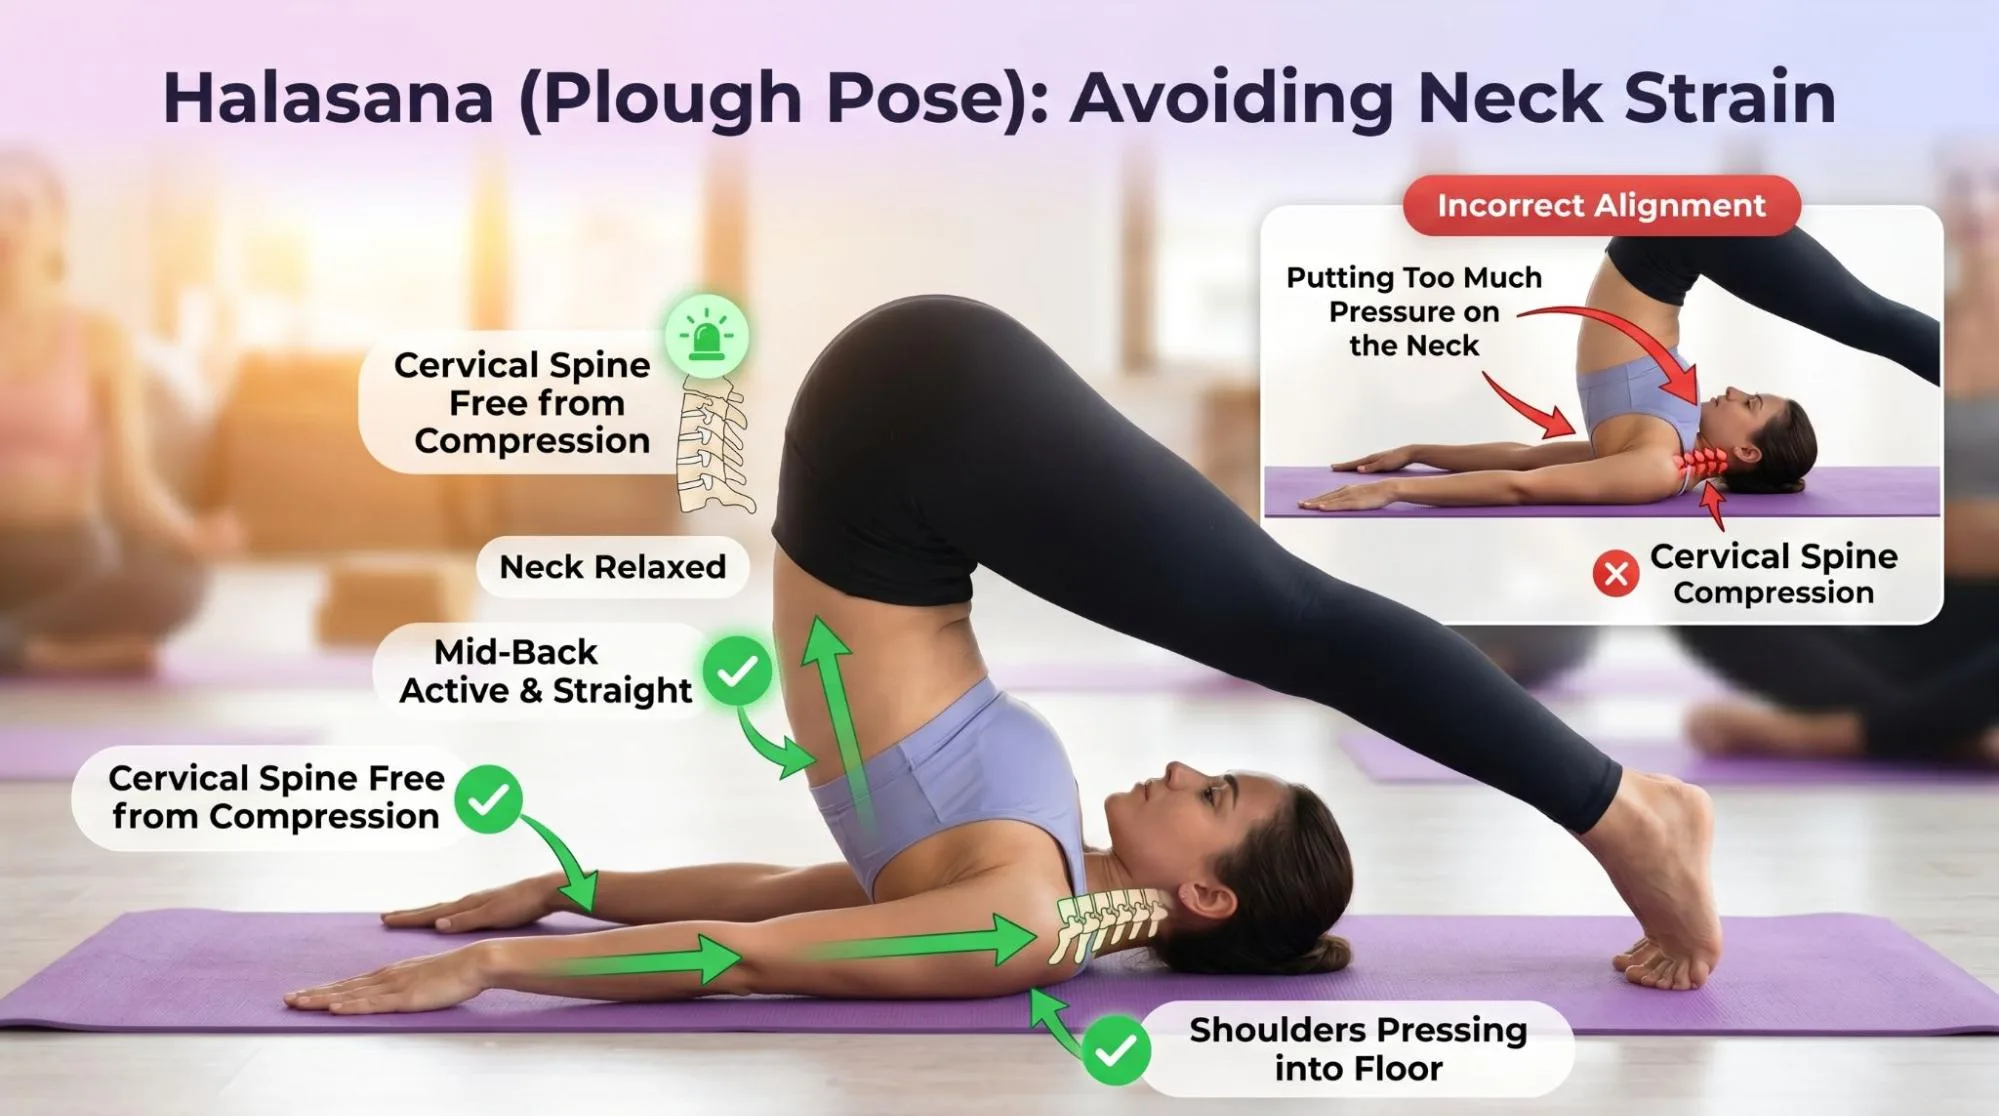
Putting Too Much Pressure on the Neck
This is the most common mistake.
If the body weight shifts heavily into the neck instead of the shoulders, discomfort can happen quickly.
Always press your arms down and distribute the weight evenly.
Overextending the Legs
Some people force the feet toward the floor even when the body is not ready.
This can strain the hamstrings, back, and hips. It is better to bend your knees slightly and maintain control.
Collapsing the Chest
When the chest sinks inward, breathing becomes harder and the posture feels compressed.
Instead, keep pressing the arms down and gently lift through the upper chest to create more space.
Some yoga practitioners also transition into Ear Pressure Pose after halasana, but this should only be attempted once basic alignment feels stable and comfortable.
Related reading: Supine Spinal Twist Benefits Explained
Conclusion
this inversion is a powerful yet calming yoga posture that combines flexibility, strength, and mindful breathing in one movement. It stretches the spine, supports core engagement, and can leave the body feeling lighter and more relaxed afterward.
The most important part of practicing halasana is patience. There is no need to force the legs over your head or rush into the deepest version of the pose. Small, controlled movements usually create the safest and most sustainable progress.
Use support when needed, move slowly, and pay close attention to neck comfort. With steady practice, this inversion can become a grounding part of a balanced yoga routine.
Quick answer: this inversion, or Halasana, is an advanced yoga inversion in which the legs move overhead while the shoulders and upper back remain supported. It should be approached gradually, with careful attention to neck comfort and controlled movement.
Safety and Balance
Never turn the head while in Halasana, and do not put weight directly on the neck. Use folded blankets or a qualified teacher for support, and choose a gentler alternative if you have neck, shoulder, spinal, blood-pressure, eye, or other health concerns. Stop for pain, numbness, dizziness, or restricted breathing.
Frequently Asked Questions
Is this inversion suitable for beginners?
The full pose may not be suitable at first. Beginners can practise preparation poses or a supported variation under qualified guidance.
Why is neck alignment important in Halasana?
The pose places the neck in a sensitive position, so the head should stay still while weight is distributed through the shoulders and arms.
What can I do instead of this inversion?
Try a supported bridge pose, legs-up-the-wall pose, or another gentle hamstring and spine mobility practice.
How long should I hold Halasana?
Stay only for a few comfortable breaths at first. Exit slowly and stop immediately if breathing or neck comfort changes.
Further reading: For general information about yoga practice and safety, see the NCCIH guide to yoga.
